
Google Gemini Omni Flash: Text to Video and Image to Video Tutorial

Share this post:
Google Gemini Omni Flash: Text to Video and Image to Video Tutorial
Google Gemini Omni Flash generates short video clips with natively synchronized audio in a single pass. Video and sound are produced together, with no separate audio step required after generation.
The model is available in AI FILMS Studio in two modes: text-to-video, which generates a clip from a written description, and image-to-video, which animates a source image you upload. Both modes are accessible from the Video Generation Workspace and the Nodes Graph Editor. For longer output with 4K upscaling and Scene Extension, see the Google Veo 3.1 guide. The text to video generator page lists every model in that dropdown with the resolution ceiling and duration range each one carries.
Text to Video in the Video Generation Workspace
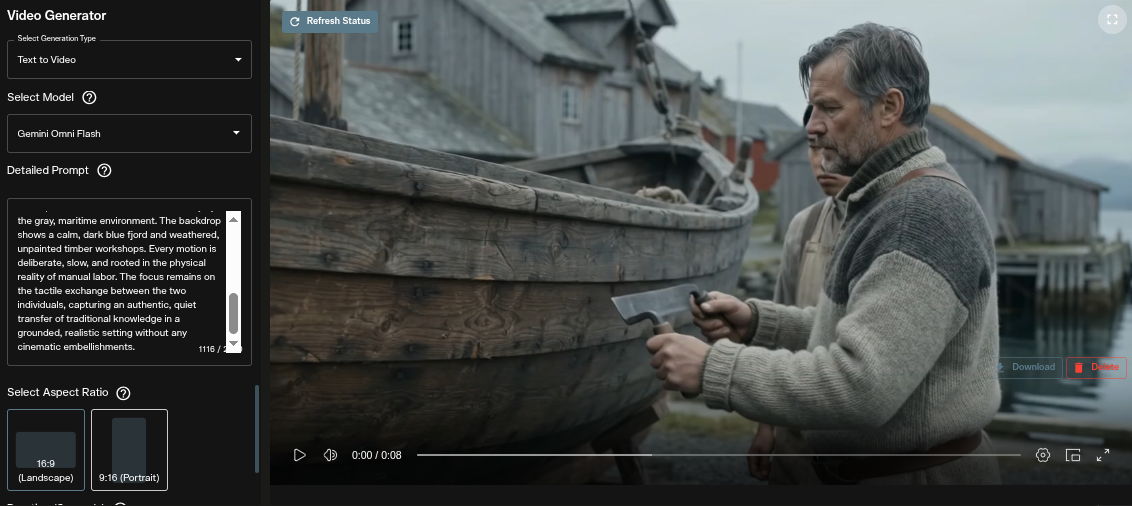
The text to video interface in AI FILMS Studio with Gemini Omni Flash selected.
Open the Video Generation Workspace and look for the generation type selector at the top of the interface. Text to Video and Image to Video are the two available modes. Select Text to Video to load the text based prompt and parameter controls for Gemini Omni Flash.
The generation type selector appears at the top of the workspace. Switching between Text to Video and Image to Video updates the parameter fields below it. Start with Text to Video for a generation based entirely on a written description.
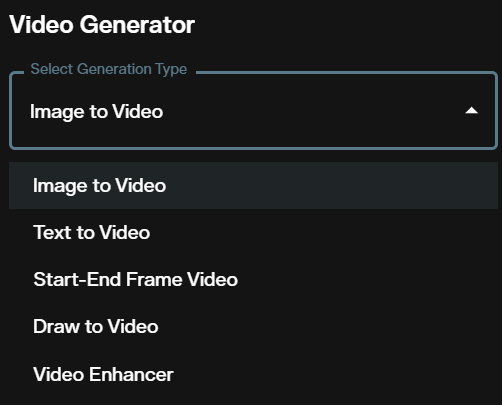
Select between Text to Video and Image to Video at the top of the workspace.
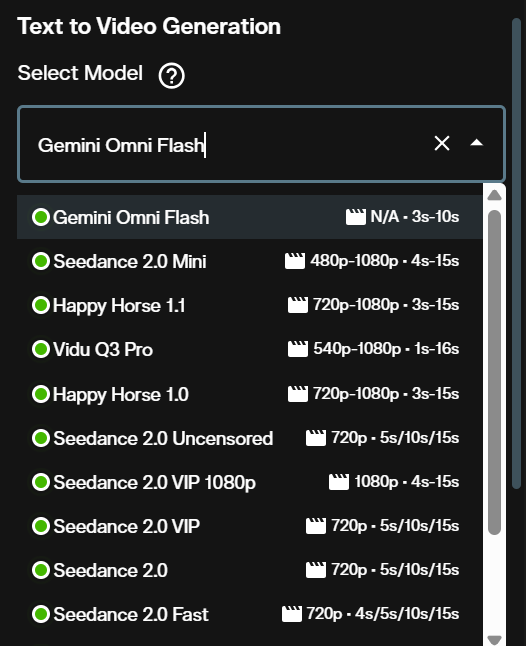
Choose Gemini Omni Flash from the model selector below the generation type.
Scroll through the model selector and choose Gemini Omni Flash. This model handles video and audio synthesis in one generation run. Once selected, the aspect ratio and duration controls become visible below the prompt field.
The prompt field accepts a single string that describes the visual scene, the motion, and the audio character of the clip. Describe what should appear on screen, how subjects or the camera should move, and what ambient sounds or music the clip should contain. Gemini Omni Flash uses that full description to produce synchronized video and audio together. The field is optional: without a prompt, the model generates from its own interpretation of the parameters you set.
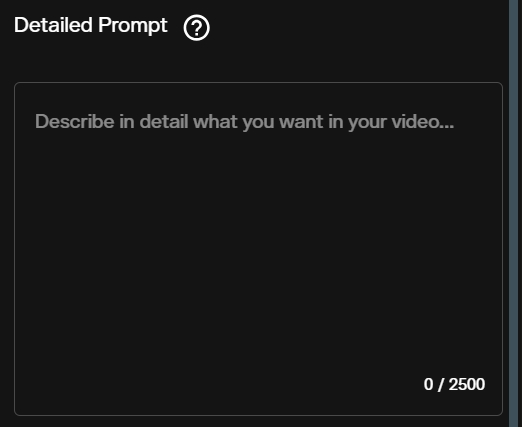
The prompt field takes scene, motion, and audio direction as a single description.
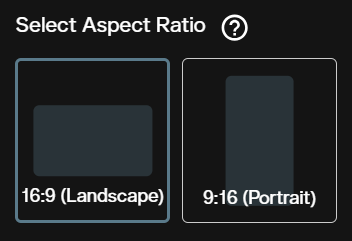
Two aspect ratio options: 16:9 for landscape and 9:16 for vertical video.
Aspect ratio controls the frame orientation of the output. Two options are available: 16:9 for landscape video suited to cinema and desktop viewing, and 9:16 for vertical video built for mobile platforms and short form content. The default is 16:9. Choose the ratio that matches the intended delivery platform before generating, because changing it after requires a new run.
Duration sets the clip length in whole seconds from 3 to 10. The default is 8 seconds. Shorter durations work well for testing a prompt or a specific motion before committing to a full clip. Longer durations suit final delivery where continuity matters more than iteration speed.
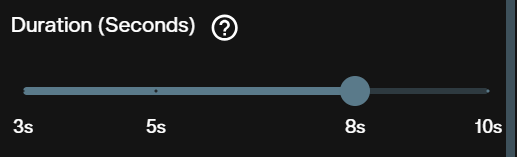
Set the clip length between 3 and 10 seconds. The default is 8 seconds.

The workspace shows the total credits required before you generate.
Text-to-video costs 130 credits per second of output. A 3-second clip uses 390 credits and a 10-second clip uses 1,300 credits. The total required for the selected duration appears in the workspace before you start the run. Click Generate to begin.
Image to Video in the Video Generation Workspace
Image to Video animates a source image and synthesizes audio around the motion in one pass. The workspace layout matches the text to video interface, with the addition of an image source field for uploading the reference frame. The image to video page documents every control in that form, including the optional last frame several models accept.
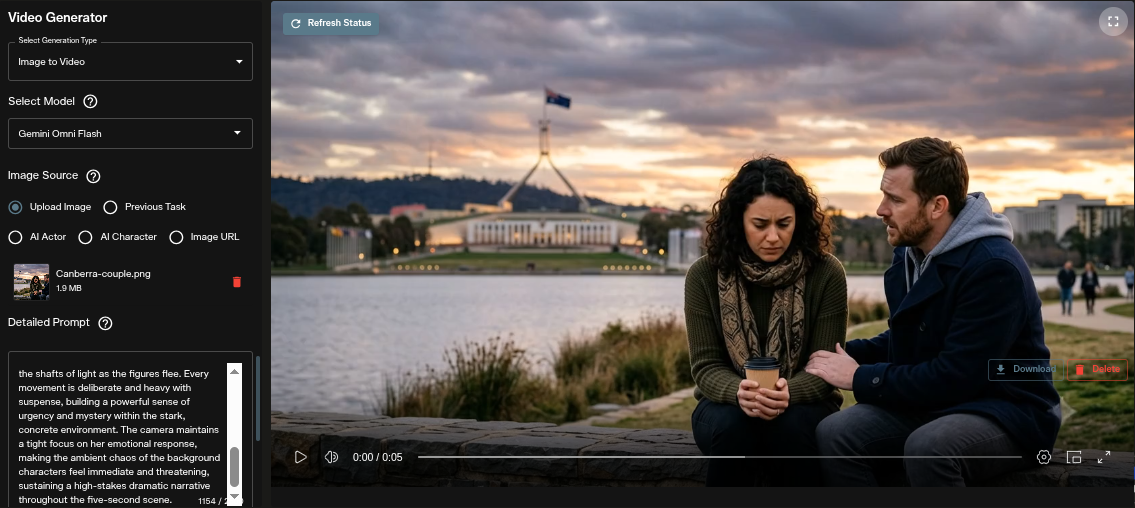
The image to video workspace with the image source field visible below the model selector.
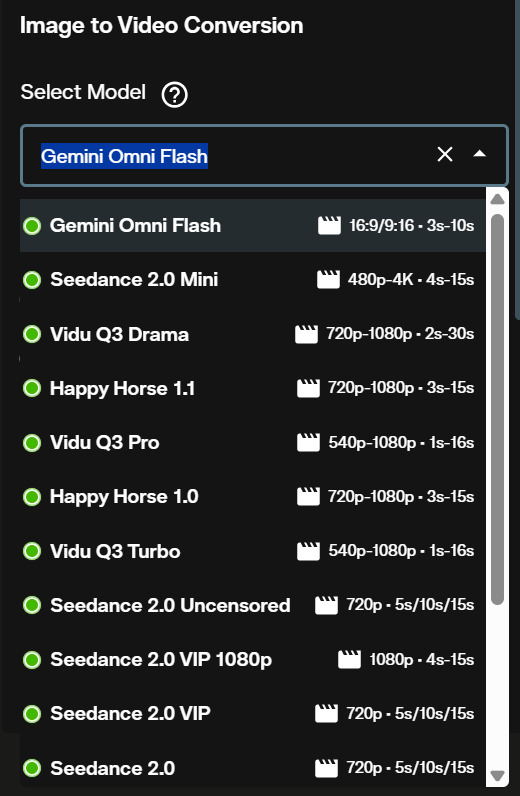
Select Image to Video as the generation type, then choose Gemini Omni Flash from the model list.
Select Image to Video from the generation type selector at the top of the workspace. Then choose Gemini Omni Flash from the model list. The image source field appears below the model selector once Image to Video mode is active.
Upload a source image using the image source section. The model uses this image as the first frame and animates forward from it. Images with clearly defined subjects and clean backgrounds tend to produce more controlled motion. The model infers camera movement and audio content from the visual composition when no prompt is provided.
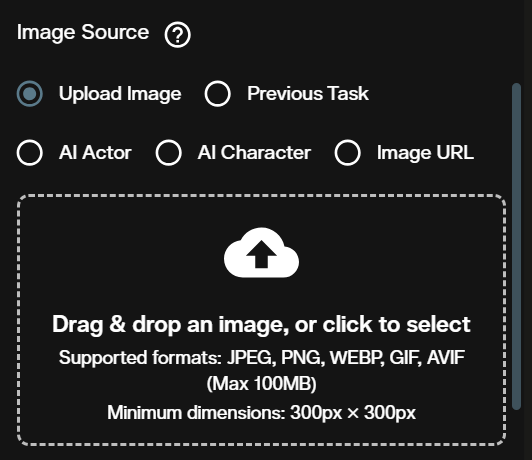
Upload the source image that Gemini Omni Flash will use as the starting frame for the clip.
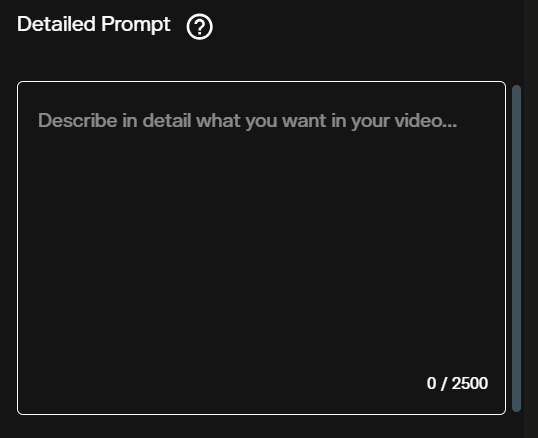
Use the prompt to direct motion, camera behavior, and audio for the generated clip.
The prompt field is optional in image-to-video mode. Use it to direct the motion, camera behavior, and audio character of the clip. Without a prompt, the model infers these from the image content. A specific prompt gives you more control over what moves, how the camera responds, and what the audio track sounds like.
Aspect ratio options are the same as text to video: 16:9 for landscape and 9:16 for vertical. Select the ratio that matches the delivery platform before generating. The aspect ratio you choose does not need to match the dimensions of your source image, but a close match will produce a more predictable crop.
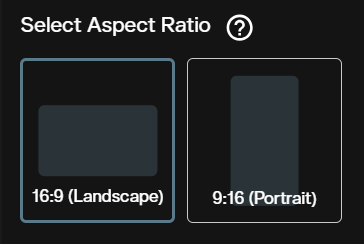
Choose 16:9 for landscape output or 9:16 for vertical clips.
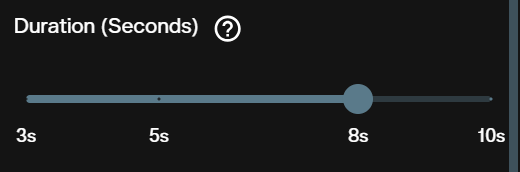
Duration runs from 3 to 10 seconds with the same controls as text to video.
Duration works identically to text-to-video. The range is 3 to 10 seconds with a default of 8. Image-to-video generation costs 140 credits per second, so a 3-second clip uses 420 credits and a 10-second clip uses 1,400 credits. The total required appears in the workspace before you generate. When the parameters are set, click Generate.
Text to Video in the Nodes Graph Editor
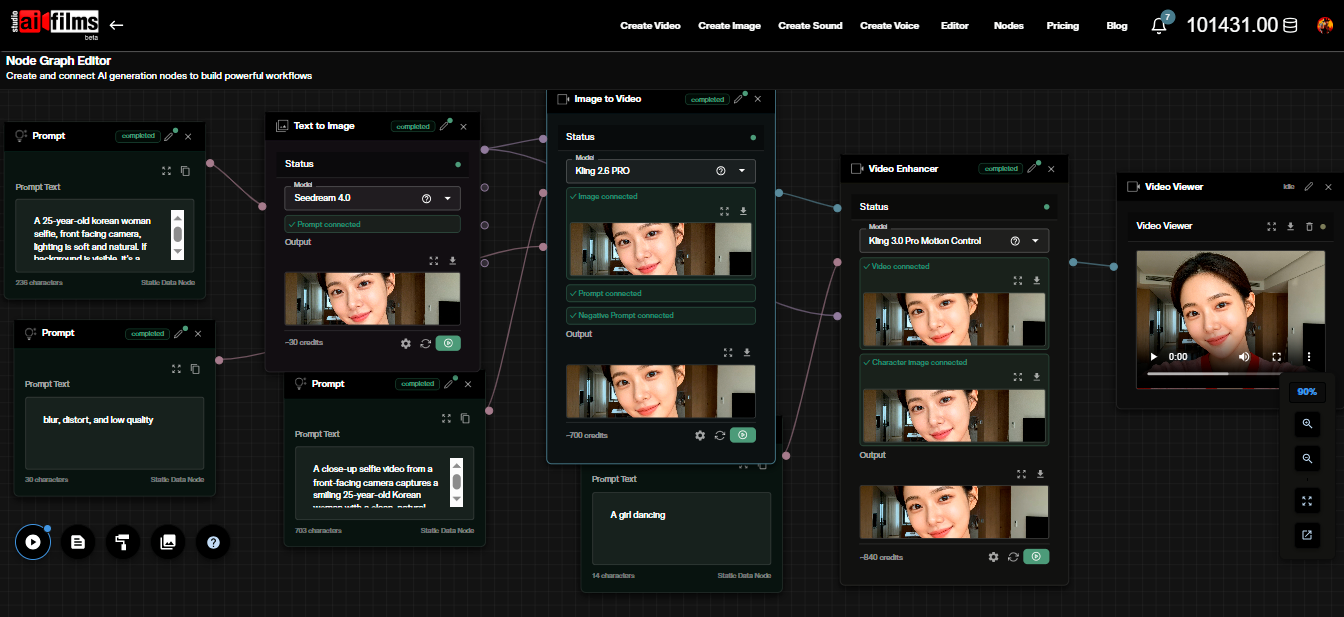
The Nodes Graph Editor lets you build video generation pipelines by connecting nodes visually. Add a Gemini Omni Flash text-to-video node to the canvas and connect a text input node to the prompt slot. The aspect ratio and duration parameters appear directly on the node and can be set before the workflow runs.
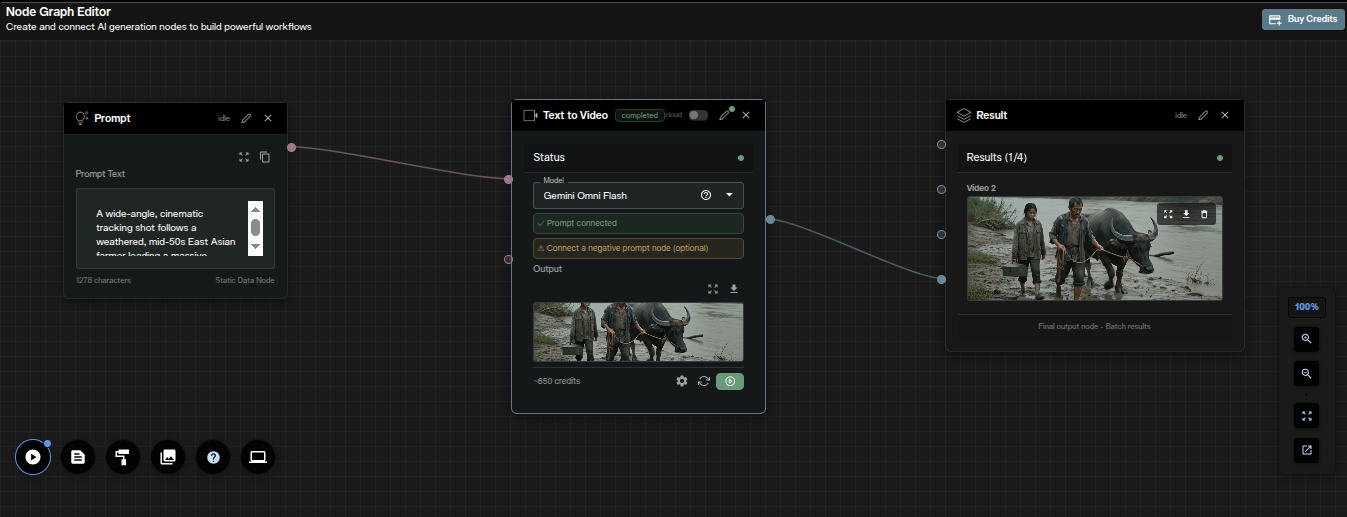
A text to video workflow in the Nodes Graph Editor with Gemini Omni Flash.
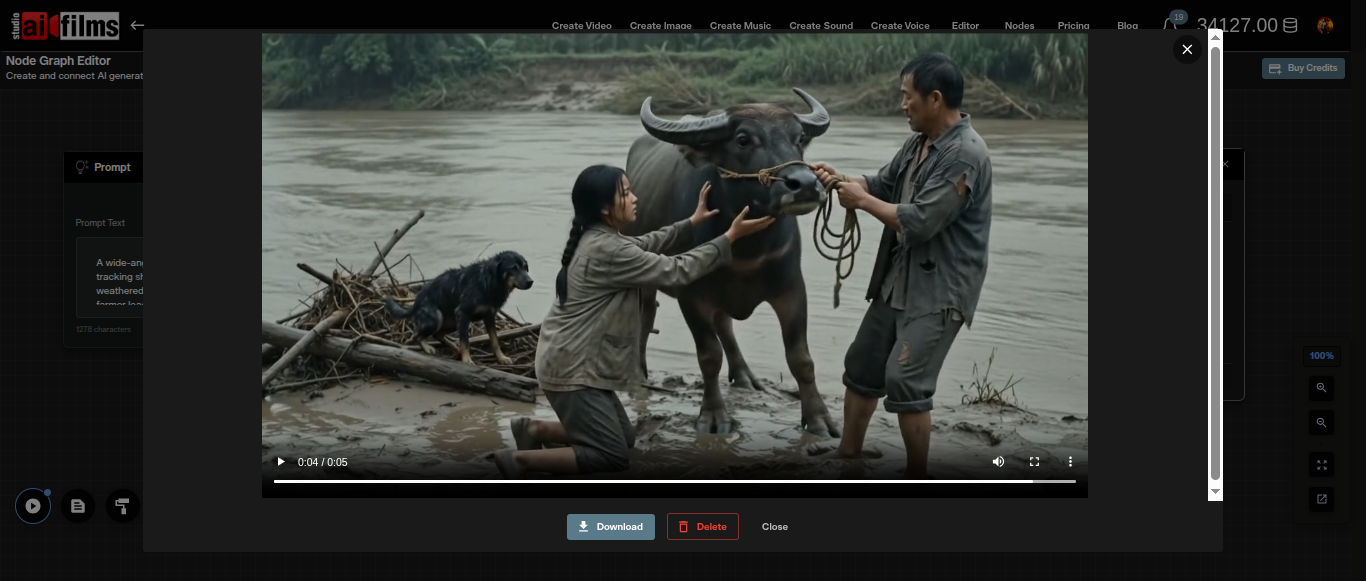
Connect the video output slot to a media output node to preview and download the result.
Connect the video output slot to a media output node to preview and download the generated clip. Prompt text, aspect ratio, and duration are all editable from within the node between runs without rebuilding the graph. This makes the Nodes Graph Editor a good fit for iterating on the same scene with different prompt variations.
Image to Video in the Nodes Graph Editor
For image-to-video in the Nodes Graph Editor, add a Gemini Omni Flash image-to-video node to the canvas. Connect an image source node to the image input slot. A text input node is optional and connects to the prompt slot for directing motion and audio. The aspect ratio and duration controls appear on the node itself.
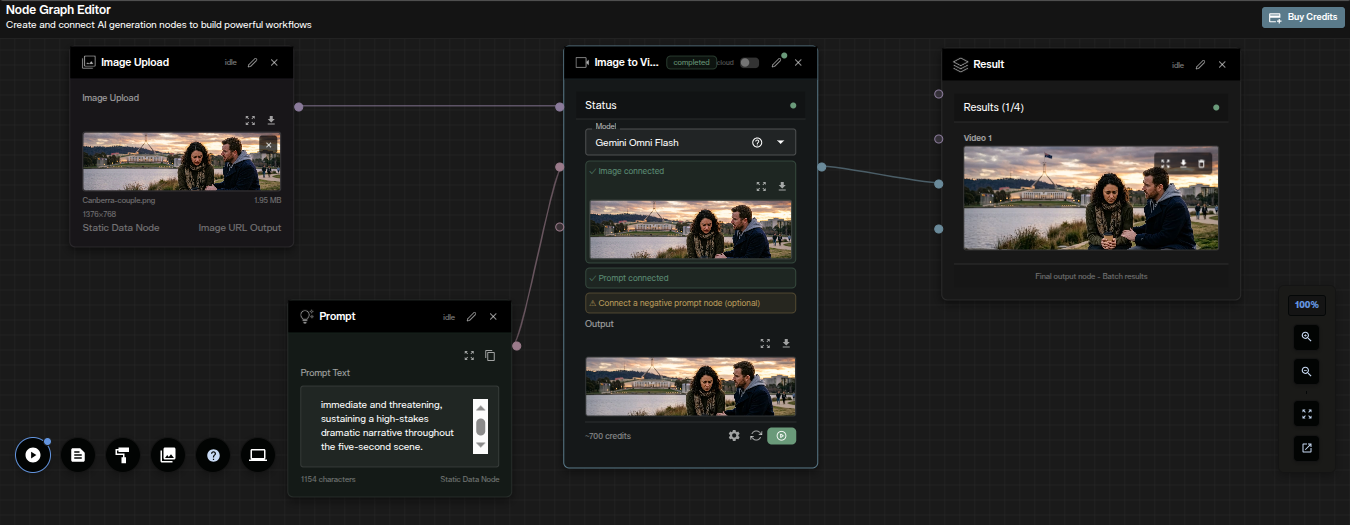
An image to video workflow in the Nodes Graph Editor with an image source node connected.
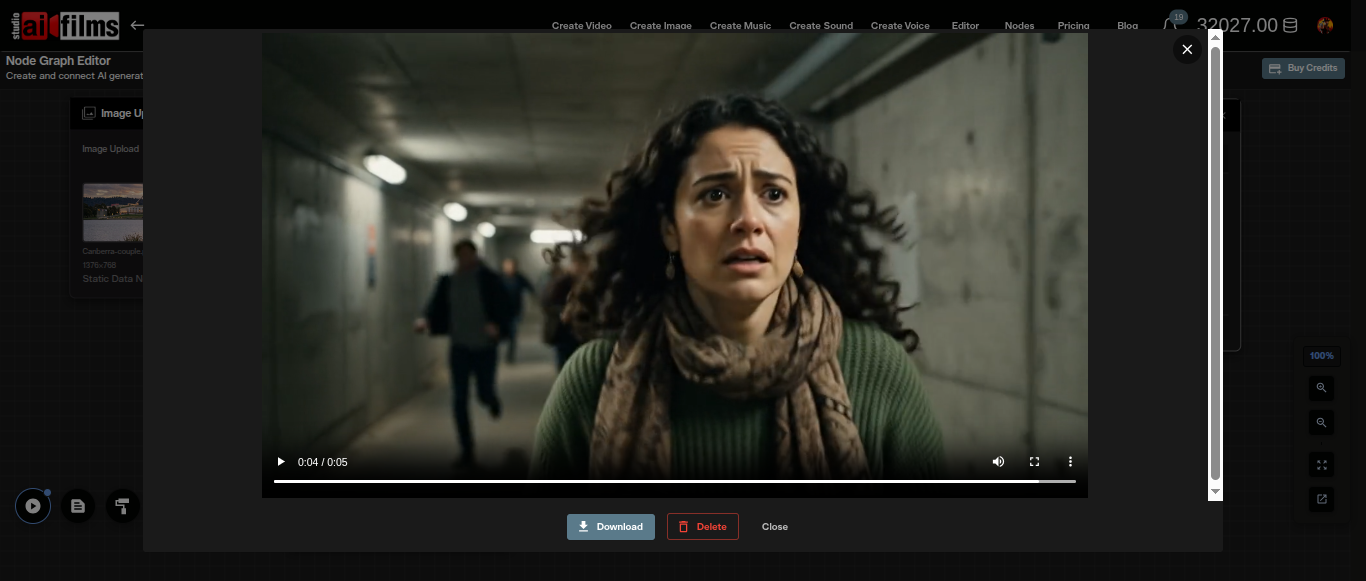
The output connects to a media output node for preview and download.
Connect the output to a media output node to preview the generated clip. Swapping the source image between runs requires only updating the image source node. Duration and aspect ratio can be adjusted on the Gemini Omni Flash node without changing anything else in the graph.
Prompting Tips for Gemini Omni Flash
Layer your prompt in sequence: environment first, then subjects, then motion, then camera behavior, and finally audio direction. A prompt covering all five layers gives the model complete context for visual and audio synthesis in a single pass.
Set duration to 3 seconds for rapid concept testing. Once the scene description and motion are working, scale to 8 or 10 seconds for the final generation. This approach cuts the credit cost per test while the prompt is still being refined.
For audio, name specific sound categories rather than general moods. "Wind through leaves and distant birdsong" produces more accurate audio than "peaceful outdoor ambience." The same level of specificity that works for visual prompts applies to the sound description.
For image-to-video, describe what should move and what should stay still. "The candle flame flickers, the rest of the scene holds" gives the model a clear constraint. Without that kind of direction, the model infers motion from the image, which may animate elements you wanted to keep fixed.
Aspect ratio selection should match the intended delivery platform before you generate. Changing the ratio after generation requires a new run. Choose 16:9 for cinematic content and desktop viewing. Choose 9:16 for social platforms and mobile delivery.
Sources
Google DeepMind | Google Cloud
Continue Reading
.jpg?w=3840)


Video & LipSync
- Video Generator
- Text to Video
- Image to Video
- Start-End Frame to Video
- Draw to Video
- Motion Control
- Video Enhancer
- Video Upscaler
- Video Extend
- Video to Video LipSync
- Audio to Video LipSync
- Image to Video LipSync
- Video FaceSwap
- Seedance 2.5
- WAN 3.0
- Seedance 2
- FLUX 3
- Minimax H3
- Vidu Q3 Pro
- Grok Imagine Video 1.5
- Gemini Omni
- Google Veo 3.1
- Kling 3.0 Pro
- Luma Ray 3.2
- LTX 2.3
- Happy Horse 1.1
- Kling 3.0 Motion
- ByteDance Upscaler
- InfiniteTalk
- InsightFace
Image & Edit
- AI Character
- AI Actor
- Art Generator
- Text to Image
- Image to Image
- LoRA Image to Image
- Draw to Edit
- Image LoRA Training
- Remove Background
- Image Enhancer
- MidJourney 8.0
- Krea 2
- OpenAI GPT Image 2.0
- Nano Banana Pro Ultra
- Nano Banana 2 Lite
- Nano Banana Pro
- Minimax Image
- Clarity Pro
- Z-Image Turbo LoRA
- Krea 2 Turbo LoRA
- Z-Image LoRA Trainer
- Qwen Image LoRA Trainer
- Background Erase Network 2 (BEN2)