How to Run LTX-2 in 4K on Your RTX GPU (CES 2026 Update)
Mickael Courtiade, CC BY 2.0, via Wikimedia Commons
Share this post:
How to Run LTX-2 in 4K on Your RTX GPU (CES 2026 Update)
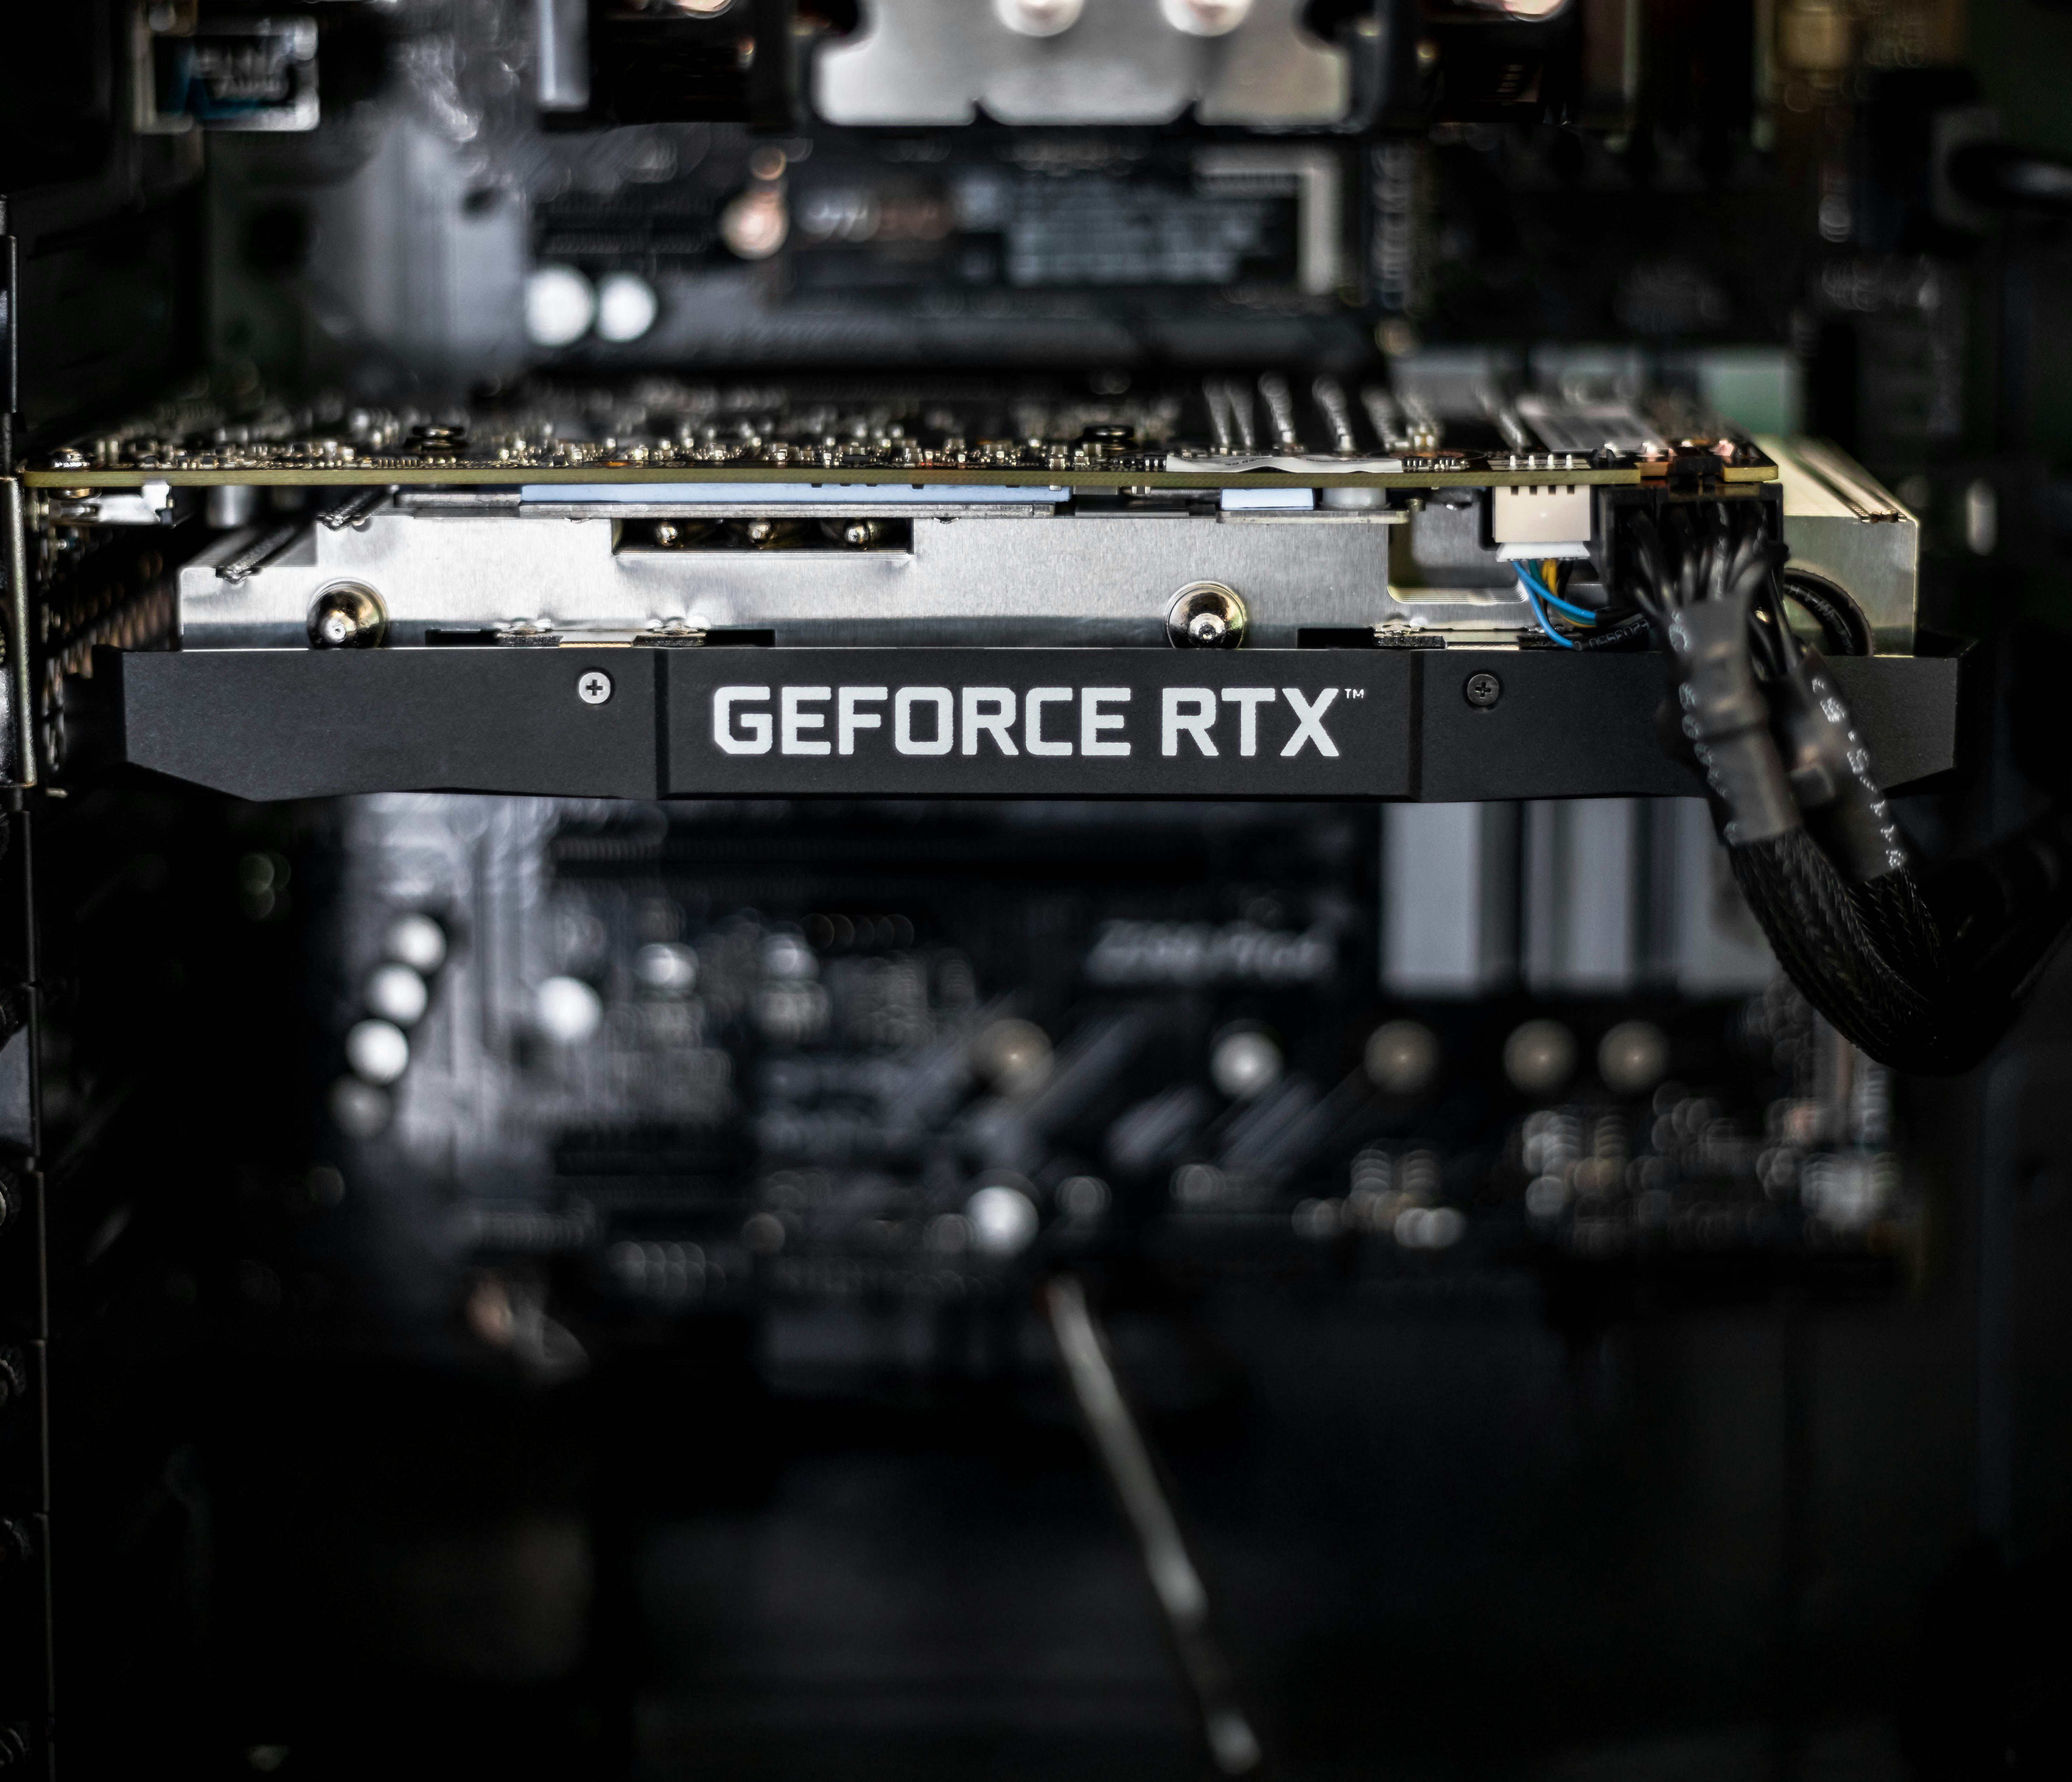
At CES 2026, Nvidia announced significant updates to LTX-2, Lightricks' open-source video generation model, enabling 4K video generation on consumer RTX graphics cards. This breakthrough brings professional-quality AI video creation to your desktop, with performance improvements of up to 3x on RTX 40-series and newer hardware. In this comprehensive guide, you'll learn how to set up and run LTX-2 in 4K using ComfyUI.
Don't have an RTX GPU or prefer not to install locally? You can use LTX-2 instantly on AI FILMS Studio with no installation required. Generate 4K videos directly in your browser with cloud-based RTX GPUs, no hardware requirements, and no complex setup.
Update: Lightricks has released LTX-2.3, featuring improved audio and visual quality, faster 8-step distillation, and spatial and temporal upscalers.
What Changed at CES 2026?
Nvidia's CES 2026 presentation highlighted major enhancements to LTX-2's capabilities. The model now supports native 4K resolution output at 3840x2160 pixels, a substantial upgrade from the previous 1080p limitation. The performance improvements are equally impressive, with RTX 40-series and 50-series GPUs delivering approximately 3x faster generation times compared to earlier implementations.
The key innovation lies in the integration with ComfyUI, the popular node-based interface for AI image and video workflows. This integration makes 4K video generation accessible to creators without requiring extensive command-line expertise or custom scripting. The workflow utilizes a sophisticated pipeline combining text-to-video generation, latent space upscaling, and advanced denoising techniques.
For creators seeking an even simpler solution, AI FILMS Studio now includes LTX-2 with an intuitive web interface, eliminating the need for local installation while still delivering professional results.
Hardware Requirements
Running LTX-2 in 4K demands substantial computational resources. Here's what you'll need:
Graphics Card:
- Minimum: RTX 4070 Ti with 12GB VRAM
- Recommended: RTX 4090 with 24GB VRAM or RTX 50-series equivalent
- The 4K upscaling workflow requires significant VRAM headroom
System Specifications:
- CPU: Modern multi-core processor (Intel i7/i9 or AMD Ryzen 7/9)
- RAM: 32GB system memory recommended (64GB for complex workflows)
- Storage: 50GB free space for models, custom nodes, and output files
- Operating System: Windows 10/11 or Linux
Performance Expectations:
- RTX 4070 Ti: Approximately 8-12 minutes per 5-second 4K clip
- RTX 4090: Approximately 3-5 minutes per 5-second 4K clip
- Generation times vary based on complexity and denoising steps
If your hardware doesn't meet these requirements, consider using AI FILMS Studio, which runs LTX-2 on cloud infrastructure and requires no local GPU.
Software Prerequisites
Before installing ComfyUI and LTX-2, ensure you have the following software components:
Python Environment:
# Install Python 3.10 or 3.11 (3.12 may have compatibility issues)
python --version  # Verify installation
Git:
# Windows: Download from git-scm.com
# Linux: sudo apt install git
git --version  # Verify installation
CUDA Toolkit:
- Download from Nvidia's developer site
- Version 12.1 or newer recommended
- Ensure your GPU drivers are up to date
Required Downloads:
- ComfyUI (main repository)
- ComfyUI-LTXVideo custom nodes
- LTX-2 model weights:
ltx-video-2b-v0.9.5.safetensors(approximately 5GB)
You'll find download links in the Resources section at the end of this guide.
Step 1: Installing ComfyUI and Custom Nodes
Let's begin with a clean ComfyUI installation and add the necessary LTX-2 components.
1. Clone ComfyUI Repository:
cd C:\AI\Projects  # Choose your preferred directory
git clone https://github.com/comfyanonymous/ComfyUI.git
cd ComfyUI
2. Install Python Dependencies:
# Create virtual environment (recommended)
python -m venv venv
venv\Scripts\activate  # Windows
# source venv/bin/activate  # Linux/Mac

# Install requirements
pip install torch torchvision torchaudio --index-url https://download.pytorch.org/whl/cu121
pip install -r requirements.txt
3. Install ComfyUI-LTXVideo Custom Nodes:
cd custom_nodes
git clone https://github.com/Lightricks/ComfyUI-LTXVideo.git
cd ComfyUI-LTXVideo
pip install -r requirements.txt
cd ../..
4. Download LTX-2 Model Weights:
# Create models directory if it doesn't exist
mkdir -p models/checkpoints

# Download from HuggingFace (use browser or wget/curl)
# Place ltx-video-2b-v0.9.5.safetensors in models/checkpoints/
Direct download link: Lightricks LTX-Video on HuggingFace
5. Verify Installation:
# Launch ComfyUI
python main.py

# Open browser to http://127.0.0.1:8188
# Check that LTXVideo nodes appear in the node menu
If you encounter dependency conflicts, ensure you're using Python 3.10 or 3.11 and that your CUDA toolkit matches your PyTorch version.
Step 2: Setting Up the 4K Workflow

The LTX-2 4K workflow consists of three primary stages: initial generation, latent upscaling, and high-resolution denoising.
Complete Workflow Pipeline:
-
Text-to-Video Generation (Base Resolution)
- Input: Text prompt
- Resolution: 512x512 or 768x768
- Output: Latent representation
-
Latent Upscaling (4K Preparation)
- Input: Base latent
- Upscale Factor: 4x or 5x
- Output: 4K latent space representation
-
High-Resolution Denoising (Final Generation)
- Input: Upscaled latent
- Resolution: 3840x2160 (4K)
- Output: Final 4K video frames
Sample Workflow Structure (JSON excerpt):
{
  "nodes": [
    {
      "id": 1,
      "type": "LTXVideoModelLoader",
      "inputs": {
        "model_path": "ltx-video-2b-v0.9.5.safetensors"
      }
    },
    {
      "id": 2,
      "type": "LTXVideoTextEncode",
      "inputs": {
        "text": "A majestic eagle soaring over snow-capped mountains at sunset",
        "model": ["1", 0]
      }
    },
    {
      "id": 3,
      "type": "LTXVideoSampler",
      "inputs": {
        "conditioning": ["2", 0],
        "width": 768,
        "height": 768,
        "frames": 121,
        "steps": 30
      }
    },
    {
      "id": 4,
      "type": "LatentUpscale",
      "inputs": {
        "samples": ["3", 0],
        "upscale_method": "bicubic",
        "scale_by": 5.0
      }
    },
    {
      "id": 5,
      "type": "LTXVideoDenoiser",
      "inputs": {
        "latent": ["4", 0],
        "denoise_strength": 0.35,
        "steps": 20
      }
    }
  ]
}
Download complete workflow JSON files from the ComfyUI-LTXVideo repository examples folder or the LTX-2 community workflows collection.
Key Parameters Explained:
- frames: Number of video frames (121 = ~5 seconds at 24fps)
- steps: Denoising iterations (higher = better quality, longer time)
- denoise_strength: How much to refine the upscaled latent (0.2-0.5 typical)
- scale_by: Upscale multiplier (5.0 for 768→3840 4K output)
Step 3: Generating Your First 4K Video
With your workflow configured, you're ready to create 4K AI videos. Here's the complete generation process:
1. Craft Your Prompt:
Effective LTX-2 prompts are specific and descriptive. Include:
- Subject and action
- Camera movement or angles
- Lighting and atmosphere
- Style references
Example Prompts:
"A cinematic aerial drone shot descending over a futuristic city at night,
neon lights reflecting on wet streets, volumetric fog, cyberpunk aesthetic"

"Close-up tracking shot of a red fox running through autumn forest,
golden hour lighting, shallow depth of field, nature documentary style"

"Wide establishing shot of ocean waves crashing on rocky coastline,
dramatic storm clouds, slow motion, IMAX quality"
2. Configure Generation Settings:
In ComfyUI, load your 4K workflow and adjust:
- Set base resolution (512x512 or 768x768)
- Frame count (24-121 frames typical)
- Sampling steps (25-35 for base generation)
- CFG scale (7.0-9.0 for prompt adherence)
3. Run the Workflow:
Click "Queue Prompt" in ComfyUI. Monitor VRAM usage in GPU monitoring tools. The generation progresses through:
- Text encoding (instant)
- Base latent generation (2-5 minutes)
- Latent upscaling (30-60 seconds)
- 4K denoising pass (5-10 minutes)
4. Save and Review:
Output frames appear in ComfyUI's output folder. Use the built-in video combiner node or external tools like FFmpeg to assemble frames into final MP4:
ffmpeg -framerate 24 -i output_%04d.png -c:v libx264 -pix_fmt yuv420p -crf 18 output_4k.mp4
Expected Results:
- Resolution: 3840x2160 (4K UHD)
- Duration: 3-5 seconds typical
- Quality: High detail, minimal artifacts with proper settings
- File size: 50-200MB depending on compression
Performance Tips and Optimization
Maximize efficiency and quality with these optimization strategies:
VRAM Management:
- Close unnecessary applications before generation
- Use
--lowvramflag in ComfyUI if experiencing memory errors - Generate shorter clips (3-4 seconds) to reduce memory pressure
- Monitor VRAM with
nvidia-smiduring generation
Quality Optimization:
- Increase denoising steps to 35-40 for critical shots
- Use denoise_strength of 0.3-0.4 for balanced results
- Generate multiple variations and select the best
- Apply subtle upscaling (4x) before aggressive denoising
Speed Optimization:
- Reduce base generation steps to 25 for faster iteration
- Use 512x512 base resolution instead of 768x768
- Generate in batches during off-hours
- Disable preview rendering in ComfyUI settings
Common Errors and Solutions:
Error: Out of VRAM
Solution: Reduce frame count, lower base resolution, or use --lowvram mode
Error: Model not found
Solution: Verify ltx-video-2b-v0.9.5.safetensors is in models/checkpoints/
Error: Custom nodes not loading
Solution: Reinstall ComfyUI-LTXVideo requirements in ComfyUI's venv
Artifacts in output:
Solution: Increase denoising steps, adjust denoise_strength, or refine prompt
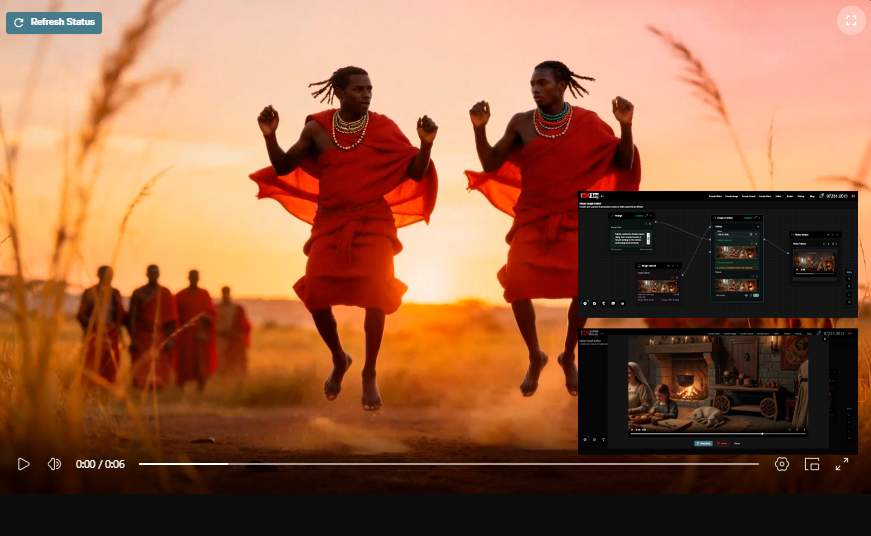
Alternative: Using AI FILMS Studio
If you prefer not to manage local installation or lack sufficient hardware, AI FILMS Studio offers LTX-2 with a streamlined web interface. Benefits include:
- No local GPU required, runs on cloud infrastructure
- Pre-configured workflows optimized for quality
- Automatic 4K upscaling options
- Integrated video editing and export tools
- No installation, maintenance, or troubleshooting
Simply navigate to the video generation workspace, select LTX-2 or the newer LTX-2.3 as your model, enter your prompt, and choose your target resolution. Generation happens in the cloud with results delivered directly to your browser. For a step by step guide to LTX-2.3 on the platform:
Next Steps and Resources
You've now mastered the basics of 4K video generation with LTX-2. Continue your journey:
Experiment and Iterate:
- Try different prompt styles and techniques
- Explore advanced ComfyUI nodes for post-processing
- Join the LTX-2 community to share workflows
- Combine LTX-2 with other AI tools for complete productions
Community Resources:
- ComfyUI Discord server for workflow sharing
- r/comfyui subreddit for troubleshooting
- Lightricks community forums for LTX-2 discussions
- YouTube tutorials for advanced techniques
Stay Updated:
- Follow Nvidia's AI blog for RTX optimizations
- Watch for LTX-3 and future model releases
- Monitor ComfyUI updates for performance improvements
Resources and Downloads
Official Sources:
ComfyUI:
https://github.com/comfyanonymous/ComfyUI
ComfyUI-LTXVideo Custom Nodes:
https://github.com/Lightricks/ComfyUI-LTXVideo
LTX-2 Model Weights (HuggingFace):
https://huggingface.co/Lightricks/LTX-Video
Sample Workflow JSON:
https://github.com/Lightricks/ComfyUI-LTXVideo/tree/main/examples
Try LTX-2 Instantly:
AI FILMS Studio Video Generation
Summary
LTX-2's 4K capabilities, enhanced at CES 2026, bring professional AI video generation to consumer RTX hardware. With ComfyUI and the workflow outlined in this guide, you can create stunning 4K videos locally. For a more streamlined experience, AI FILMS Studio offers cloud-based LTX-2 access without the complexity of local setup.
Continue Reading


Video & LipSync
- Video Generator
- Text to Video
- Image to Video
- Start-End Frame to Video
- Draw to Video
- Motion Control
- Video Enhancer
- Video Upscaler
- Video to Video LipSync
- Audio to Video LipSync
- Image to Video LipSync
- Video FaceSwap
- Seedance 2
- Vidu Q3 Pro
- Google Veo 3.1
- Kling 3.0 Pro
- LTX 2.3
- Happy Horse 1.0
- Kling 3.0 Motion
- ByteDance Upscaler
- InfiniteTalk
- InsightFace