
Seedream 5.0 Pro Tutorial: Text to Image and Image to Image Guide

Share this post:
Seedream 5.0 Pro Tutorial: Text to Image and Image to Image Guide
ByteDance Seedream 5.0 Pro is available in AI FILMS Studio for creating new images from text descriptions and for editing or transforming existing photos using reference inputs. The model runs in two modes, Text to Image and Image to Image, each accessible from the image workspace and the Nodes Graph Editor. This tutorial walks through both modes step by step, from selecting the model to saving your output.
What Is Seedream 5.0 Pro?
Seedream 5.0 Pro is ByteDance's advanced foundational image generation model built on a latent diffusion architecture. It delivers strong prompt adherence, precise visual text rendering including bilingual Chinese and English typography, and accurate reproduction of complex lighting and rich textures. The model supports multiple layout frameworks, making it well suited for design work, editorial imagery, and character generation.
Two resolution tiers are available across both modes: 1k for fast draft iteration, and 2k for final production output at publication quality. Image to Image mode additionally accepts up to 10 reference photos in a single generation request.
| Mode | Resolution | Base Credits | Each Additional Reference Image |
|---|---|---|---|
| Text to Image | 1k | 45 credits | n/a |
| Text to Image | 2k | 90 credits | n/a |
| Image to Image | 1k | 45 credits | +3 credits |
| Image to Image | 2k | 90 credits | +3 credits |
Text to Image
Text to Image generates a new image from a written prompt. Open the image workspace and follow the steps below. The text-to-image generator page covers the full model roster and every setting in the form if you want the reference alongside this walkthrough.
Step 1: Open the Image Workspace
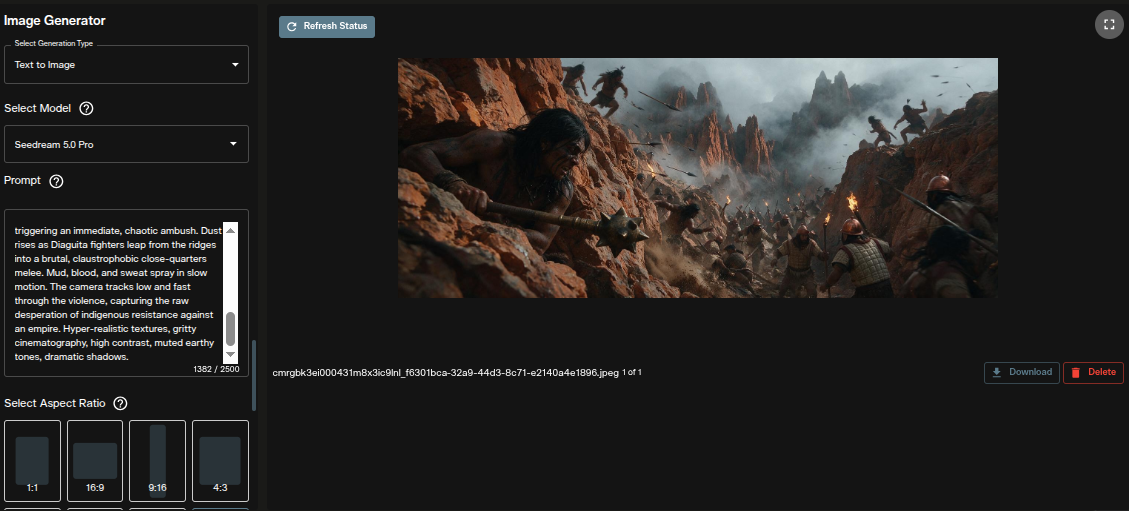
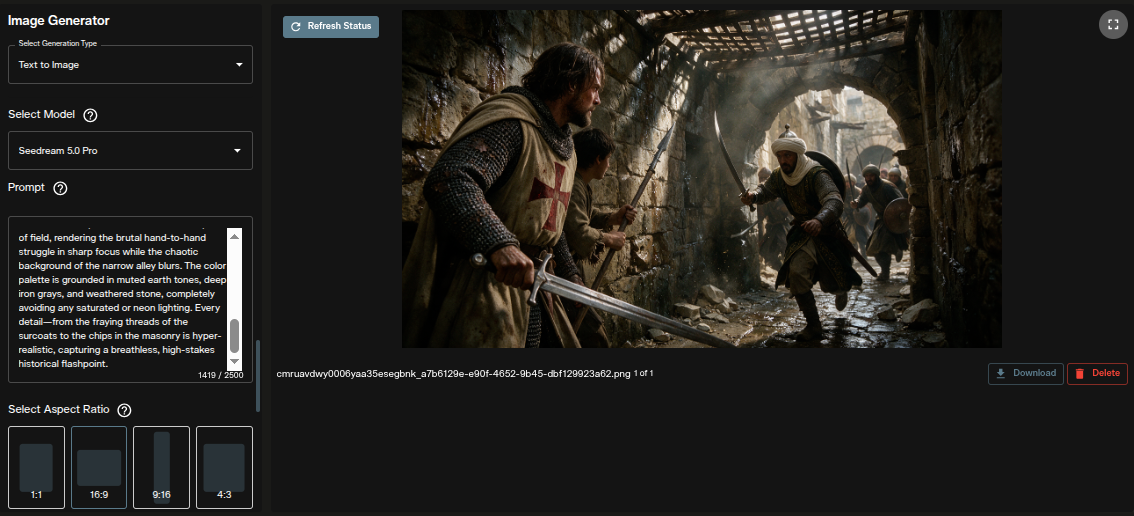
The image workspace opens with generation controls on the left and the output panel on the right. All Seedream 5.0 Pro settings, including model selection, prompt, aspect ratio, resolution, and output format, are configured from the left panel before you run a generation.
Step 2: Select Seedream 5.0 Pro
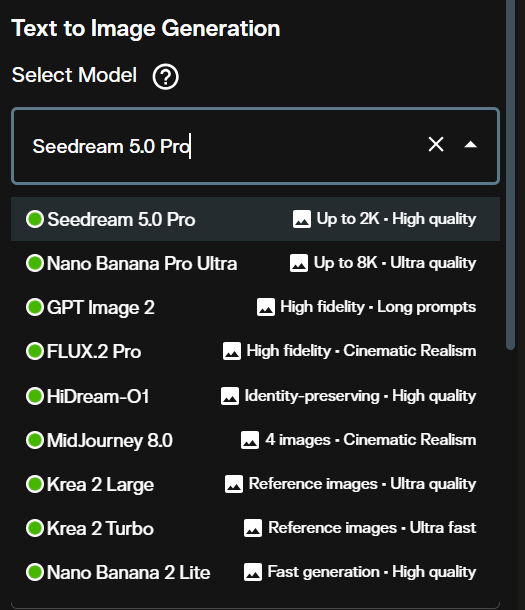
Click the model dropdown at the top of the panel. Seedream 5.0 Pro appears as two separate entries, one for Text to Image and one for Image to Image. Select the Text to Image entry to generate images from a written prompt.
Step 3: Choose the Generation Type
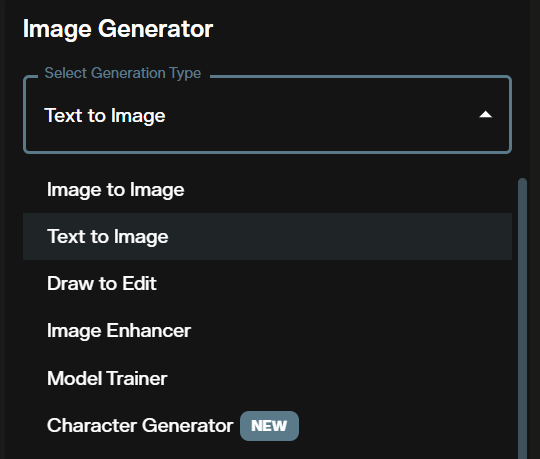
The type dropdown lets you switch between Text to Image and Image to Image within the same session without changing the selected model. Confirm that Text to Image is selected before writing your prompt.
Step 4: Write Your Prompt
Enter your prompt in the text field. Seedream 5.0 Pro handles complex scene descriptions accurately, including lighting conditions, material details, and typographic elements rendered inside the image. Describe subject, setting, lighting, and style for the most consistent results.
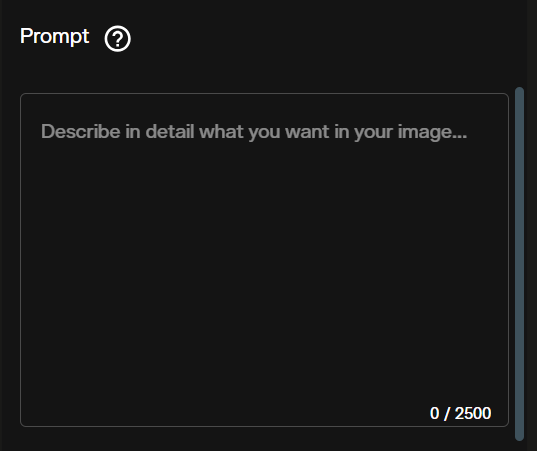
Example prompt for a cinematic portrait:
A cinematic portrait of a jazz musician on stage, dramatic rim lighting, shallow depth of field, film grain, monochrome
Step 5: Add Reference Images (Optional)
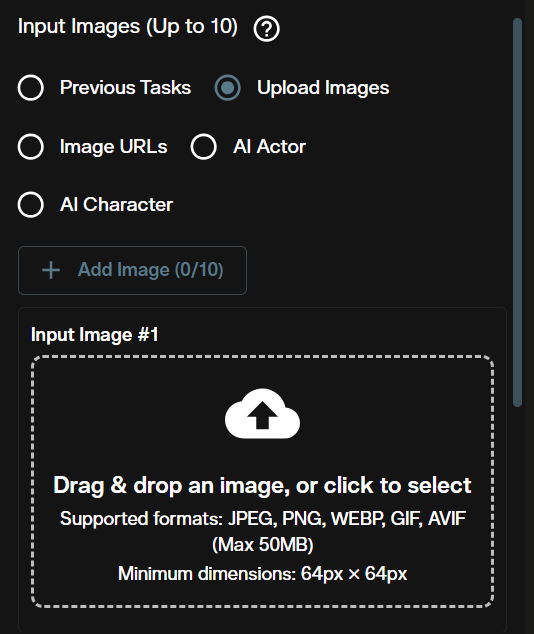
The input images section lets you upload reference photos to guide visual style or subject consistency. Use this to anchor the generated image to a specific subject, costume, or setting visible in the reference. This step is optional when generating from a text prompt alone.
Step 6: Set the Aspect Ratio
Seedream 5.0 Pro supports 14 aspect ratios: 1:1, 1:2, 2:1, 1:3, 3:1, 2:3, 3:2, 3:4, 4:3, 4:5, 5:4, 9:16, 16:9, 9:21, and 21:9. Choose 16:9 for widescreen composites, 9:16 for vertical formats, 4:3 for classic photography proportions, or 1:1 for square outputs.
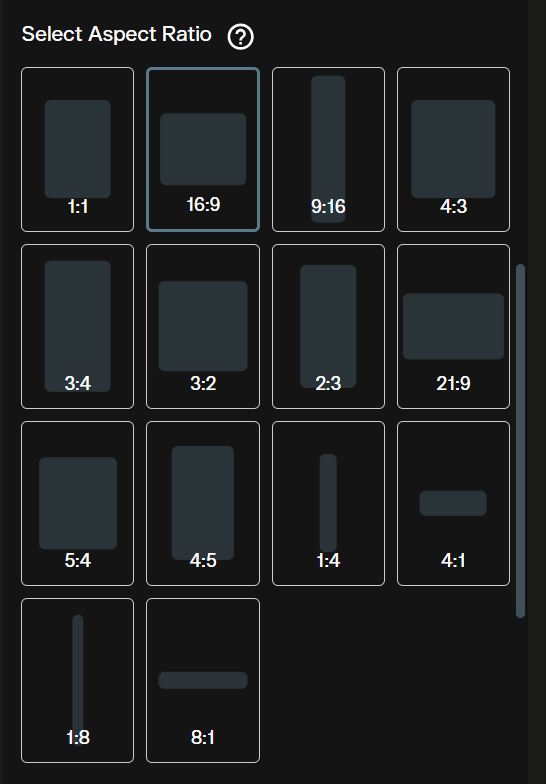
Step 7: Choose Resolution
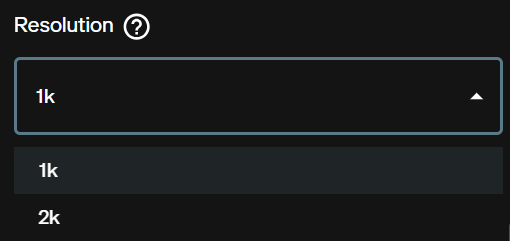
Select 1k (45 credits) for composition checks and iterative drafts. Select 2k (90 credits) when the image is going into final production, print, or a high resolution display context.
Step 8: Select Output Format
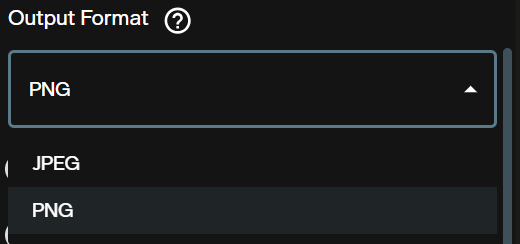
Choose JPEG for smaller file sizes suited to web delivery. Choose PNG when you need lossless quality or when the image feeds into a pipeline requiring a transparent capable format, such as a background removal step.
Step 9: Confirm Credits and Generate

The workspace shows the credit cost for your selected resolution tier before the generation runs. Credits are deducted at a fixed rate per tier, with no variable charges beyond what is displayed. Confirm and click Generate.
The generated image appears in the output panel on the right. From here you can download it directly, run another variation with the same settings, or adjust the prompt and regenerate.
Step 10: Save Your Image
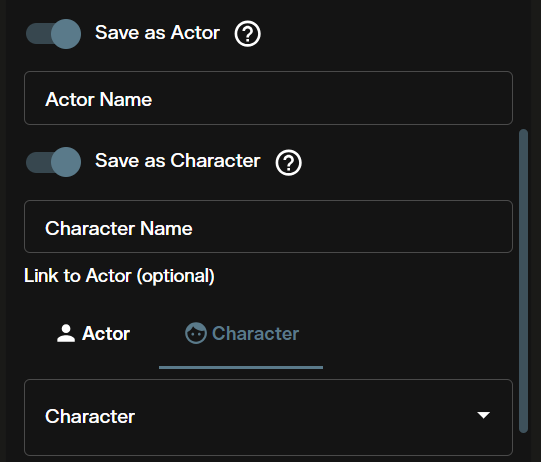
Use Save as Actor to store the image as a reusable visual reference for anchoring subject identity or appearance in future generations. Use Save as Character to register it as a named character for identity consistent workflows across Text to Image, Image to Image, and video generation nodes.
Text to Image in the Nodes Graph Editor
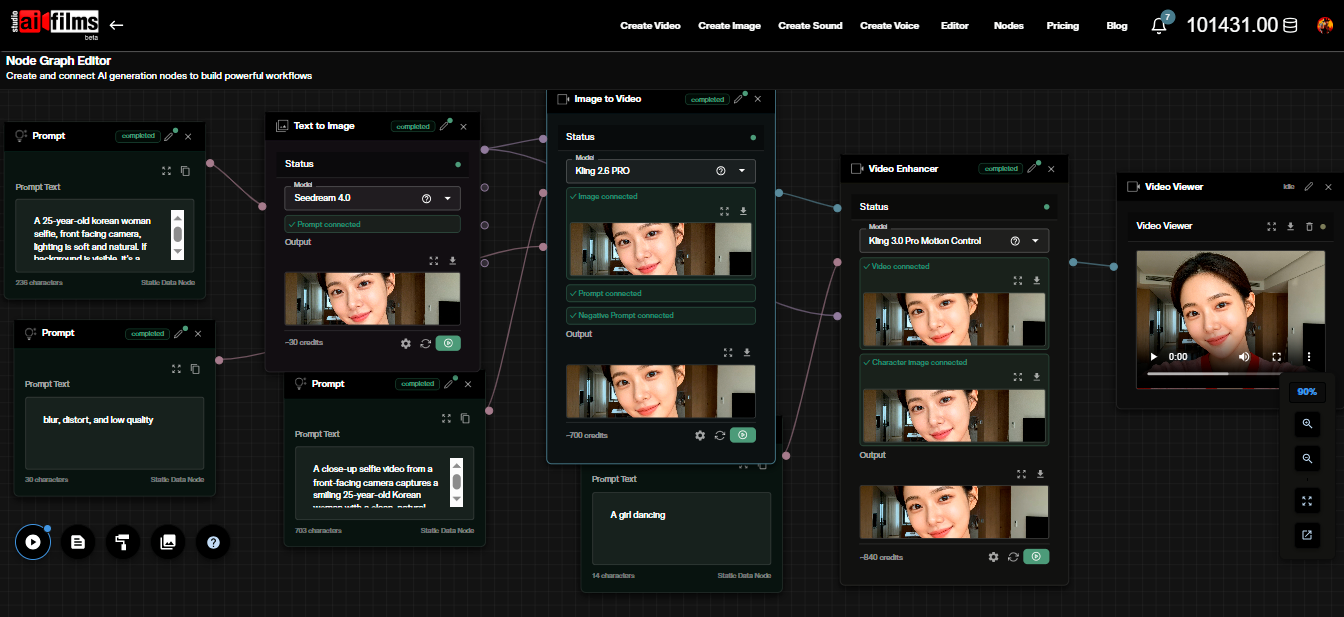
Open the Nodes Graph Editor to connect Seedream 5.0 Pro with other AI tools in an automated pipeline.
Add a Prompt node to the canvas and connect its Mauve output port to the input of a Text to Image node configured with Seedream 5.0 Pro. Connect the Lavender image output port to a Result or Image Viewer node. Press Generate to run the pipeline and collect the output.
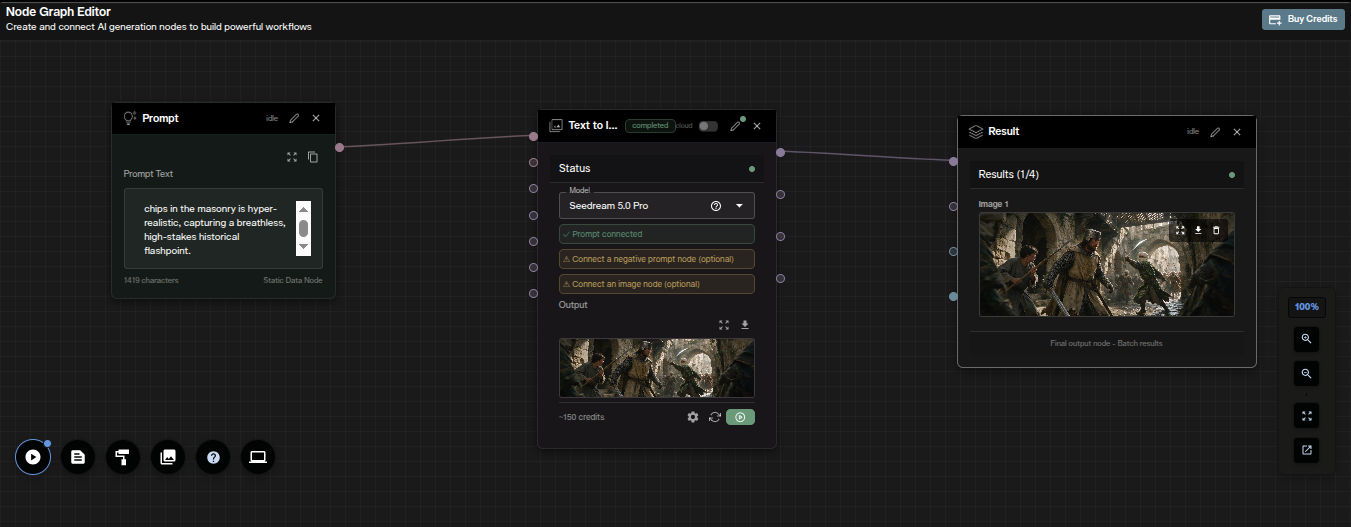
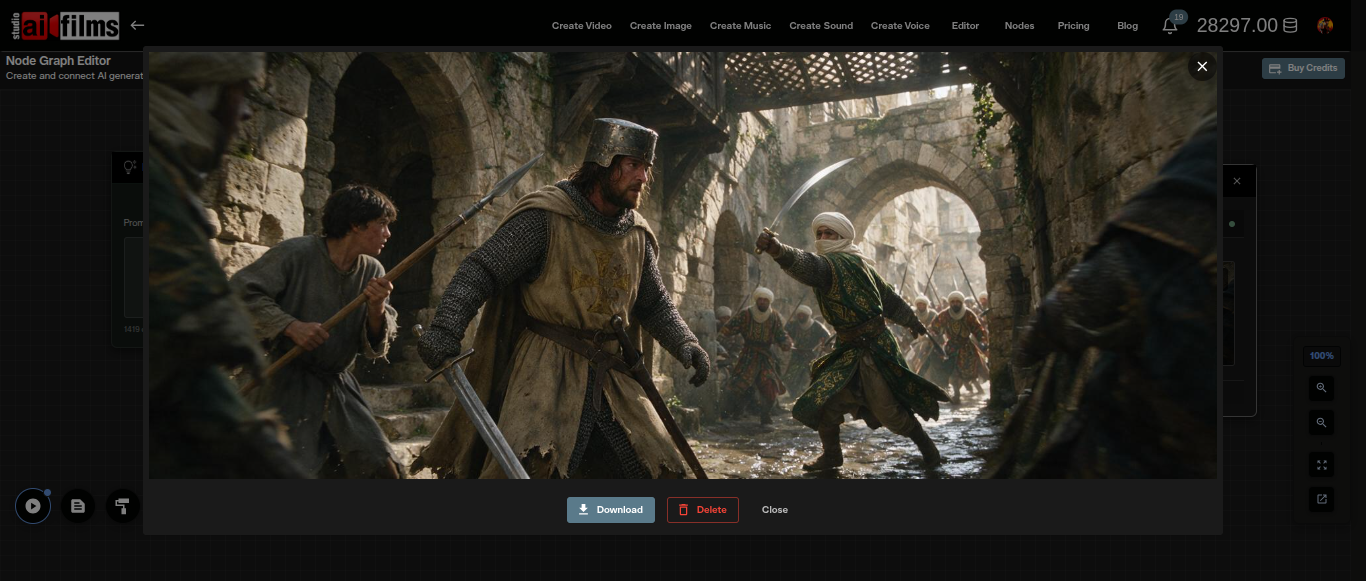
The Result node displays the generated image on the canvas. Extend the pipeline by connecting the image output to a background removal node, an image enhancer, or an image-to-video node. For a worked example combining image generation with background removal, see the BEN2 Background Remover tutorial.
Image to Image
Image to Image takes one or more reference photos and a natural language instruction, then produces a new image that applies the described changes while preserving structural content from the reference. Open the image workspace to get started. The image to image generator page documents the input section, resolution options and output formats in full.
Step 1: Select Seedream 5.0 Pro Image to Image
From the image workspace, click the model dropdown and choose the Image to Image entry for Seedream 5.0 Pro. The interface updates to show an image upload section below the prompt field.
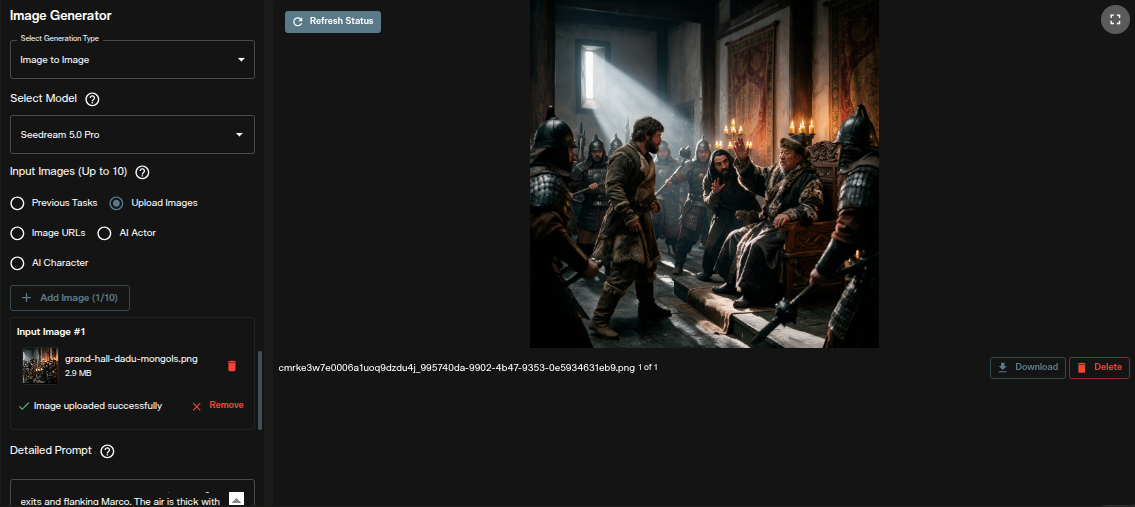
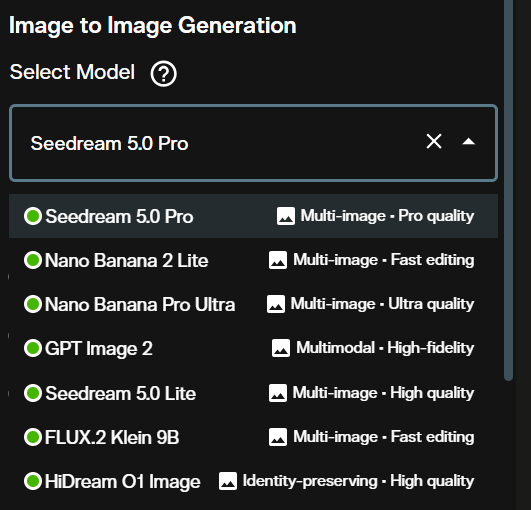
The model list shows the Image to Image variant of Seedream 5.0 Pro as a separate entry from the Text to Image entry. Select it here to enable the reference image upload controls.
Step 2: Choose the Image to Image Type
In the type dropdown, confirm Image to Image is selected. You can switch back to Text to Image at any point in the same session without losing your uploaded reference images or prompt text.
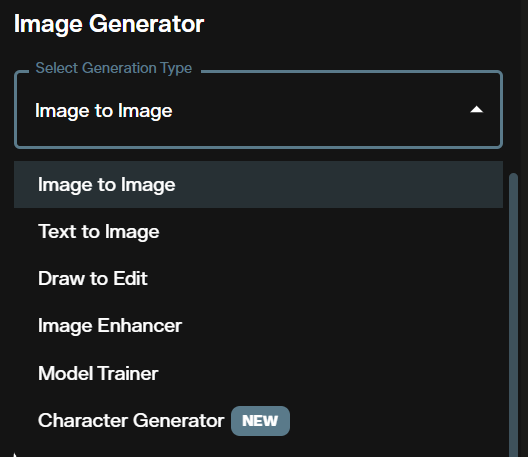
Step 3: Upload References and Write Your Prompt
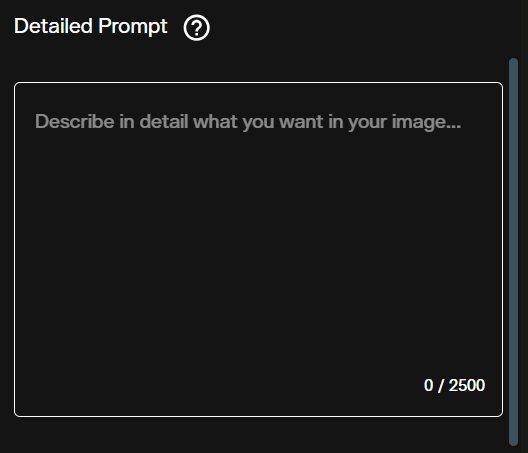
Upload your reference images in the area below the prompt field. Seedream 5.0 Pro accepts up to 10 reference photos in a single request. Write a prompt describing the transformation you want. A prompt such as "change the lighting to golden hour, warm tones, preserve the subject and composition" gives the model clear direction while keeping the original structure intact.
The first reference image determines the default output aspect ratio if no aspect ratio is set manually. Each reference image beyond the first adds 3 credits to the base cost of the selected resolution tier.
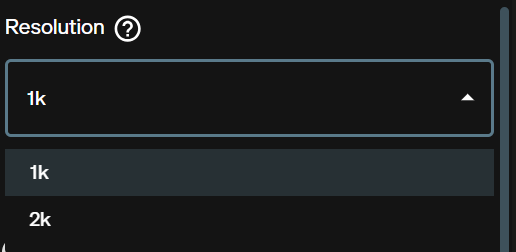
Step 4: Set the Resolution
Select 1k (45 credits base) for fast iterative editing or 2k (90 credits base) for final output at full resolution. The resolution tier applies to the generated image, independent of the size of your uploaded reference photos.
Step 5: Safety Checker

The safety checker filters generated output against platform content policies. It is active by default for all Image to Image generations and the toggle is visible in the generation controls panel before you run the request.
Step 6: Generate and Save
Click Generate. After the image is produced, use Save as Actor to store the result as a visual reference for future generations, or use Save as Character to register it as a named character for consistent character workflows across the studio.
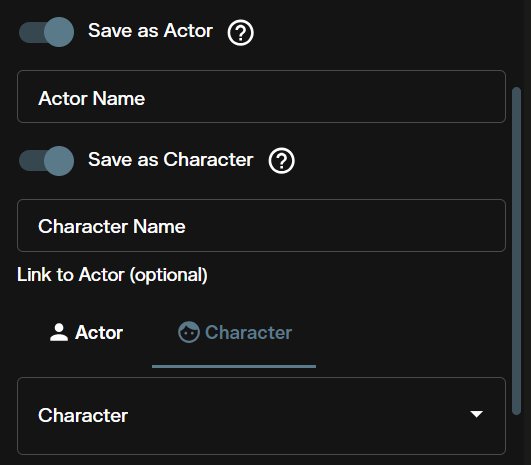
Image to Image in the Nodes Graph Editor
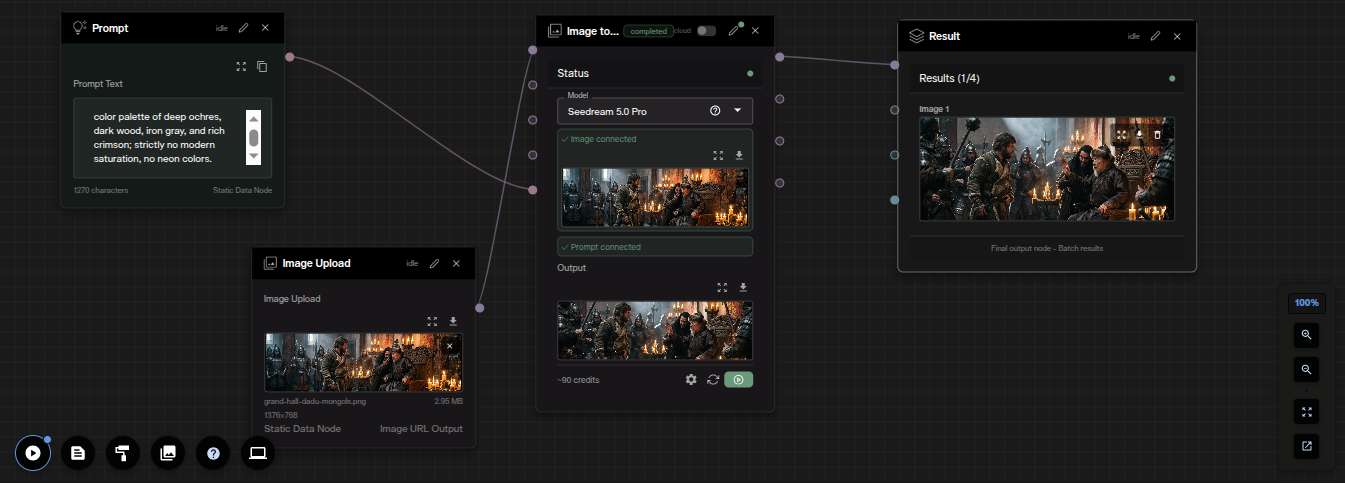
In the Nodes Graph Editor, add a Prompt node and one or more Image Upload nodes to the canvas. Connect the Prompt node's Mauve output and each Image Upload node's Lavender output to the Image to Image node configured with Seedream 5.0 Pro. Connect the image output to a Result or Image Viewer node and press Generate.
Up to 10 Image Upload nodes can be connected as reference inputs to the same generation node. For pipelines that combine image generation with video output, see the FLUX 2 tutorial for additional node pipeline patterns.
Frequently Asked Questions
What is the difference between 1k and 2k resolution?
1k generates images up to 1024px on the long edge and costs 45 credits. 2k generates images up to 2048px and costs 90 credits. Use 1k for composition checks and iterative testing, and 2k when the image is final and going into print, a high resolution display, or a downstream pipeline stage that requires full resolution input.
How many reference images can I use in Image to Image mode?
Up to 10 reference images. The base cost of the selected resolution tier covers the first reference image. Each additional reference beyond the first adds 3 credits. Using all 10 references at the 1k tier costs 45 + 27 = 72 credits per generation.
Are credits refunded if generation fails?
Credits are refunded when a generation fails due to a system error on the platform. If the generation completes and an image is returned, the credit cost applies regardless of whether the result matches your expectations. For the full credit and refund policy, see the platform FAQ.
What aspect ratios does Seedream 5.0 Pro support?
Fourteen aspect ratios: 1:1, 1:2, 2:1, 1:3, 3:1, 2:3, 3:2, 3:4, 4:3, 4:5, 5:4, 9:16, 16:9, 9:21, and 21:9. In Image to Image mode, if no aspect ratio is set manually, the output defaults to the closest matching ratio of the first uploaded reference image.
What are Save as Actor and Save as Character?
Save as Actor stores the generated image as a named visual reference you can pull into future generations to anchor subject identity or appearance. Save as Character registers the image in the studio's character system, making it available for consistent character generation across Text to Image, Image to Image, and video generation workflows.
What output formats does Seedream 5.0 Pro support?
JPEG and PNG. JPEG produces smaller file sizes suited to web delivery. PNG provides lossless output suited to pipelines that require a transparent capable format, such as passing the image into a background removal step using BEN2.
Sources
ByteDance | GitHub: Seedream 5.0 Pro Text to Image | GitHub: Seedream 5.0 Pro Image to Image
Continue Reading


Video & LipSync
- Video Generator
- Text to Video
- Image to Video
- Start-End Frame to Video
- Draw to Video
- Motion Control
- Video Enhancer
- Video Upscaler
- Video Extend
- Video to Video LipSync
- Audio to Video LipSync
- Image to Video LipSync
- Video FaceSwap
- Seedance 2.5
- WAN 3.0
- Seedance 2
- FLUX 3
- Minimax H3
- Vidu Q3 Pro
- Grok Imagine Video 1.5
- Gemini Omni
- Google Veo 3.1
- Kling 3.0 Pro
- Luma Ray 3.2
- LTX 2.3
- Happy Horse 1.1
- Kling 3.0 Motion
- ByteDance Upscaler
- InfiniteTalk
- InsightFace
Image & Edit
- AI Character
- AI Actor
- Art Generator
- Text to Image
- Image to Image
- LoRA Image to Image
- Draw to Edit
- Image LoRA Training
- Remove Background
- Image Enhancer
- MidJourney 8.0
- Krea 2
- OpenAI GPT Image 2.0
- Nano Banana Pro Ultra
- Nano Banana 2 Lite
- Nano Banana Pro
- Minimax Image
- Clarity Pro
- Z-Image Turbo LoRA
- Krea 2 Turbo LoRA
- Z-Image LoRA Trainer
- Qwen Image LoRA Trainer
- Background Erase Network 2 (BEN2)