
Luma Ray 3.2 Tutorial: Text to Video and Image to Video

Share this post:
Luma Ray 3.2 Tutorial: Text to Video and Image to Video
Luma Ray 3.2 is now available on AI FILMS Studio. The model generates video from text descriptions or from an uploaded starting frame, with an optional end frame for precise scene control. This tutorial covers both generation modes step by step, including setup in the Video Workspace and node configuration in the Nodes Graph Editor. Because Ray 3.2 accepts an optional end frame, it is also worth reading the start and end frame video generator page, which covers the dedicated generation type built around fixing both ends of a shot.
The image-to-video variant adds a dedicated end frame field, giving you control over the opening and closing composition of every clip. Both modes accept reference images to anchor the visual style of a generation across multiple outputs.
What Is Luma Ray 3.2
Luma Ray 3.2 is Luma AI's latest video generation model. In text-to-video mode, it takes a text prompt and optional reference images and generates a clip from zero. In image-to-video mode, it takes a starting frame and animates it forward, with an optional end frame that defines the final composition the model resolves to.
The model covers a standard range of output formats for social and cinematic delivery. Three resolution options (540p, 720p, 1080p), five aspect ratios (16:9, 9:16, 1:1, 4:3, 3:4), and two duration settings (5 seconds and 10 seconds) are available per generation. Credit cost scales with resolution and duration only. Prompt complexity and aspect ratio have no effect on cost.
Output resolution. 540p for fast iteration and drafts, 720p for mid tier delivery, 1080p for final output.
Duration. 5 seconds or 10 seconds. Start with 5 seconds when testing a new prompt, then generate at 10 seconds once composition and motion are confirmed.
Aspect ratios. Five formats: 16:9, 9:16, 1:1, 4:3, and 3:4. Select the format that matches your intended delivery channel before generating.
Reference images. Both modes accept optional reference images that anchor the color grade, lighting character, and aesthetic of the generation without altering the content described in the prompt.
End frame (image-to-video only). Upload a target image as the last frame of the clip. Luma Ray 3.2 interpolates the motion from the starting frame to the ending composition.
Text to Video
Step 1: Open the Video Workspace
Go to AI FILMS Studio. The video generation panel loads with the text-to-video section visible. Every control in the text to video form is documented here, alongside the full model roster.
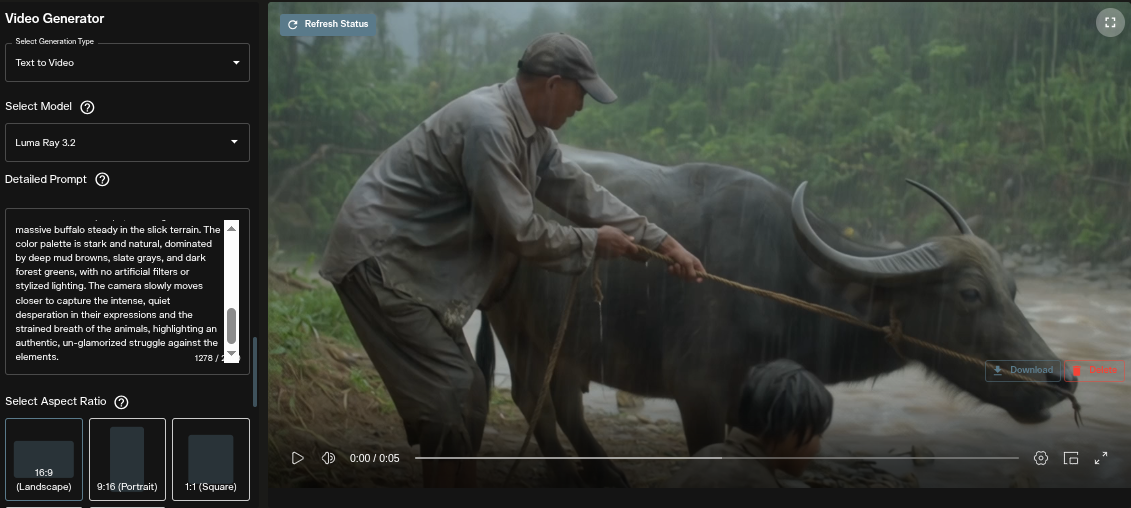
Step 2: Select Text to Video as the generation type
Use the generation type selector at the top of the panel to confirm you are in text-to-video mode.
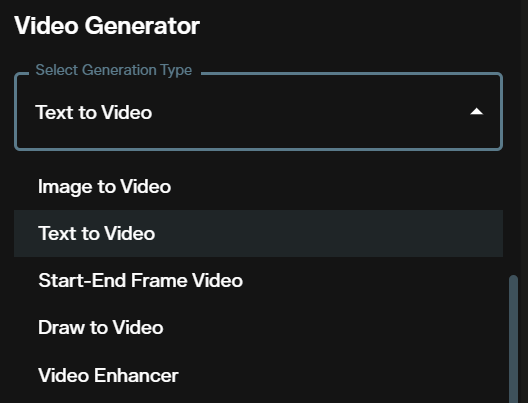
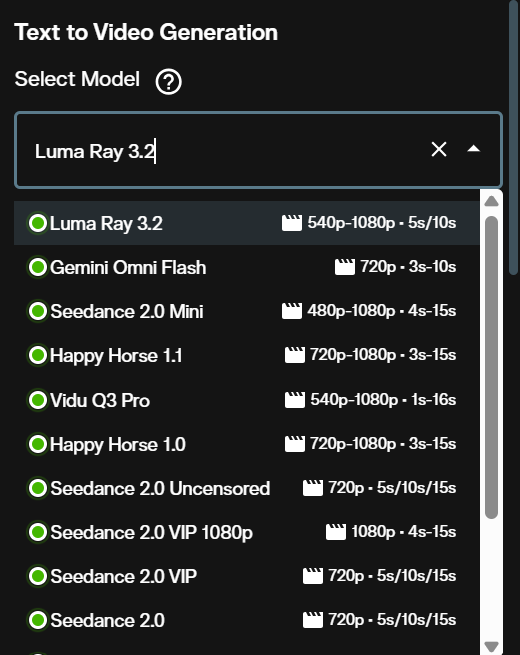
Step 3: Select Luma Ray 3.2
Open the model dropdown and choose Luma Ray 3.2 from the list.
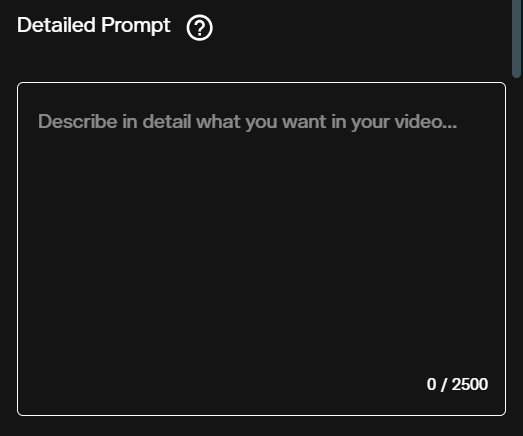
Step 4: Write your prompt
Enter a description of the scene, camera movement, lighting, and the motion you want in the clip. Luma Ray 3.2 handles long, detailed prompts. Lead with the camera behavior before describing the subject and environment.
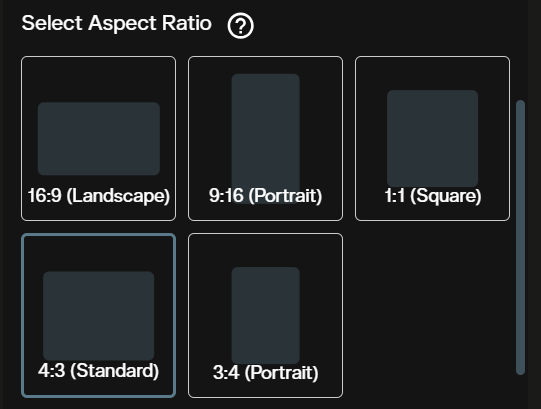
Step 5: Choose aspect ratio
Five aspect ratio options are available: 16:9, 9:16, 1:1, 4:3, and 3:4. Select the format that matches your intended output channel.
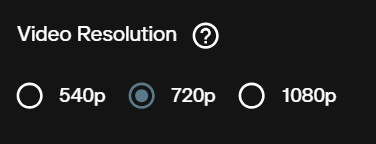
Step 6: Set resolution
Three resolution options are available: 540p, 720p, and 1080p. Use 540p for prompt testing. Switch to 1080p when generating the final deliverable.
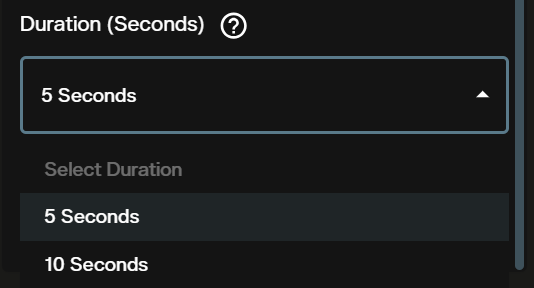
Step 7: Set duration
Choose 5 seconds or 10 seconds. Start with 5 seconds to confirm motion and composition before committing to a longer generation.
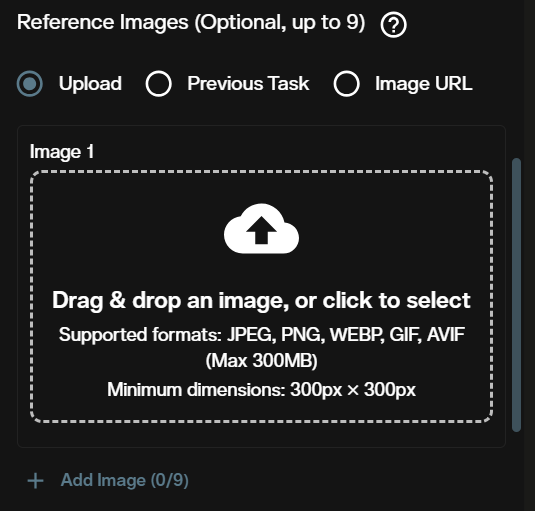
Step 8: Add reference images (optional)
Upload one or more images to anchor the visual style of the generation. Reference images influence the color grade, lighting character, and overall aesthetic without altering the content described in your prompt.
Step 9: Generate
Review the credit estimate and click Generate. The clip appears in the output panel once processing completes. Download it directly from the workspace.
Text to Video in the Nodes Graph Editor
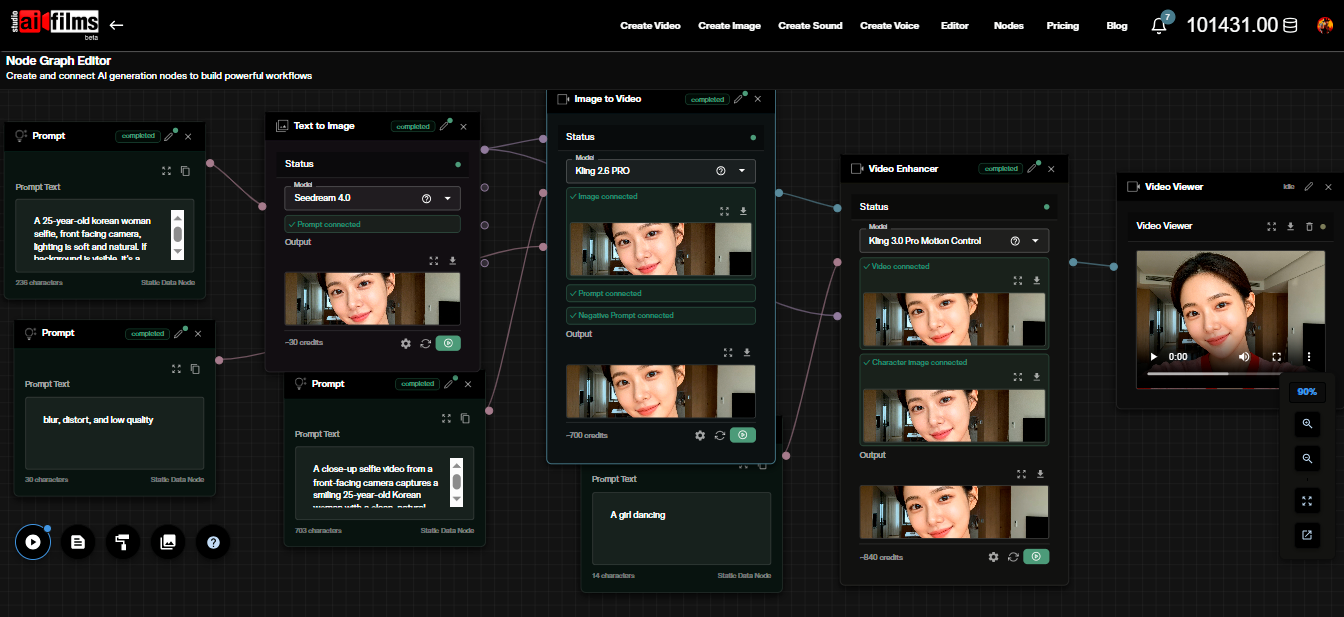
Luma Ray 3.2 text-to-video is available as a node in the Nodes Graph Editor. Add a Prompt node and connect it to a Text to Video node. Open the node settings panel, select Luma Ray 3.2 from the model dropdown, and configure resolution, duration, and aspect ratio inside the node. Wire the output to a Result node and execute the graph.
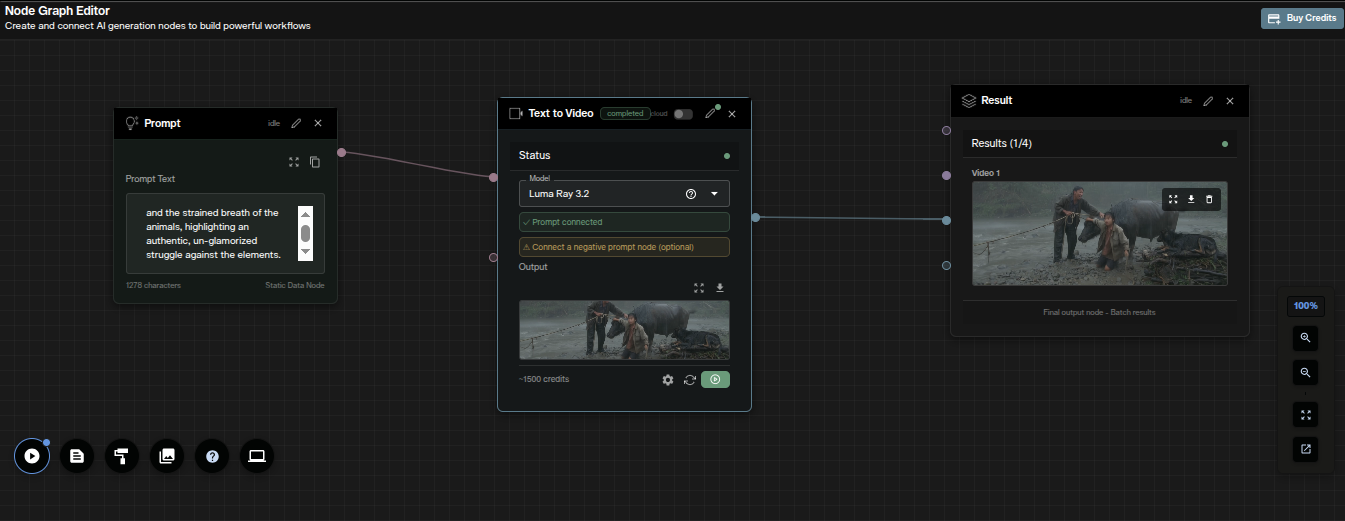
This makes Luma Ray 3.2 generation composable with other nodes in a pipeline. Feed the output into a Video Enhancer node for upscaling, or chain it into a lipsync node for synchronized dialogue over the generated clip.
Image to Video
Image-to-video animates a still image into a video clip. Luma Ray 3.2 uses the uploaded starting frame as the first frame of the output. An optional end frame field gives you control over the final composition, and the model interpolates the motion between the two states.
Step 1: Open the Video Workspace
Go to AI FILMS Studio. The image-to-video interface loads once you switch the generation type selector. The image to video generator page covers the input section and which models accept a last frame.
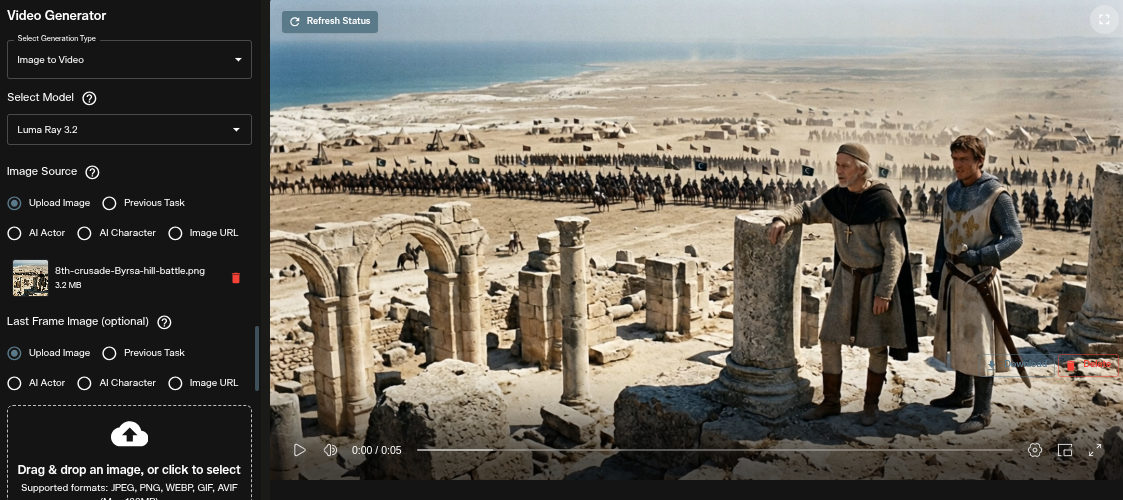
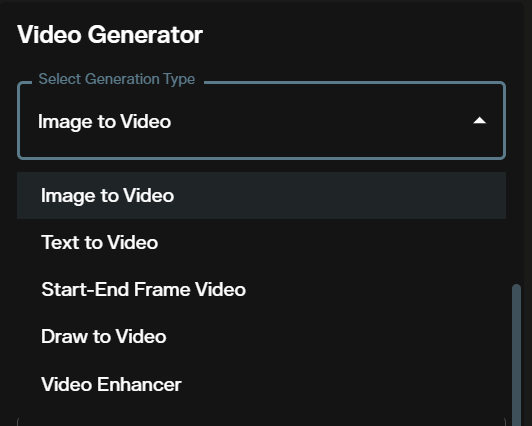
Step 2: Select Image to Video as the generation type
Use the generation type selector to switch to image-to-video mode.
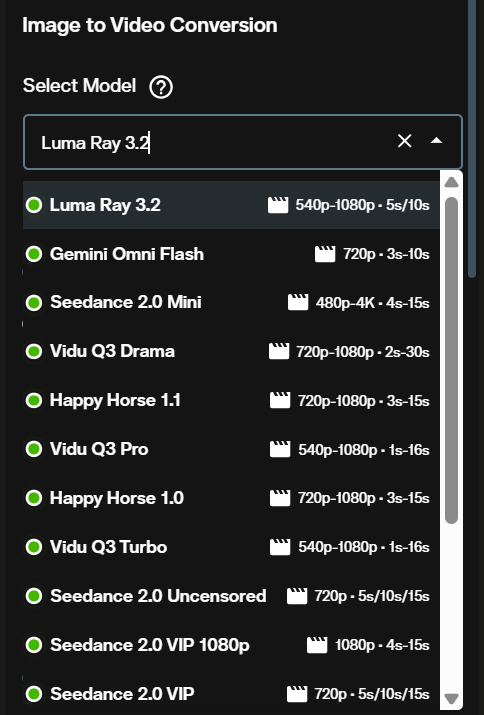
Step 3: Select Luma Ray 3.2
Open the model dropdown and choose Luma Ray 3.2 from the list.
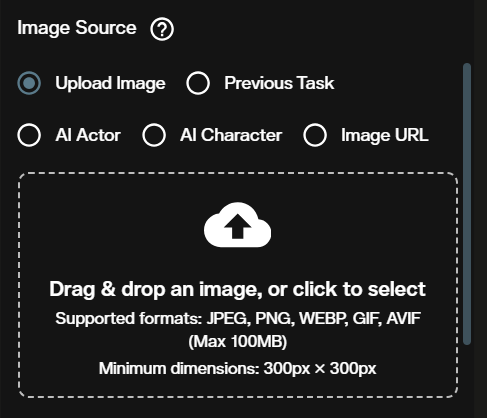
Step 4: Upload your starting frame
Upload the image you want to animate. This image becomes the first frame of the output clip. Luma Ray 3.2 preserves the subject identity, lighting, and composition from the starting frame throughout the generation. Frame your source image in the aspect ratio you intend to use for the output.
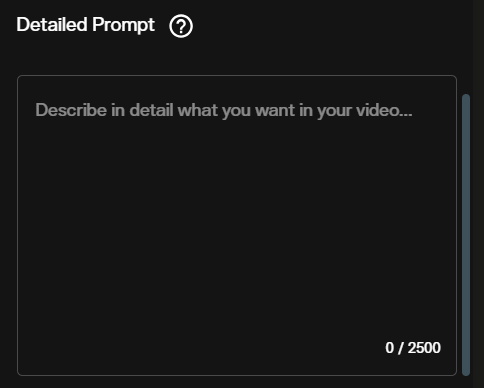
Step 5: Write your motion prompt
Describe the motion you want to apply to the scene. Focus on what changes rather than restating what is already visible in the image. "Camera pushes slowly toward the subject as wind moves through the trees" outperforms a description of the subject's appearance.
Step 6: Add reference images (optional)
Upload reference images to anchor the visual style of the generated clip. This is separate from the starting frame and affects color grade and lighting character across the output.
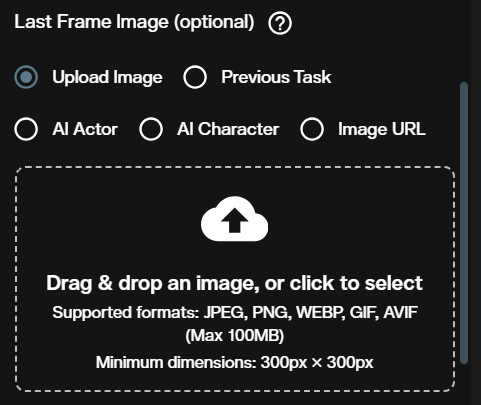
Step 7: Add an end frame (optional)
Upload a target image for the final frame of the clip. When an end frame is provided, Luma Ray 3.2 interpolates the motion from the starting frame to the ending composition. Use this for loops that close cleanly, or for controlled scene transitions where both the opening and closing state need to be defined precisely.
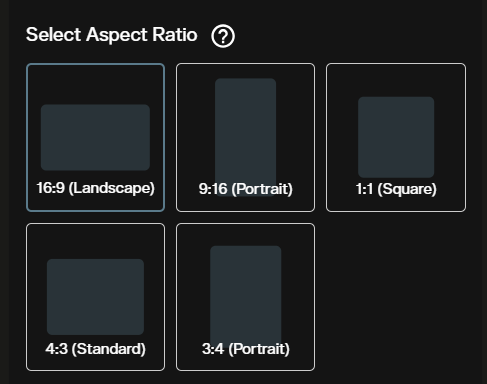
Step 8: Choose aspect ratio
Select from 16:9, 9:16, 1:1, 4:3, or 3:4. When your starting frame has a specific native ratio, select the matching option for the cleanest output.
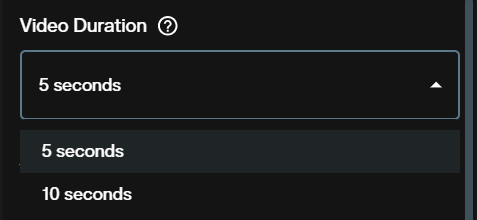
Step 9: Set duration
Choose 5 seconds or 10 seconds. For initial animation tests, 5 seconds is the faster path. Move to 10 seconds once the motion behavior and composition are confirmed.
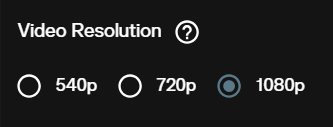
Step 10: Set resolution
Three options are available: 540p, 720p, and 1080p. The same credit rates apply as in text-to-video. Use 540p or 720p for draft passes, then generate the final clip at 1080p.
Step 11: Generate
Review the credit estimate and click Generate. The animated clip appears in the output panel once rendering completes. Download it directly from the workspace.
Image to Video in the Nodes Graph Editor
Luma Ray 3.2 image-to-video is also available as a node in the Nodes Graph Editor. Add an Image Upload node and connect it to an Image to Video node. Select Luma Ray 3.2 in the node settings panel, then configure the prompt, end frame, duration, resolution, and aspect ratio inside the node. Connect the output to a Result node and execute the graph.
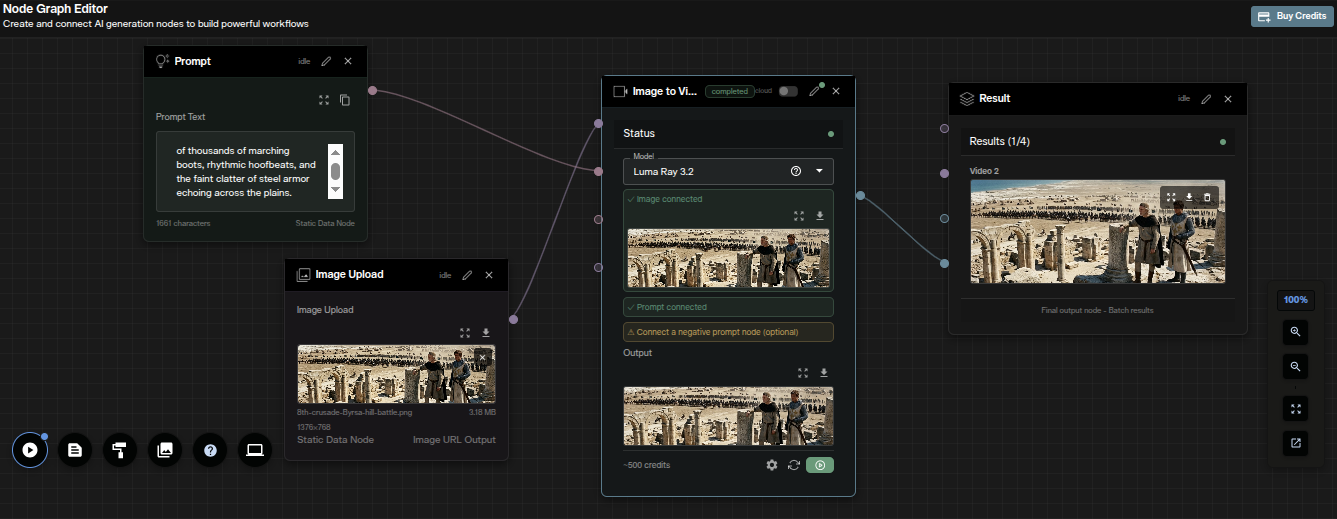
Chaining the image-to-video node with a Video Enhancer node lets you upscale the output in the same automated pass, moving from a starting frame to a finished, upscaled clip without manual steps between stages.
Credit Costs
Credit cost is determined by duration and resolution. Aspect ratio and prompt length have no effect on cost. Both text-to-video and image-to-video apply the same rates.
| Duration | Resolution | Credits |
|---|---|---|
| 5s | 540p | 500 |
| 5s | 720p | 1,000 |
| 5s | 1080p | 2,000 |
| 10s | 540p | 1,000 |
| 10s | 720p | 2,000 |
| 10s | 1080p | 4,000 |
Use 540p for prompt testing and iteration. Switch to 720p or 1080p for finals. Credits for failed generations are automatically refunded. For subscription details, visit AI FILMS Studio pricing.
Prompt Tips for Luma Ray 3.2
Lead with the camera move. Place the camera instruction at the start of your prompt. "Slow dolly push in on a figure standing at the edge of a pier at dusk" outperforms "a figure standing at the edge of a pier at dusk with a slow dolly push in." The model reads the prompt in sequence, and camera behavior set early carries more weight.
Describe what changes, not what exists. The model generates motion. A prompt that names a static scene gives it little direction. Describe the shift: what moves, where it goes, and how the light or environment changes over the duration of the clip.
For image-to-video, let the frame carry the appearance. Your motion prompt should focus on movement and camera behavior, not the appearance of the subject. The model reads visual content from the uploaded frame. Restating what is already visible reduces motion fidelity.
Use the end frame for scene transitions. When generating a transition between two compositions, produce both images in the image generation workspace first, then use them as start and end frames. Luma Ray 3.2 interpolates between the two without requiring additional motion description in the prompt.
Match resolution to your output intent. 540p at 5 seconds costs 500 credits and renders quickly for prompt iteration. 1080p at 10 seconds costs 4,000 credits. Set resolution based on the delivery format, not the generation pass. When the delivery format is larger than 1080p, the MiniMax H3 tutorial covers a model that holds 2K across its whole duration range at a flat per second rate.
Use reference images for visual consistency across multiple clips. When producing a sequence of shots that need to match in tone and color, upload the same reference image across generations. This stabilizes the palette without changing your prompt between shots.
For a text-to-video and image-to-video model with a physical motion engine and native audio generation, see the Seedance 2.0 tutorial.
Sources
Luma Labs: Luma AI
Continue Reading
.jpg?w=3840)


Video & LipSync
- Video Generator
- Text to Video
- Image to Video
- Start-End Frame to Video
- Draw to Video
- Motion Control
- Video Enhancer
- Video Upscaler
- Video Extend
- Video to Video LipSync
- Audio to Video LipSync
- Image to Video LipSync
- Video FaceSwap
- Seedance 2.5
- WAN 3.0
- Seedance 2
- FLUX 3
- Minimax H3
- Vidu Q3 Pro
- Grok Imagine Video 1.5
- Gemini Omni
- Google Veo 3.1
- Kling 3.0 Pro
- Luma Ray 3.2
- LTX 2.3
- Happy Horse 1.1
- Kling 3.0 Motion
- ByteDance Upscaler
- InfiniteTalk
- InsightFace
Image & Edit
- AI Character
- AI Actor
- Art Generator
- Text to Image
- Image to Image
- LoRA Image to Image
- Draw to Edit
- Image LoRA Training
- Remove Background
- Image Enhancer
- MidJourney 8.0
- Krea 2
- OpenAI GPT Image 2.0
- Nano Banana Pro Ultra
- Nano Banana 2 Lite
- Nano Banana Pro
- Minimax Image
- Clarity Pro
- Z-Image Turbo LoRA
- Krea 2 Turbo LoRA
- Z-Image LoRA Trainer
- Qwen Image LoRA Trainer
- Background Erase Network 2 (BEN2)