
Seedance 2.0 Tutorial: Text to Video and Image to Video
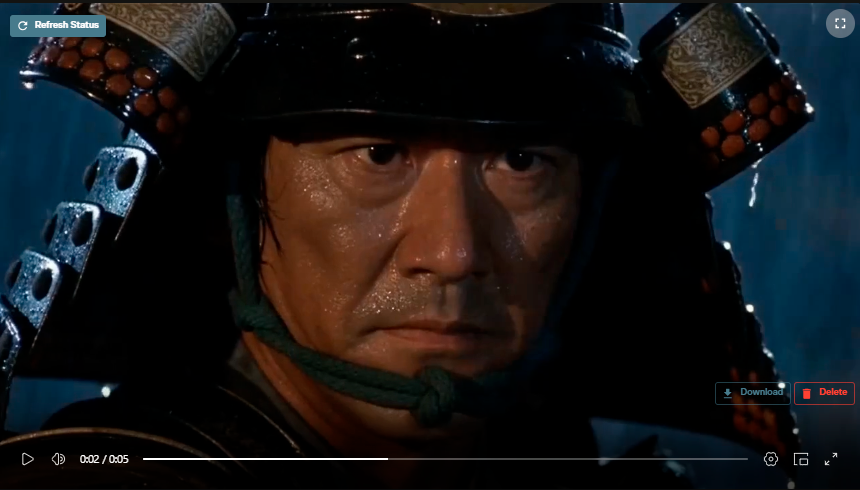
Share this post:
Seedance 2.0 Tutorial: Text to Video and Image to Video
Seedance 2.0 by ByteDance is now available on AI FILMS Studio. This guide walks through both generation modes: text-to-video and image-to-video. For background on the model and the industry controversy it sparked, see our Seedance 2.0 overview.
What Is Seedance 2.0
Seedance 2.0 is ByteDance's multimodal video generation model built on a unified audio video joint architecture. It accepts text descriptions and reference images as input and produces cinematic footage with native audio synchronization. The text to video generator page places it against the other twelve models available for that generation type.
The model includes a physical logic engine that governs motion realism. Light refracts accurately off surfaces, clothing responds to gravity, and complex actions such as synchronized sports sequences render with physical plausibility. Camera control is director level: dolly zooms, crane shots, and rack focuses follow prompt instructions.
Text-to-video generates clips up to 2K resolution. Image-to-video preserves the composition, lighting, and identity of your reference image and outputs at up to 1080p.
Text to Video
Step 1: Open the video workspace
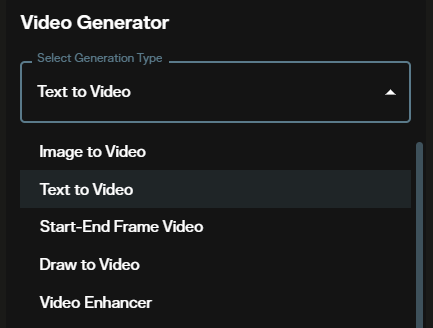
Go to AI FILMS Studio. In the video generator panel, locate the generator list and select Seedance 2.0. Every control in the text to video form is documented here, along with the full model roster and what each one accepts.
Step 2: Select the Seedance 2.0 model
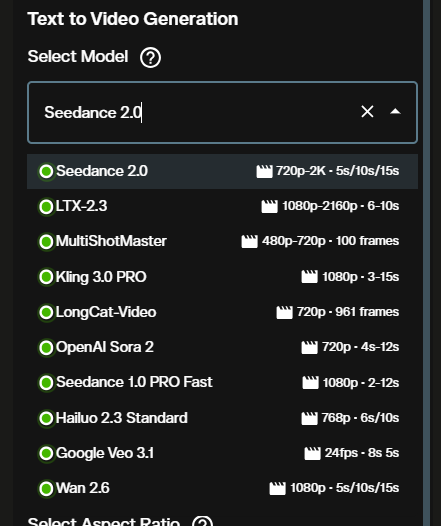
Choose between the two available quality tiers. Basic is the faster option suited for drafts and iteration. High delivers cinema grade output with smoother motion for final deliverables.
Step 3: Write your prompt
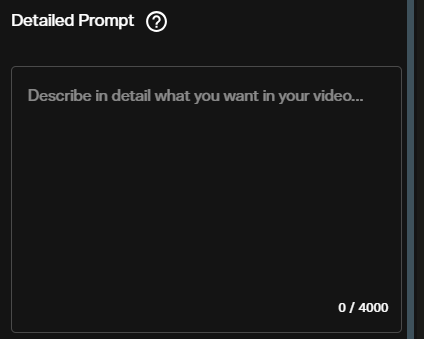
Describe the scene, motion, camera movement, lighting, and mood. Seedance 2.0 responds well to specific camera instructions: "slow dolly push toward" outperforms "camera moves forward". Include audio cues in the prompt if you want native sound effects synced to the action.
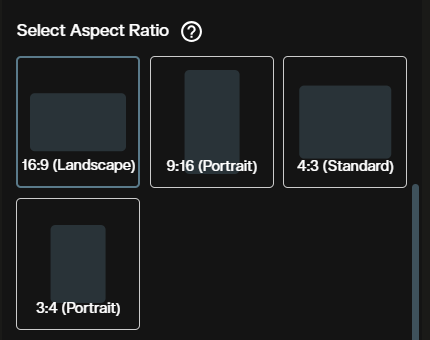
Step 4: Choose aspect ratio
Four options are available: 16:9 (landscape), 9:16 (portrait/mobile), 4:3 (classic), and 3:4 (portrait). Select the format that matches your intended output channel.
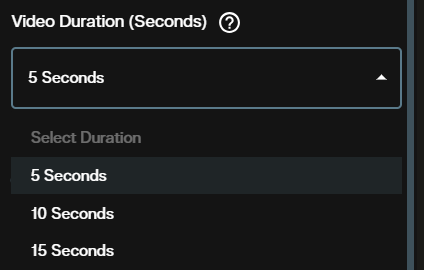
Step 5: Set the duration
Choose 5, 10, or 15 seconds. Longer durations increase credit cost proportionally. Start with 5 seconds when testing a new prompt.
Step 6: Review credit cost and confirm quality
The interface displays the exact credit cost for the selected quality and duration before you generate. Verify the number matches your plan.

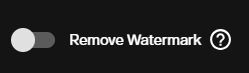
Step 7: Remove watermark (optional)
By default, generated videos include a watermark. Enable the remove watermark option before generating to receive a clean output. This adds credits to the generation cost.
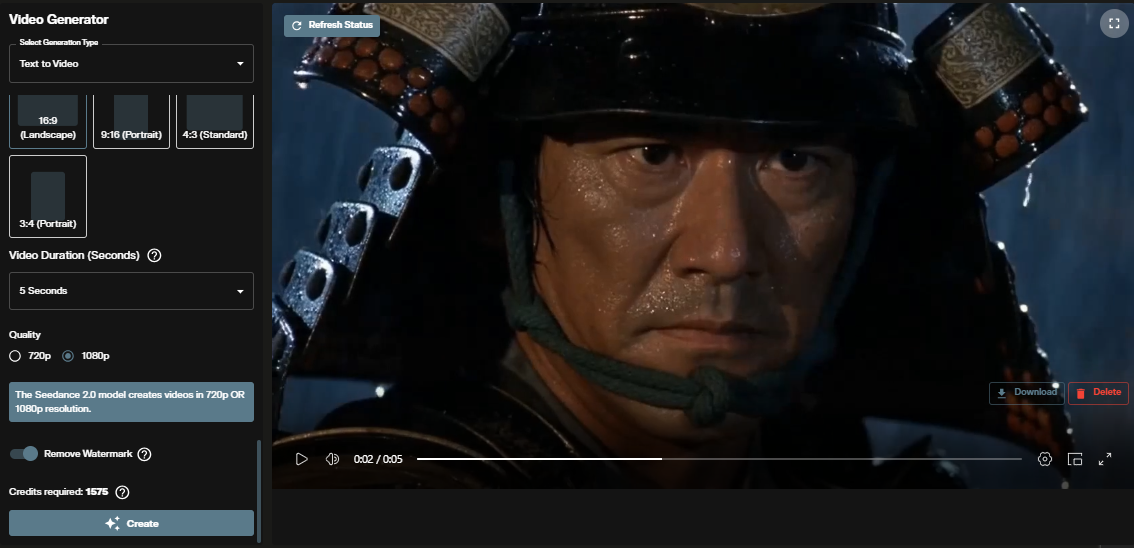
Step 8: Generate and view output
Submit the request. The video renders and appears in the output panel. Download it directly from the workspace.
Text to Video in the Nodes Graph
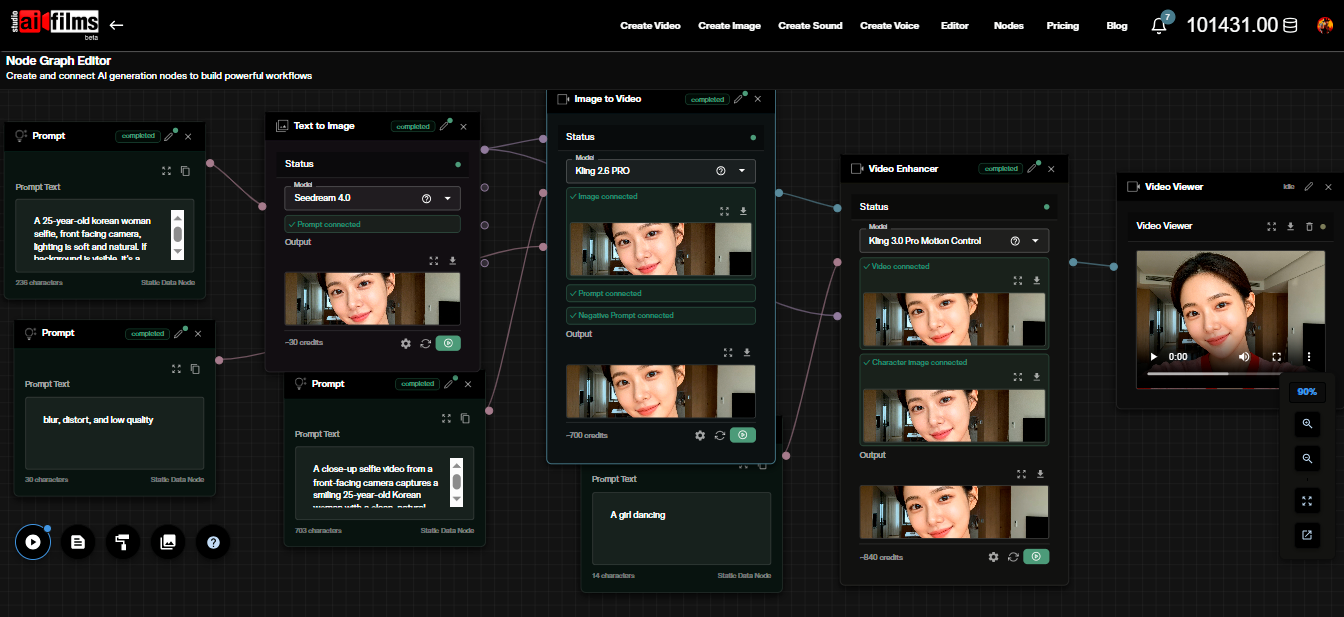
Seedance 2.0 text-to-video is also available as a node in the AI FILMS Studio Nodes Graph Editor. Connect a Prompt node to the Text to Video node, then wire the output to a Video Viewer or Result node. This lets you chain Seedance 2.0 generation into multi step pipelines alongside image generation, upscaling, or audio nodes.
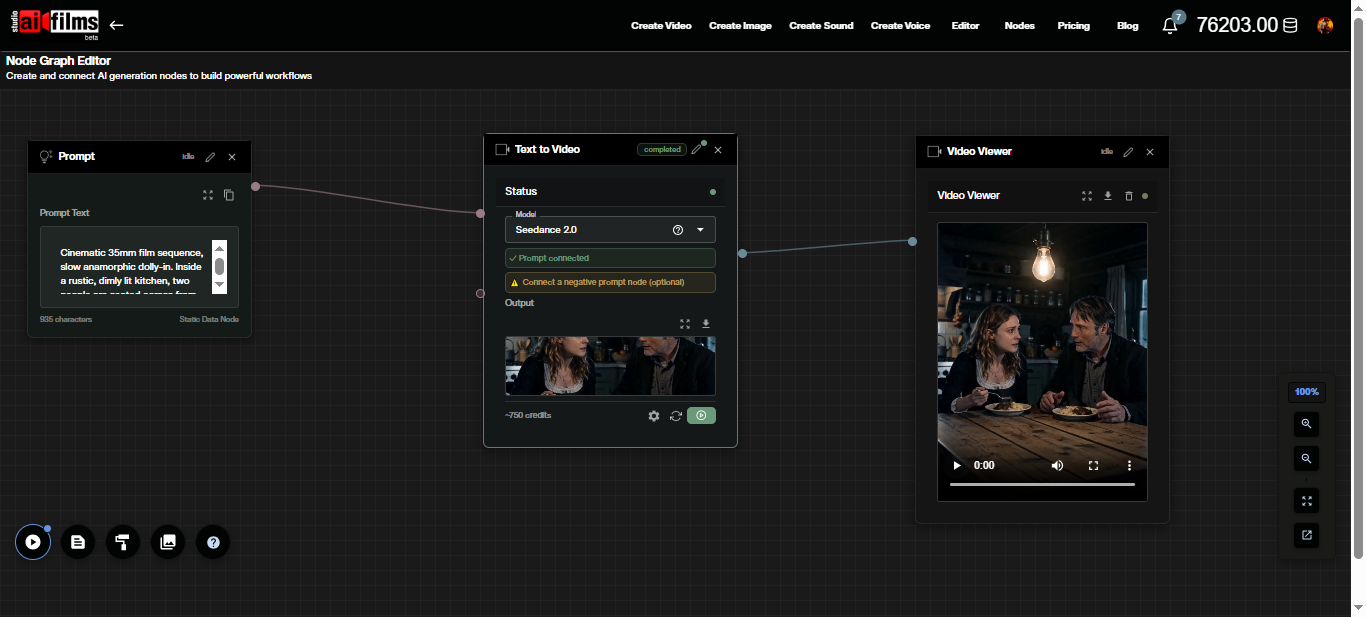
Image to Video
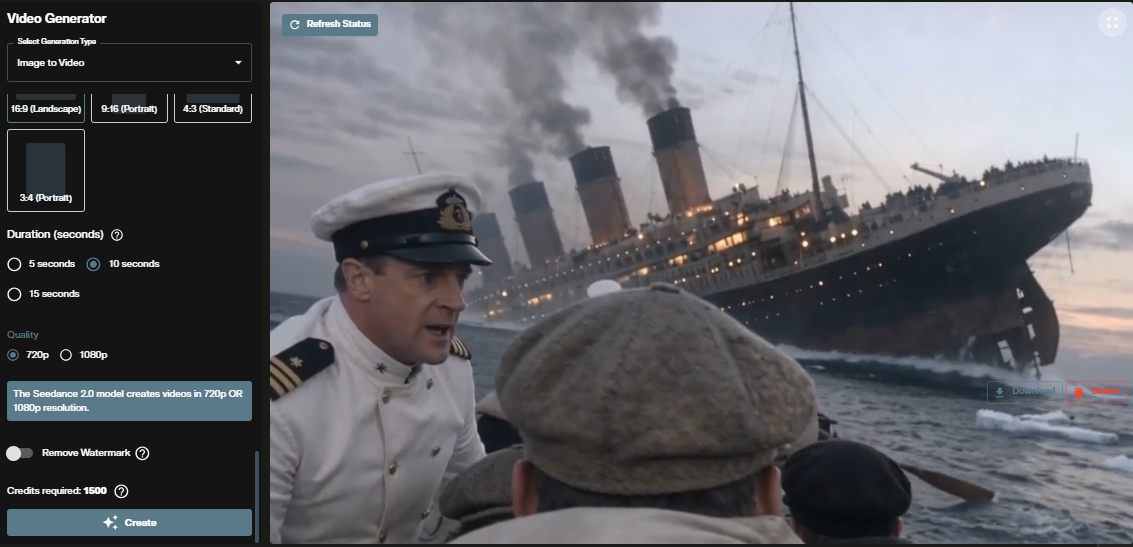
Image-to-video animates one or more reference images into a cinematic clip. The model preserves the subject identity, composition, and lighting of your source image while applying physics aware motion and camera movement.
Step 1: Open the video workspace
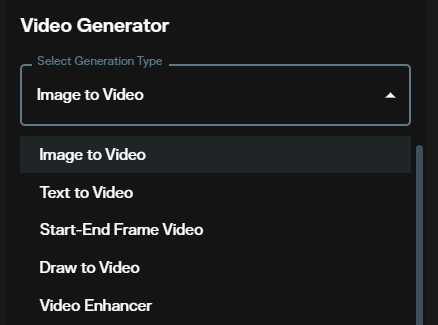
Go to AI FILMS Studio and locate the Seedance 2.0 image-to-video generator. The image to video generator page covers the input section and which models accept an optional last frame.
Step 2: Select the model
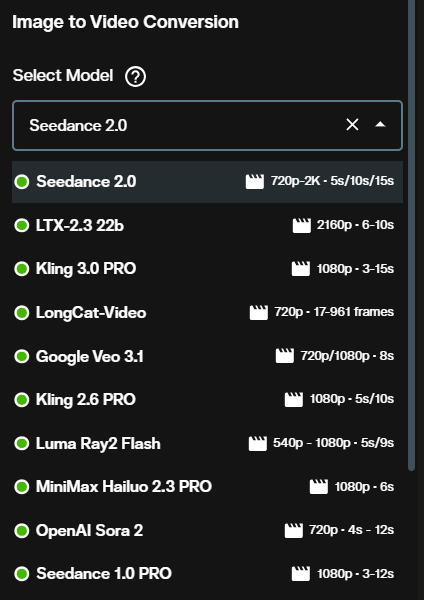
As with text-to-video, Basic uses the fast generation path and High uses the standard path with smoother motion.
Step 3: Upload your reference image
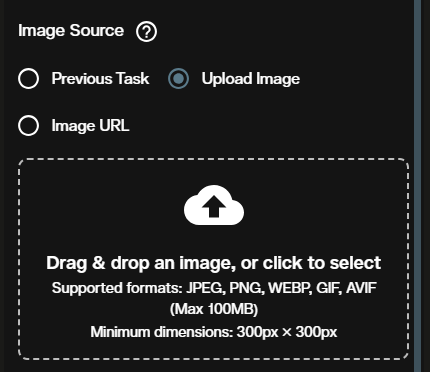
Upload up to 9 images as visual anchors. The first image in your list determines the aspect ratio of the output, regardless of the aspect ratio setting you choose below. Frame your primary reference image in the format you want for the final video.
Step 4: Write your prompt
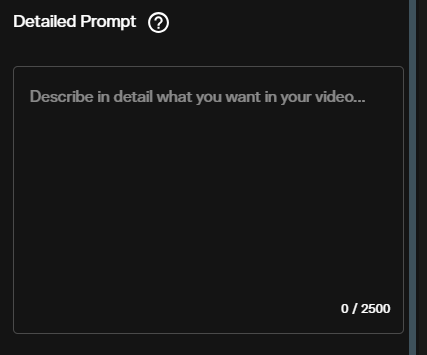
Describe what should happen to the subject or scene. Focus on the motion and change: "the figure turns and walks toward the horizon as wind moves through the wheat field". For multiple images, reference them by position with @image1, @image2, and so on to direct the model's focus.
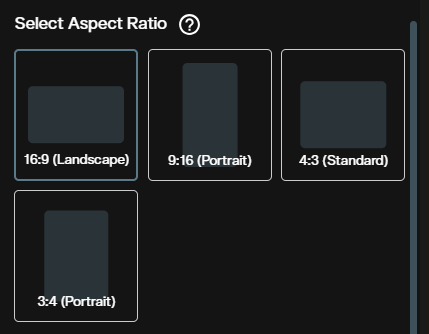
Step 5: Choose aspect ratio
The four aspect ratio options match text-to-video: 16:9, 9:16, 4:3, and 3:4. Note that if your uploaded image has a different native ratio, the image takes precedence.
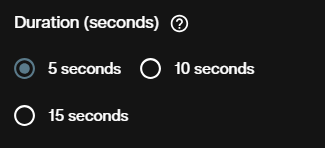
Step 6: Set the duration
Choose 5, 10, or 15 seconds. For image-to-video, a 5 second clip is sufficient for most motion tests before committing to a longer generation.
Step 7: Review credit cost and confirm quality
The credit cost preview appears before you submit. Confirm the quality tier and duration are what you intended.

Step 8: Remove watermark (optional)
Enable this option if you need a clean output without a watermark. The added credit cost is shown in the credit preview.
Step 9: Generate and view output
Submit and wait for rendering. The animated video appears in the output panel ready to download.
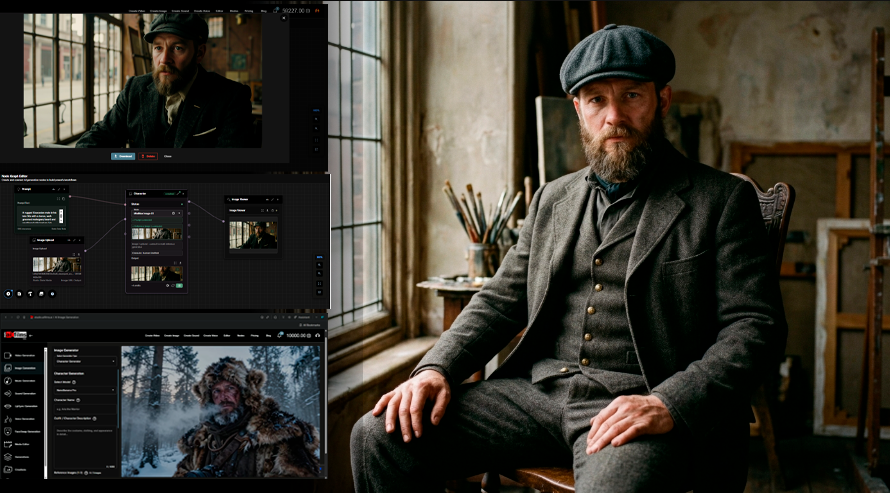
To animate a character with a consistent appearance, use the AI Character Generator to create a reusable character ID, then inject it into your prompt with @character:{id}. See the full guide:
Credit Costs
Credit cost depends on quality tier, duration, and whether watermark removal is enabled.
| Quality | 5 seconds | 10 seconds | 15 seconds |
|---|---|---|---|
| Basic | 750 credits | 1,500 credits | 2,250 credits |
| High | 1,250 credits | 2,500 credits | 3,750 credits |
| + Remove Watermark | +325 credits | +650 credits | +975 credits |
Use Basic for prompt testing and iteration. Switch to High for finals. Credits for failed generations are automatically refunded. For subscription and credit details, visit the AI FILMS Studio pricing page.
Seedance gives you a cheap tier to iterate on. A model with a single quality tier removes that option, and the MiniMax H3 tutorial shows how to iterate on duration instead when the resolution is fixed at 2K.
For faster, lower cost generation across 480p, 720p, and 1080p with flexible 4 to 15 second durations, see the Seedance 2.0 Mini tutorial. For true 1080p output with VIP priority routing and flexible duration control, see the Seedance 2.0 1080 VIP tutorial.
The successor model doubles the duration ceiling to 30 seconds and adds a 4K resolution option, along with reference video and reference audio inputs that Seedance 2.0 does not have.
Prompt Tips for Seedance 2.0
Specify camera movement explicitly. "A slow crane shot rising above the forest canopy" produces a distinct result from "the camera moves up". Seedance 2.0 follows specific cinematographic instruction.
Describe the motion, not just the scene. For text-to-video, the model needs to know what changes. A prompt that says "a still beach at sunset" gives the model little to work with. "Waves push slowly across wet sand as the horizon turns amber" gives it motion, physics, and mood.
For image-to-video, describe what changes. The model preserves what is already in your image. Your prompt should describe the movement or transformation, not the appearance of the subject.
Reference images by position. When using multiple images, use @image1, @image2 in your prompt to direct which image anchors which part of the scene. Without references, all images serve as general style guides.
Include audio cues. Seedance 2.0 generates audio natively alongside the video. Mention sounds in your prompt ("heavy rain on concrete", "mechanical click as the shutter fires") to get synchronized effects.
For cinematic text-to-video and image-to-video without native audio, the Happy Horse 1.1 tutorial covers Alibaba's updated model at 720p and 1080p with five aspect ratios including 1:1 square.
For text-to-video and image-to-video with direct start and end frame control at up to 1080p, see the Luma Ray 3.2 tutorial.
For very short clips, the Grok Imagine Video 1.5 tutorial covers a model that renders from 1 second upward across three resolution tiers. A 1 second pass at 480p costs 80 credits, which makes it a useful place to test a camera move before running the same idea through Seedance at full length.
For longer clips with native audio, the FLUX 3 tutorial covers a model that runs to 20 seconds at 720p or 1080p and offers seven aspect ratios, including 2:1. Seedance 2 also sits beside it in the start and end frame form, where the two models are the alternatives to each other on the same pair of frames.
Sources
ByteDance Seed: Seedance 2.0 official page
Continue Reading
.jpg?w=3840)


Video & LipSync
- Video Generator
- Text to Video
- Image to Video
- Start-End Frame to Video
- Draw to Video
- Motion Control
- Video Enhancer
- Video Upscaler
- Video Extend
- Video to Video LipSync
- Audio to Video LipSync
- Image to Video LipSync
- Video FaceSwap
- Seedance 2.5
- WAN 3.0
- Seedance 2
- FLUX 3
- Minimax H3
- Vidu Q3 Pro
- Grok Imagine Video 1.5
- Gemini Omni
- Google Veo 3.1
- Kling 3.0 Pro
- Luma Ray 3.2
- LTX 2.3
- Happy Horse 1.1
- Kling 3.0 Motion
- ByteDance Upscaler
- InfiniteTalk
- InsightFace
Image & Edit
- AI Character
- AI Actor
- Art Generator
- Text to Image
- Image to Image
- LoRA Image to Image
- Draw to Edit
- Image LoRA Training
- Remove Background
- Image Enhancer
- MidJourney 8.0
- Krea 2
- OpenAI GPT Image 2.0
- Nano Banana Pro Ultra
- Nano Banana 2 Lite
- Nano Banana Pro
- Minimax Image
- Clarity Pro
- Z-Image Turbo LoRA
- Krea 2 Turbo LoRA
- Z-Image LoRA Trainer
- Qwen Image LoRA Trainer
- Background Erase Network 2 (BEN2)