
Share this post:
MultiShotMaster Tutorial: Multi Shot Narrative Video
MultiShotMaster is an open source text-to-video framework from the Kling team at Kuaishou Technology that generates coherent multi shot video sequences with consistent characters and scenes in a single pass. Accepted at CVPR 2026 and winner of first place at the AAAI CVM 2026 Main Track, it is now available directly on AI FILMS Studio without local setup, GPU requirements, or model weight downloads.
This tutorial covers every setting in the interface so you can produce a complete shot sequence immediately. For the technical architecture behind the model, read the MultiShotMaster research overview first.
What MultiShotMaster Can Do
MultiShotMaster generates between one and five video shots in a single pass, with a maximum of 308 total frames across all shots. Characters and environments stay visually consistent from the first shot to the last through a hierarchical prompt system that combines a global scene description with individual per shot captions.
The model supports two output resolutions: 480p via the 1.3B model variant and 720p via the 14B model. Aspect ratios are 16:9 for widescreen and 9:16 for vertical. Credit costs scale with resolution and total video duration calculated at 16 frames per second.
For motion driven character control within individual shots, Kling 3.0 Motion Control pairs well with MultiShotMaster: use MultiShotMaster to establish the narrative sequence, then apply Motion Control to transfer precise body movement onto specific characters in follow up clips.
Step 1: Select MultiShotMaster
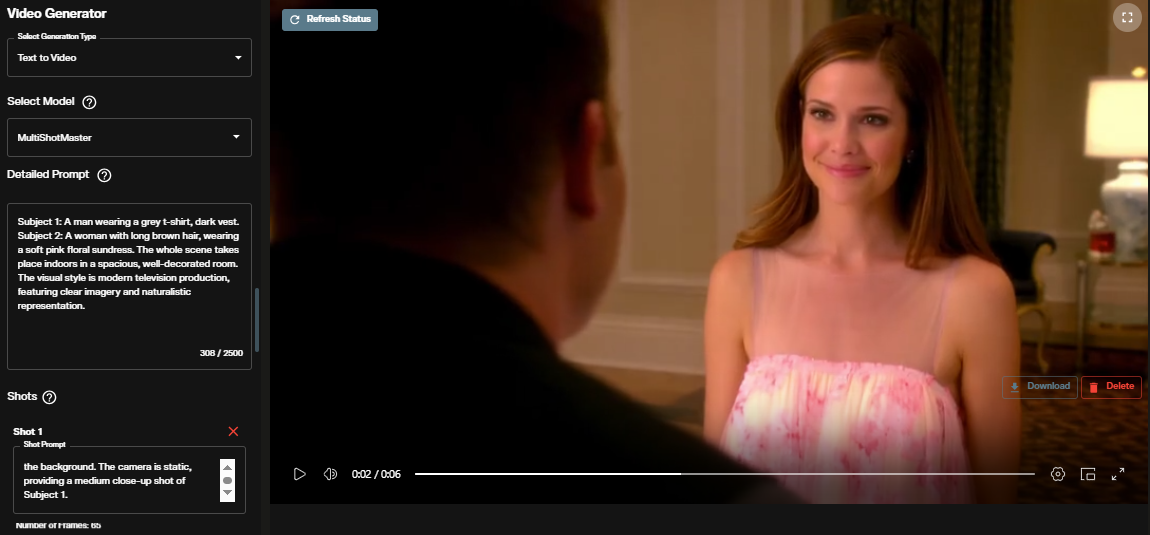
Open the Video Generation workspace. Under the Text to Video section, click the model dropdown and select MultiShotMaster.
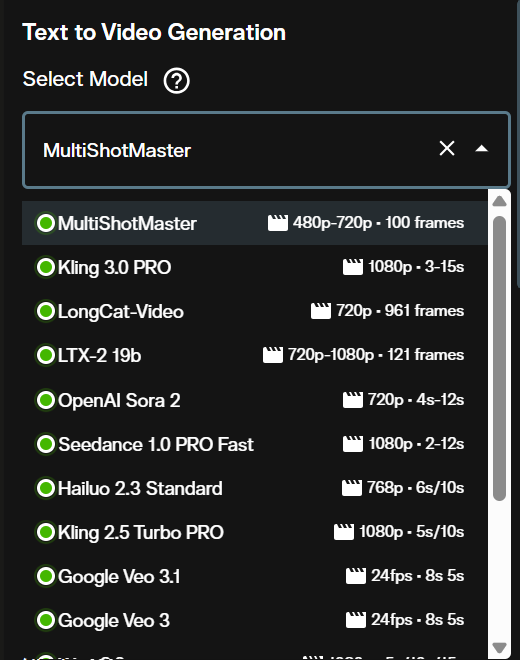
Once selected, the interface loads all parameters specific to MultiShotMaster: global prompt, negative prompt, shot configuration, resolution, aspect ratio, and advanced controls.
Step 2: Write Your Prompts
MultiShotMaster uses a two level prompt structure. The global prompt defines the full world of your narrative. Per shot prompts, configured in the Shots section below, describe the action and camera framing for each individual clip.
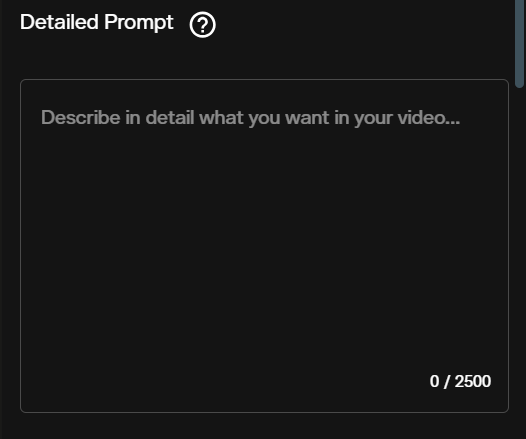
Write the global prompt as a complete description of your characters, their clothing, physical traits, and the overall setting. The model uses this context to maintain visual consistency across every shot. Include specific detail: vague global prompts produce inconsistent characters between shots.
The negative prompt controls what the model should exclude from the output. The default value already filters out common quality issues such as blurred details, static frames, poor anatomy, and cluttered backgrounds.
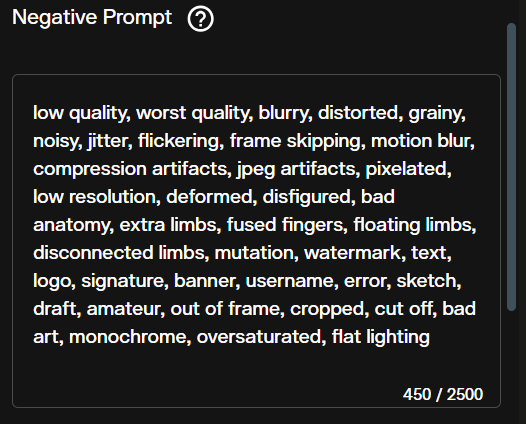
Edit the negative prompt to add project specific exclusions. For interior scenes, adding "outdoor, sunlight" prevents the model from defaulting to exterior lighting.
Step 3: Configure Your Shots
The Shots section is where you define the per shot sequence. Each shot takes its own caption describing the foreground action, visible subjects, and camera behavior, plus a frame count controlling how long that shot runs.
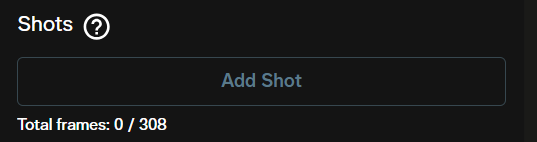
Click Add Shot to append each shot to the sequence. You can add up to five shots. Total frames across all shots cannot exceed 308. At the default 16 FPS, 65 frames equals approximately four seconds per shot. A three shot sequence at 65 frames each runs around 12 seconds total.
Per shot prompts merge with the global caption at inference. Do not repeat character descriptions in each shot prompt. Focus the per shot captions on what is happening: the action, camera angle, subject position, and any background changes unique to that clip.
Step 4: Resolution and Aspect Ratio
Two resolution options are available. 480p (832x480) uses the 1.3B model and generates faster at lower credit cost. 720p (1280x720) runs the 14B model and delivers higher quality with sharper detail.
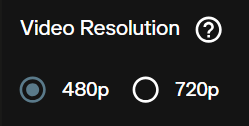
Use 480p for drafts and iteration. Switch to 720p for final output destined for commercial use or presentation.
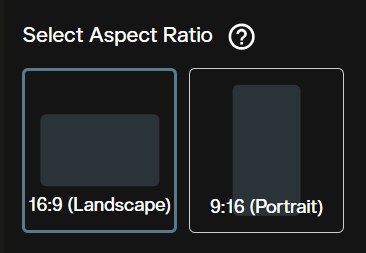
The aspect ratio options are 16:9 for standard widescreen and 9:16 for vertical formats suited to social media. The default is 16:9.
Step 5: Advanced Settings
Frames Per Second defaults to 16 and controls playback speed. At 16 FPS, 65 frames equals 4.06 seconds. Increasing FPS with the same frame count produces a shorter clip at faster perceived motion; decreasing it extends clip duration.

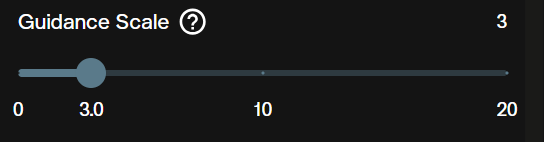
Guidance Scale defaults to 5 and governs how strictly the model follows your prompt. Values of 7 to 10 produce closer prompt adherence at the cost of visual variety. Values of 3 to 5 allow more creative interpretation. Start at 5 and adjust based on results.
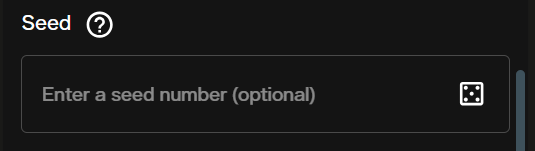
Seed is optional. Setting a specific integer makes your generation reproducible. Leave it empty for a new random seed on each run. Use a fixed seed when iterating on prompts to isolate the effect of prompt changes.
Safety Checker is enabled by default and screens prompts and output for content policy compliance. Disable it only for research workflows where that filtering layer is not needed.

Inference Steps defaults to 50 and appears below the safety checker in the interface. Reducing steps to 20 to 25 cuts generation time with a moderate quality tradeoff, useful for rapid drafts before committing to a full quality run.
Credits and Generation Costs
Credit costs are calculated from the output resolution and the total video duration at 16 FPS.
| Resolution | Cost per video second |
|---|---|
| 480p | 100 credits |
| 720p | 200 credits |
Total cost formula: (total frames ÷ frames per second) × credits per video second. A three shot sequence at 65 frames each generates 195 total frames. At 16 FPS that is 12.2 seconds. At 480p: 1,220 credits. At 720p: 2,440 credits.
The interface displays a credit estimate before you generate. Adjust frame counts per shot before submitting if the estimate exceeds your budget.
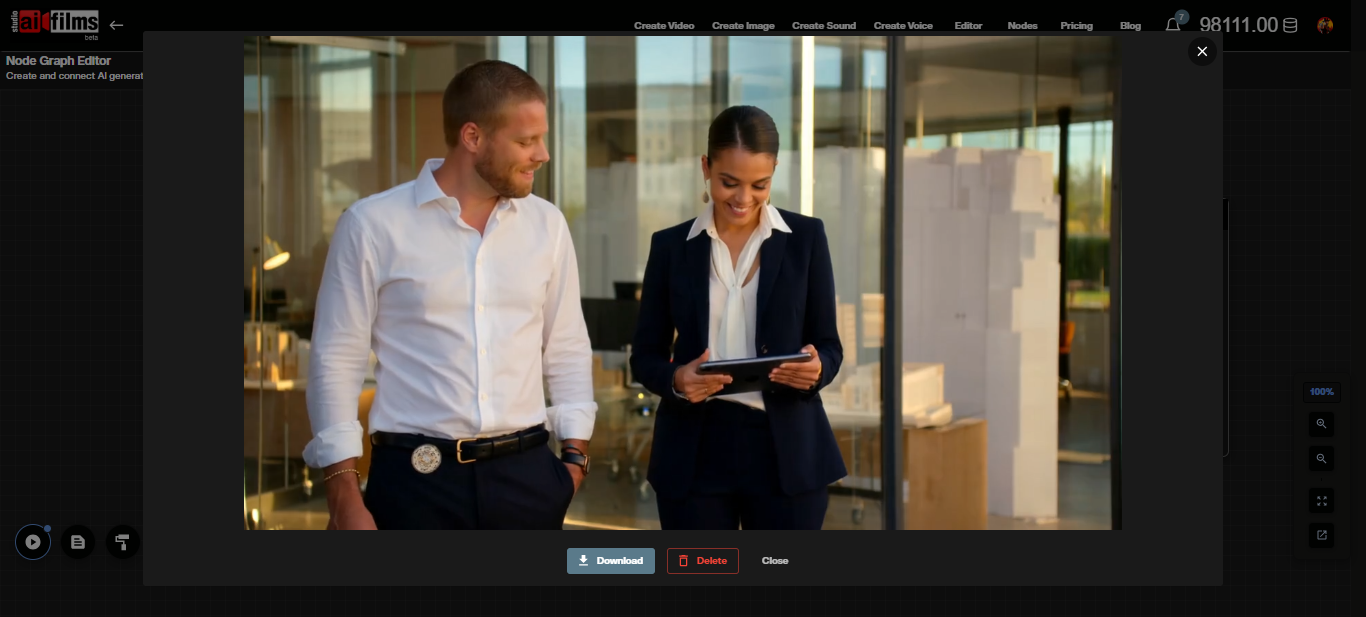
Once generation completes, the output appears directly in the workspace for preview and download.
All content generated on AI FILMS Studio with an active subscription is available for commercial use. See the platform's pricing page for subscription details.
MultiShotMaster in the Node Graph
The Node Graph editor supports MultiShotMaster as a Text to Video node, enabling you to chain multi shot generation with other AI steps in a single automated workflow.
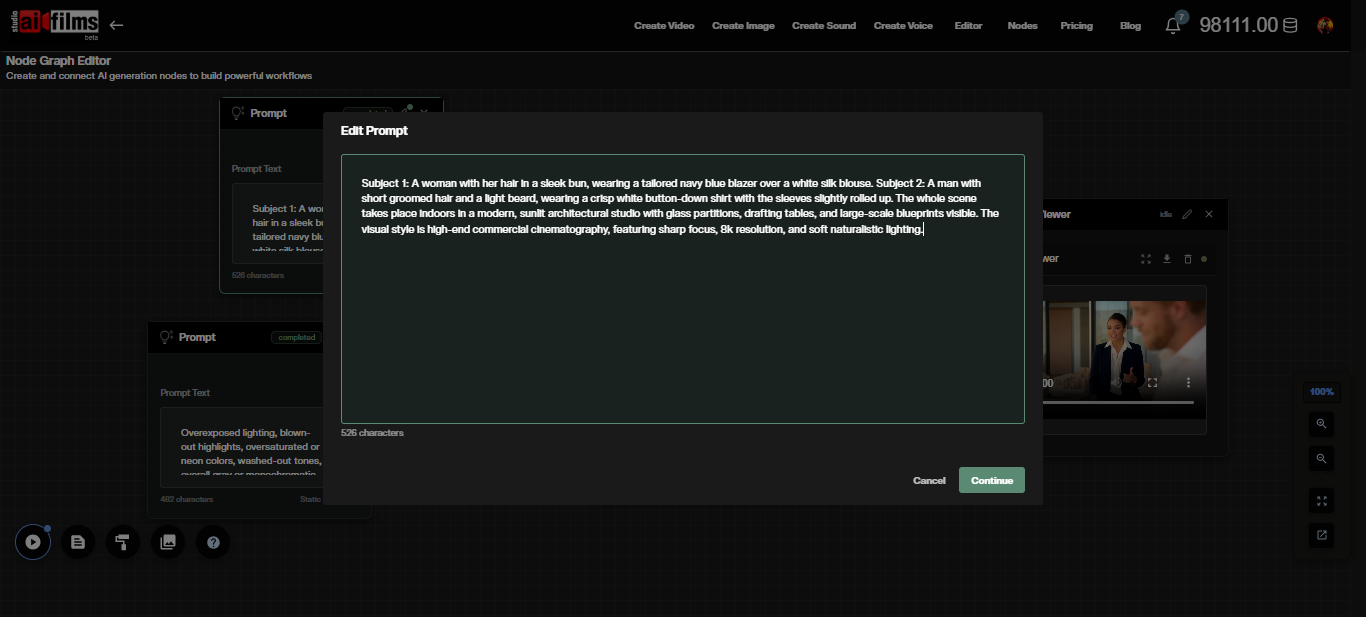
Build a basic pipeline by placing a Prompt node for the global caption and a Text to Video node set to MultiShotMaster. Connect the Prompt output (mauve port) to the Text to Video input.
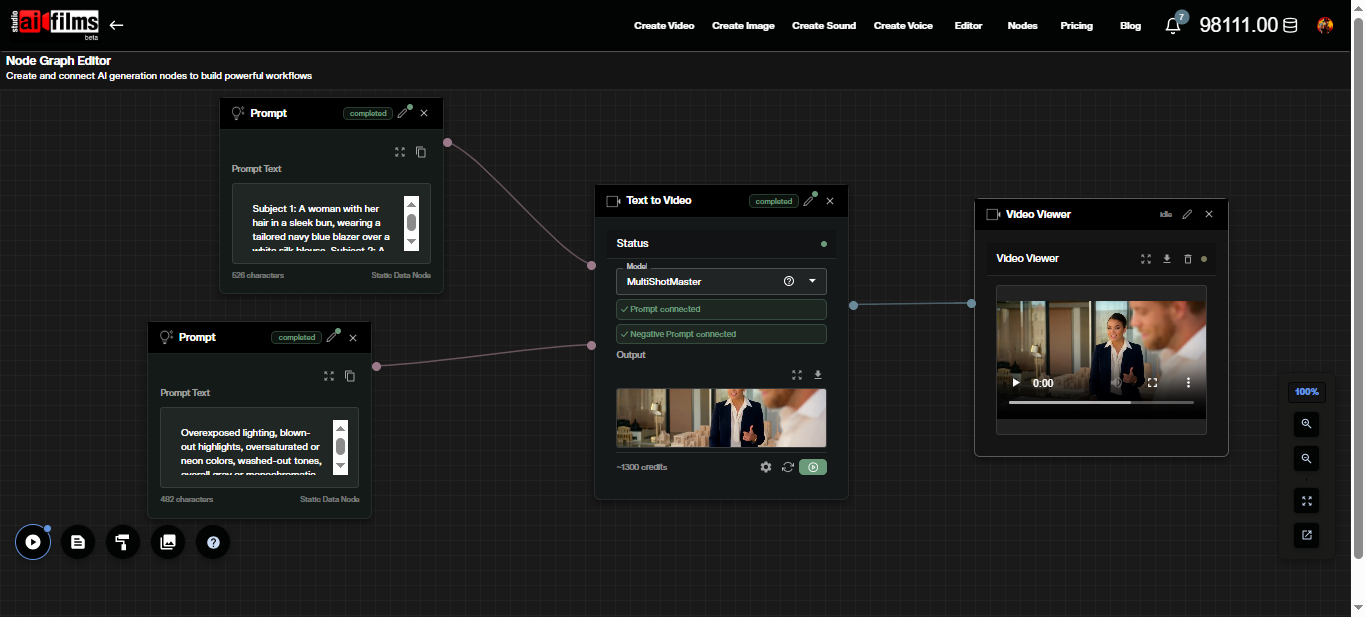
Click the Text to Video node to expand its settings panel. All shot configuration, resolution, aspect ratio, and advanced parameters are accessible without leaving the graph.
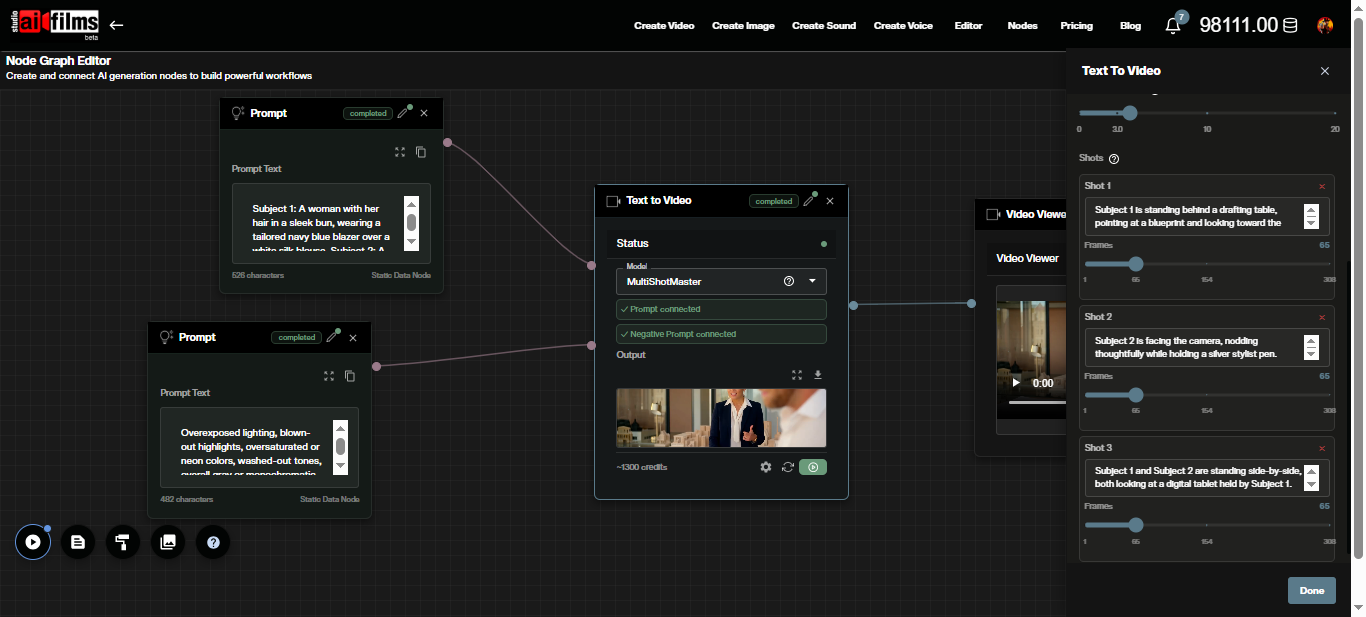
After execution, the video output appears on the connected Result or Video Viewer node. Route that output into a Video Enhancer node for upscaling, or into a Text to Video Lipsync node to add synchronized dialogue.
A practical pipeline for a narrated sequence: Prompt node for global caption, Text to Video node set to MultiShotMaster, Video Enhancer node using Topaz or Real-ESRGAN for upscaling, then a Text to Speech node running ElevenLabs or MiniMax in parallel, feeding into a Text to Video Lipsync node to sync dialogue with the final upscaled video. Build it with the AI FILMS Studio Node Graph.
Prompt Examples
Three shot interior dialogue scene.
Global prompt: "Subject 1: a man in his 40s wearing a grey blazer and white shirt, short dark hair. Subject 2: a woman with shoulder length auburn hair wearing a navy jacket. The setting is a modern conference room with large windows overlooking a city skyline, afternoon light."
Shot 1 (65 frames): "Subject 1 stands at the head of the table facing the camera, gesturing toward a presentation screen. Subject 2 is seated in the background looking toward Subject 1."
Shot 2 (65 frames): "Subject 2 rises and walks toward the presentation screen. Subject 1 remains standing, arms crossed."
Shot 3 (65 frames): "Both subjects face each other near the window, reviewing a document together on the table."
Resolution: 720p. Aspect ratio: 16:9. Guidance scale: 6.
Two shot outdoor scene with environment change.
Global prompt: "Subject 1: a young woman in her 20s, athletic wear, dark ponytail, running shoes. Scene spans two locations: a city street at midday and a narrow cobblestone alley in late afternoon."
Shot 1 (80 frames): "Subject 1 runs toward the camera on a wide city street. Buildings and pedestrians blur in the background."
Shot 2 (80 frames): "Subject 1 slows to a walk and enters a narrow cobblestone alley. Stone walls frame the shot. She glances over her shoulder."
Resolution: 480p for drafting. Seed: set a fixed value to isolate prompt iteration.
For multi shot sequences where motion transfer from a reference video is needed, combine MultiShotMaster output clips with Kling 3.0 Motion Control. Generate the narrative structure first with MultiShotMaster, then use Motion Control to refine specific shots with choreographed movement.
Frequently Asked Questions
Can I provide reference images for characters? The platform interface currently generates from text prompts. Subject identity consistency is managed through the global prompt and per shot captions. Detailed character descriptions with specific physical traits and clothing produce better consistency across shots.
What happens if I exceed 308 total frames? The interface enforces the 308 frame limit before generation. Reduce individual shot frame counts until the total stays within the cap.
Can I generate more than five shots in one narrative? Five shots per generation is the maximum. For longer sequences, generate multiple five shot segments and edit them together in post production. Keep global prompts identical across segments to maintain character consistency.
Does MultiShotMaster generate audio? No. The model produces video only. Add voiceover, music, and sound effects using the Voice Generation workspace, Music Generation workspace, and Sound Effects workspace on AI FILMS Studio, then sync audio with Kling Lipsync in the Node Graph.
Is generated content available for commercial use? Yes. All output from AI FILMS Studio with an active paid subscription is available for commercial use. MultiShotMaster is released under the Apache 2.0 license, which also permits commercial deployment.
Continue Reading


Video & LipSync
- Video Generator
- Text to Video
- Image to Video
- Start-End Frame to Video
- Draw to Video
- Motion Control
- Video Enhancer
- Video Upscaler
- Video to Video LipSync
- Audio to Video LipSync
- Image to Video LipSync
- Video FaceSwap
- Seedance 2
- Vidu Q3 Pro
- Gemini Omni
- Google Veo 3.1
- Kling 3.0 Pro
- Luma Ray 3.2
- LTX 2.3
- Happy Horse 1.1
- Kling 3.0 Motion
- ByteDance Upscaler
- InfiniteTalk
- InsightFace