
Google Nano Banana 2 Lite: Text to Image and Image Editing Tutorial

Share this post:
Google Nano Banana 2 Lite: Text to Image and Image Editing Tutorial
Nano Banana 2 Lite is Google's lightweight image generation model built for speed and predictable cost. Where Nano Banana Pro 2 offers resolution controls, reasoning levels, web search grounding, and multiple images per request, the Lite version focuses on three inputs: a prompt, an aspect ratio, and an output format. Each generation charges a flat 35 credits and produces one image. The model handles both text-to-image generation and image editing from natural language instructions.
AI FILMS Studio makes Nano Banana 2 Lite available in the image generation workspace and the Nodes Graph Editor. This guide covers every parameter in both interfaces and walks through the full workflow for text-to-image and image editing in each. Nano Banana 2 Lite is the default on the text-to-image generator, which compares it against the seven other models available there.
Text to Image in the Image Generation Workspace
Open the AI FILMS Studio image generation workspace. The Image Generator panel opens on the left side with the generated output displayed on the right.
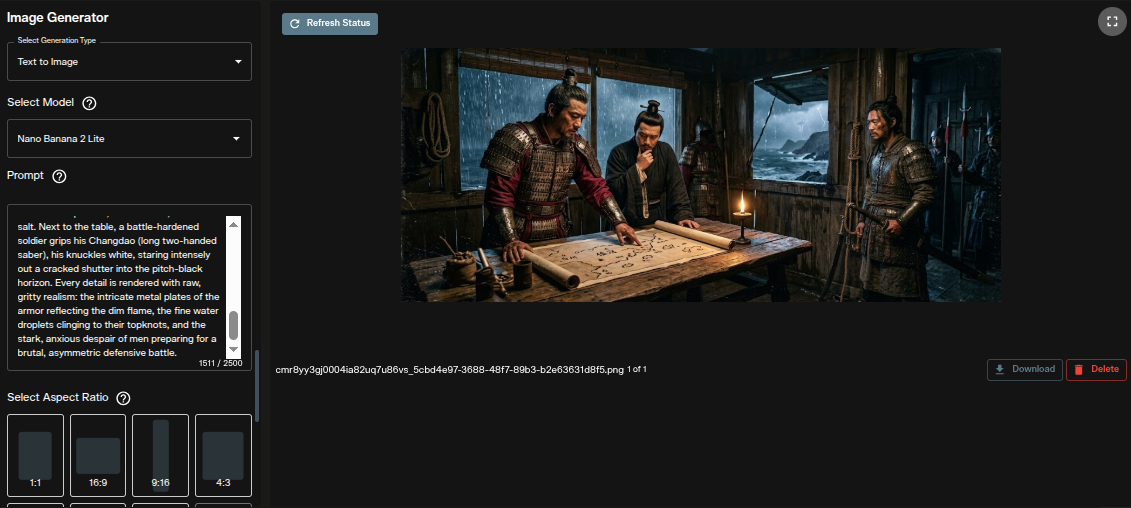
The panel on the left contains all generation controls. The main output area on the right shows your generated image once the request completes. Before selecting a model, confirm the generation type at the top of the panel is set to Text to Image.
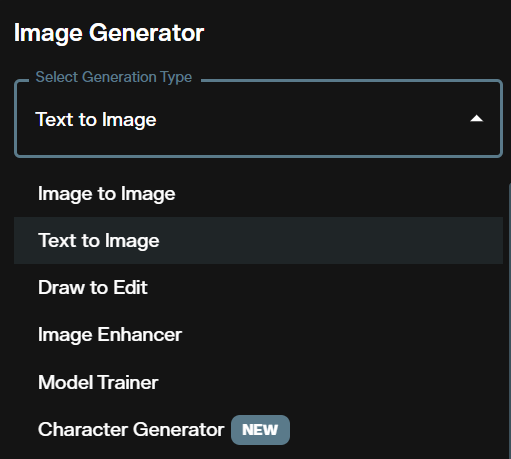
Step 1: Select the Generation Type
The generation type selector at the top of the panel switches between Text to Image and Image to Image. Choosing Text to Image removes the image upload section and shows only the prompt field and output controls. Choosing Image to Image adds the input image upload area covered in the next section of this guide.
Step 2: Select the Model
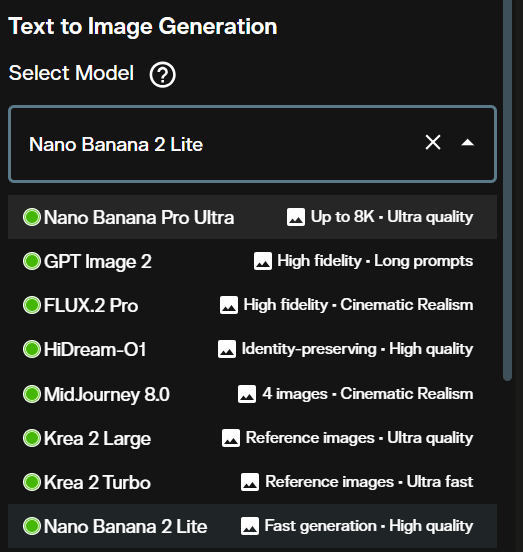
Open the Select Model dropdown and choose Nano Banana 2 Lite. The dropdown lists all available image models. The Lite variant sits separately from Nano Banana Pro 2 in the list. If your workflow needs 4K resolution, reasoning level control, or web search grounding, use the Pro 2 variant instead.
Step 3: Write Your Prompt
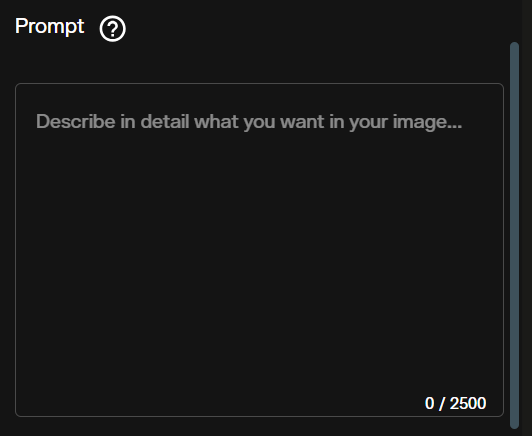
Enter your description in the Prompt field. Nano Banana 2 Lite responds to sentence based prompts more reliably than keyword lists. Structure your prompt in five layers: subject, action or state, location or context, composition, and visual style. Each layer adds constraints that reduce ambiguity before generation begins.
Specific, layered prompts produce more repeatable outputs than vague one sentence descriptions. For example, specifying lens character, lighting direction, and color temperature in the same prompt gives the model cleaner constraints to work from.
Step 4: Choose an Aspect Ratio
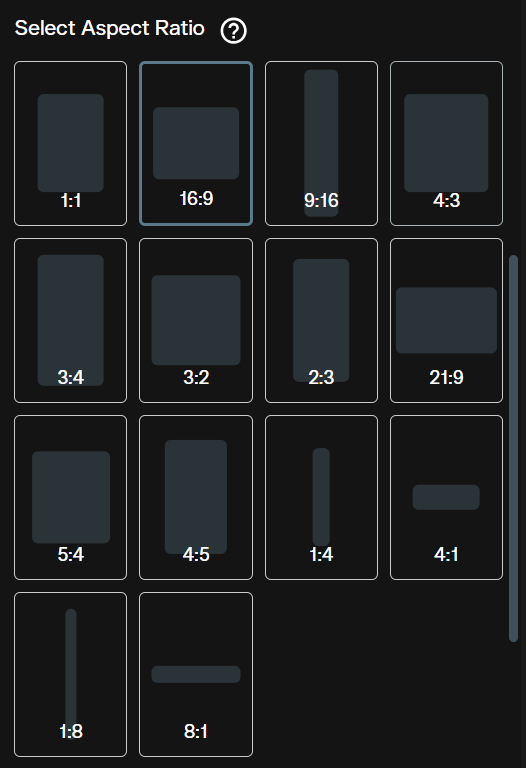
The Aspect Ratio selector offers 14 presets: 1:1, 3:2, 2:3, 3:4, 4:3, 4:5, 5:4, 9:16, 16:9, 21:9, 1:4, 4:1, 1:8, and 8:1. The default is 1:1. Match the ratio to your target output before generating rather than cropping afterward, since the model builds composition into the output based on the ratio you set.
For social media portrait content, use 9:16. For cinematic widescreen, use 16:9. For panoramic environment concepts, use 21:9. The extreme ratios (1:4, 4:1, 1:8, 8:1) suit banners, headers, and strip formats where most models produce weak results from unconstrained generation.
Step 5: Choose the Output Format
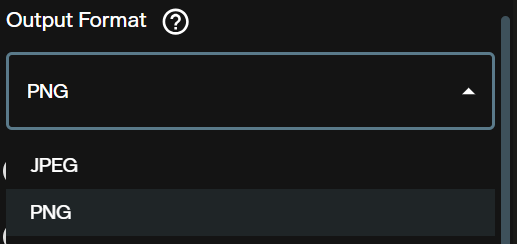
The Output Format selector controls the file type. Choose PNG for lossless output when the image will go into an editing pipeline, compositing workflow, or further generation step. Choose JPEG for smaller file size when the output goes directly to web or social media delivery without further processing.
Step 6: Save as Actor or Character
After generating, you can save the output directly as an AI Actor or AI Character for reuse in other workflows across the platform.
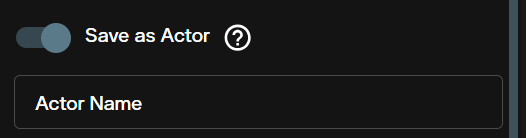
Save as Actor stores the generated image as a reusable identity reference. Saved actors can be selected as reference inputs in other image and video generation workflows across the platform, letting you maintain visual consistency for a recurring subject without uploading the image each time.
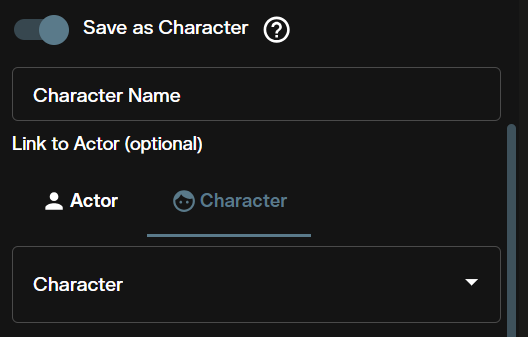
Save as Character stores the output as a named character definition with associated reference images. Characters can be used in character generation workflows and referenced by their ID in compatible video generation models. Both Actor and Character saves are accessible from your account across sessions.
Step 7: Credits and Generation
The Credits required indicator shows the cost before you generate. Nano Banana 2 Lite charges a flat 35 credits per generation regardless of aspect ratio or output format selection. Each request produces one image. Click the generate button to submit.
Image Editing in the Image Generation Workspace
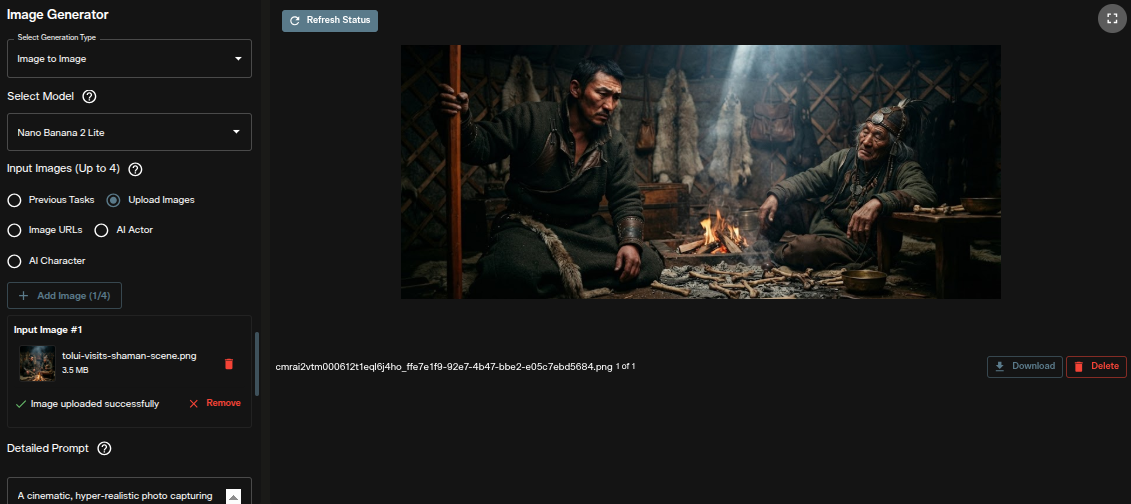
Image editing mode takes one or more uploaded images and a text instruction, then generates a new image that applies your described edits while using the source as a structural reference. The model can restyle, relight, add or remove elements, and change environmental context while preserving subject identity and spatial layout.
Go to the [AI FILMS Studio image generation workspace](/workspace?g=image), documented in full on the [image to image generator](/ai-image-generator/image-to-image) page. Set the generation type selector at the top of the panel to Image to Image. The panel changes to show an image upload area alongside the prompt and output controls.
Step 1: Select the Model
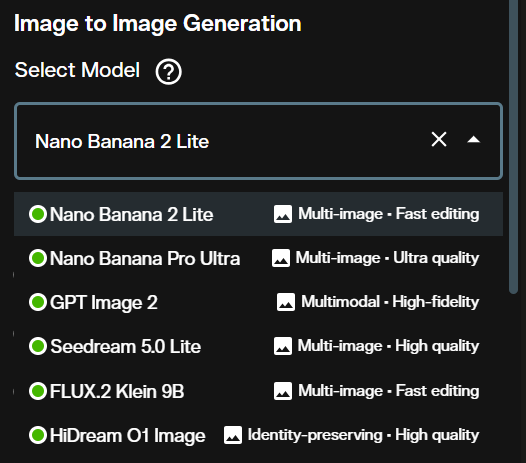
Open the Select Model dropdown and choose Nano Banana 2 Lite in the image-to-image group. The workspace lists text-to-image and image-to-image model variants separately in the dropdown. Select the image-to-image entry before uploading your source images.
Step 2: Upload Your Input Images
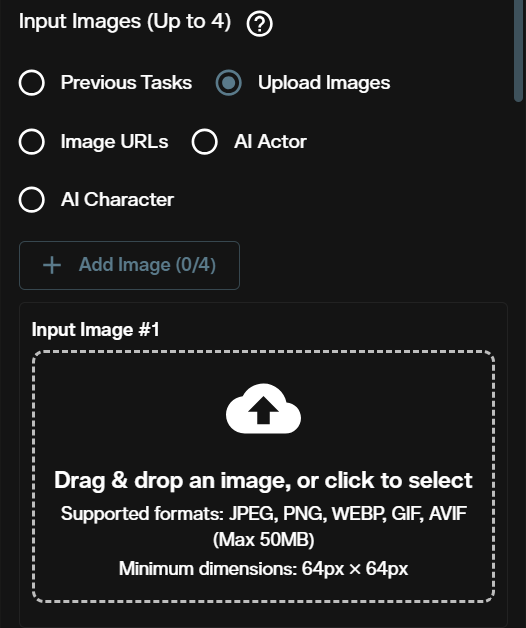
The Input Images section accepts one or more source images. Click the upload area or drag images into the panel. When you provide multiple images, the model draws on all of them as visual references during the edit. This is useful when you want to enforce a style from one reference while editing the subject from another.
Step 3: Write Your Edit Instructions
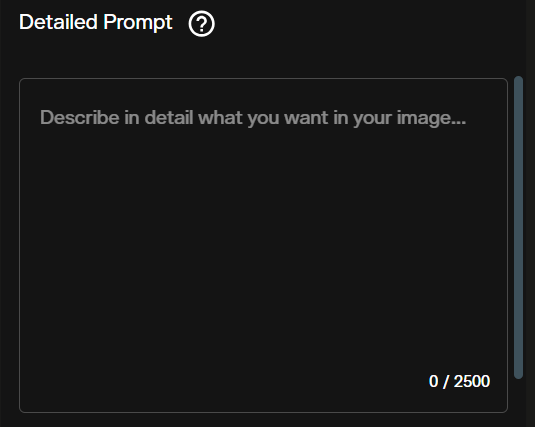
Write your edit instructions in the Prompt field. Effective image editing prompts specify both what to change and what to preserve. Describing only the transformation leaves the model without anchors, which introduces unwanted drift in subject identity, color palette, and spatial layout.
A reliable structure: state the target modification first, then list what should stay unchanged. For example: "Change the background to a rainy night street with neon reflections. Keep the subject's face, clothing, and pose exactly as in the source image." The preservation clause is what gives the model its stability constraints.
Step 4: Choose an Aspect Ratio
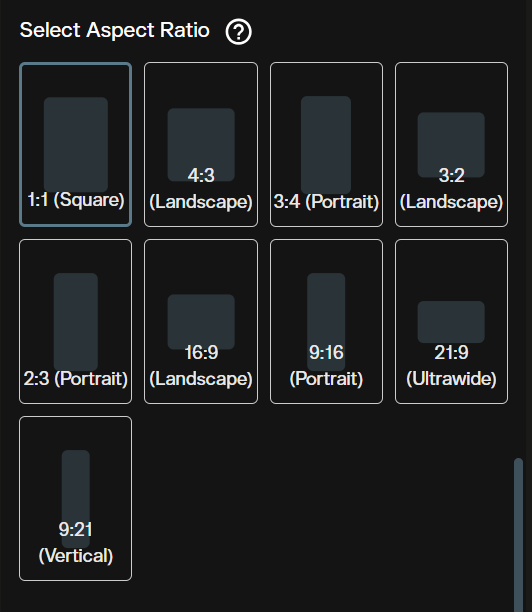
The same 14 aspect ratio presets are available in image-to-image mode. Leaving the selector on auto lets the model detect the best composition from your source image dimensions. Set it explicitly if your target output needs a different ratio than the input, for example when cropping a landscape source into a portrait format for social media.
Step 5: Choose the Output Format
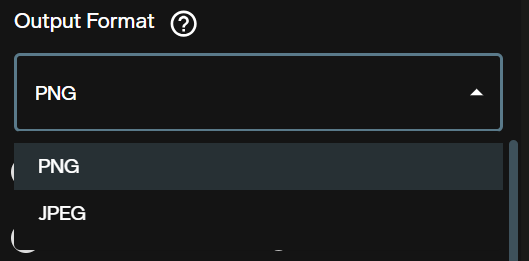
PNG is the better default for image editing workflows. JPEG compression artifacts accumulate when an edited image passes back through the model for a second edit, which reduces output quality over multiple iterations. Use JPEG only for final outputs going directly to web delivery where no further editing is planned.
Step 6: Save as Actor or Character
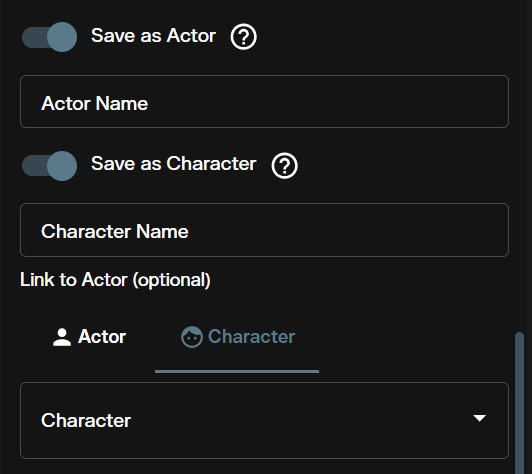
The Save as Actor and Save as Character options work the same way as in text-to-image mode. Save the output as an Actor to reuse the identity across other generation workflows. Save as a Character to define it with a name and reference images for use in character generation pipelines and compatible video models.
Step 7: Credits and Generation
The Credits required indicator confirms the cost before you generate. Image editing with Nano Banana 2 Lite charges the same flat 35 credits as text-to-image generation. The cost does not vary with input image count, output format, or aspect ratio.
Text to Image in the Nodes Graph Editor
The Nodes Graph Editor lets you build image generation workflows by connecting nodes on a canvas. For Nano Banana 2 Lite text-to-image, the basic workflow uses three nodes: a Prompt node, a Text to Image node configured to Nano Banana 2 Lite, and an Image Viewer node.
Connect the output port of the Prompt node to the prompt input port of the Text to Image (Nano Banana 2 Lite) node. Then connect the image output port of the Text to Image node to the input port of an Image Viewer node. Set the aspect ratio and output format in the Text to Image node's settings panel before running the workflow.
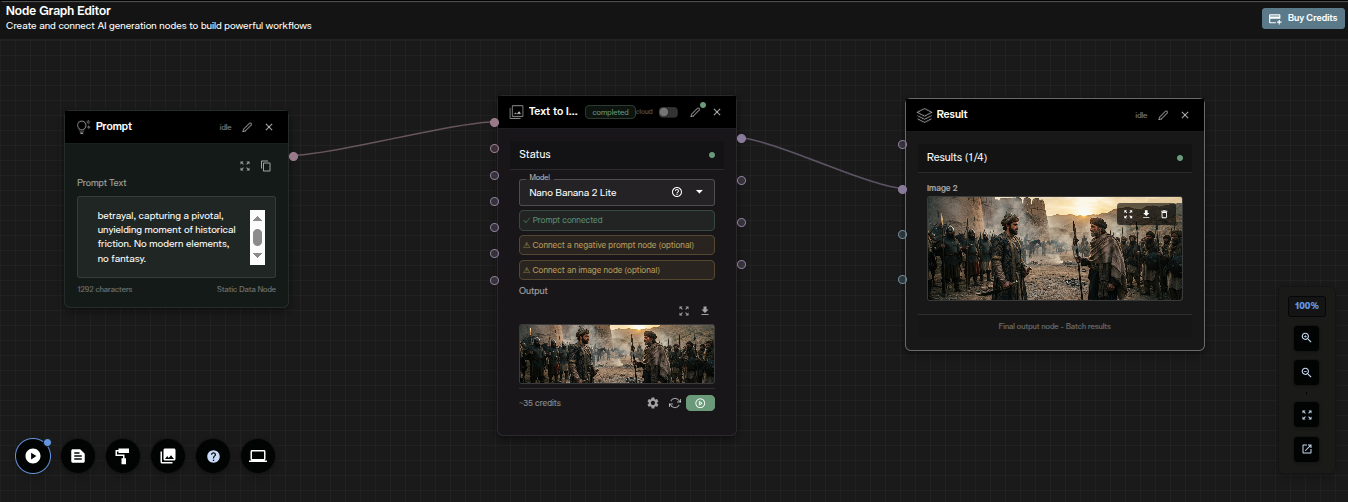
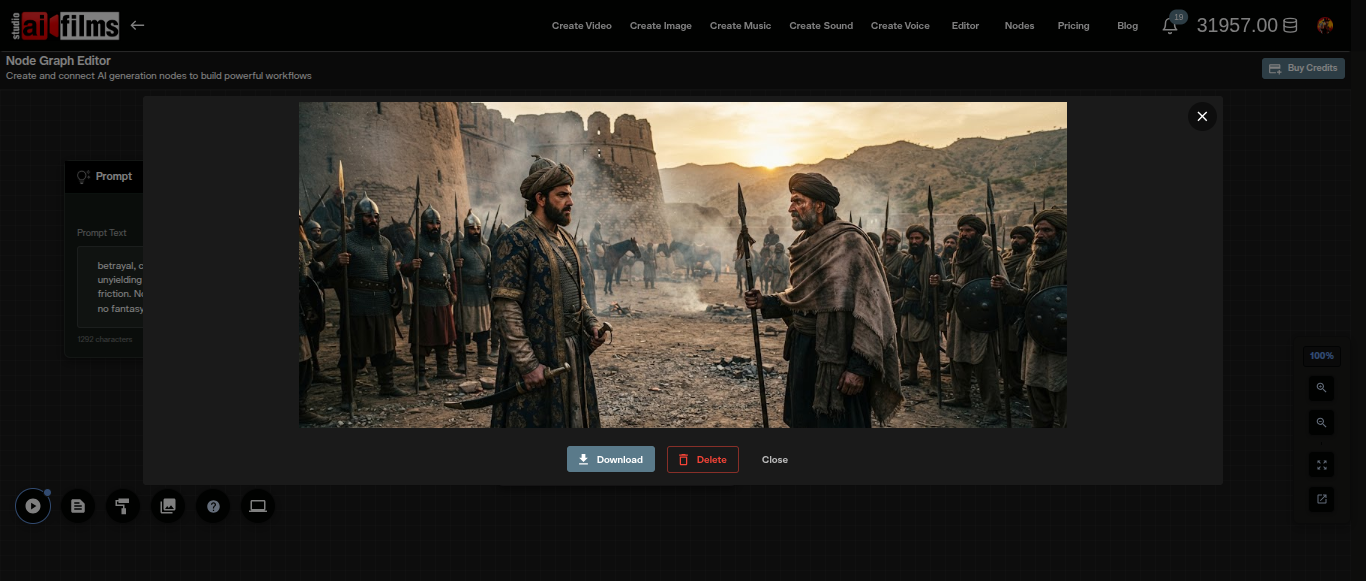
Run the workflow by clicking the execute button. The output appears in the Image Viewer node. You can chain the output into additional processing nodes such as an image enhancement node or an Image to Video node to extend the workflow without leaving the editor.
Image Editing in the Nodes Graph Editor
The image editing workflow in the Nodes Graph Editor adds an Image node as an additional input alongside the Prompt node. Both feed into the Image to Image (Nano Banana 2 Lite) node, which sends the edited output to an Image Viewer.
Add an Image node and upload your source image. Add a Prompt node and write your edit instruction. Connect both to the Image to Image (Nano Banana 2 Lite) node, then connect its output to an Image Viewer node. Set the aspect ratio and output format in the node's settings panel before running.
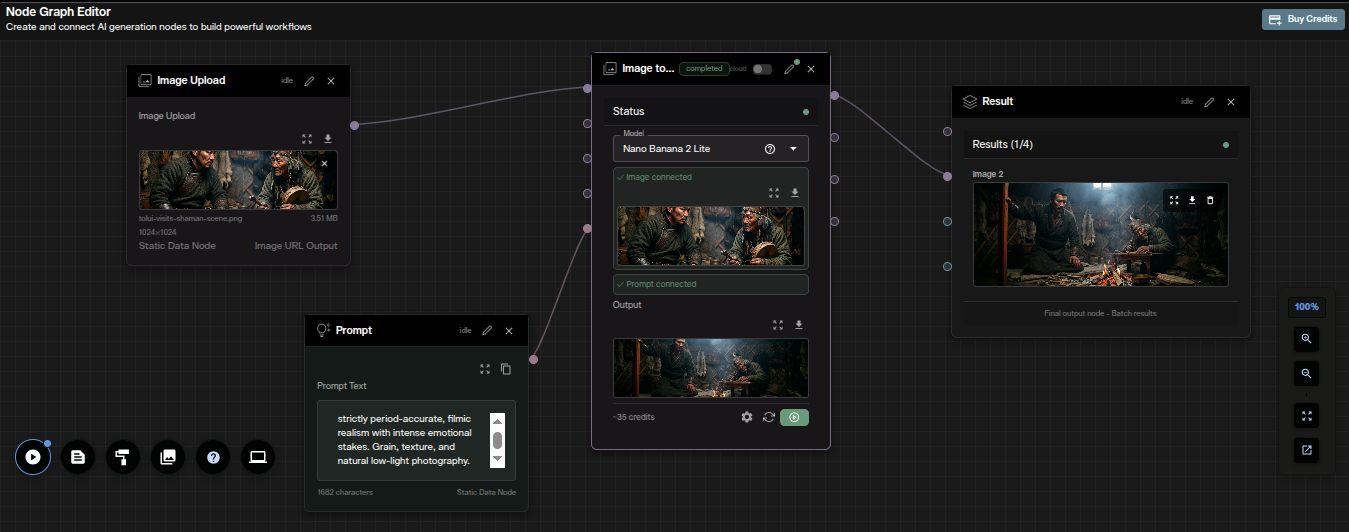
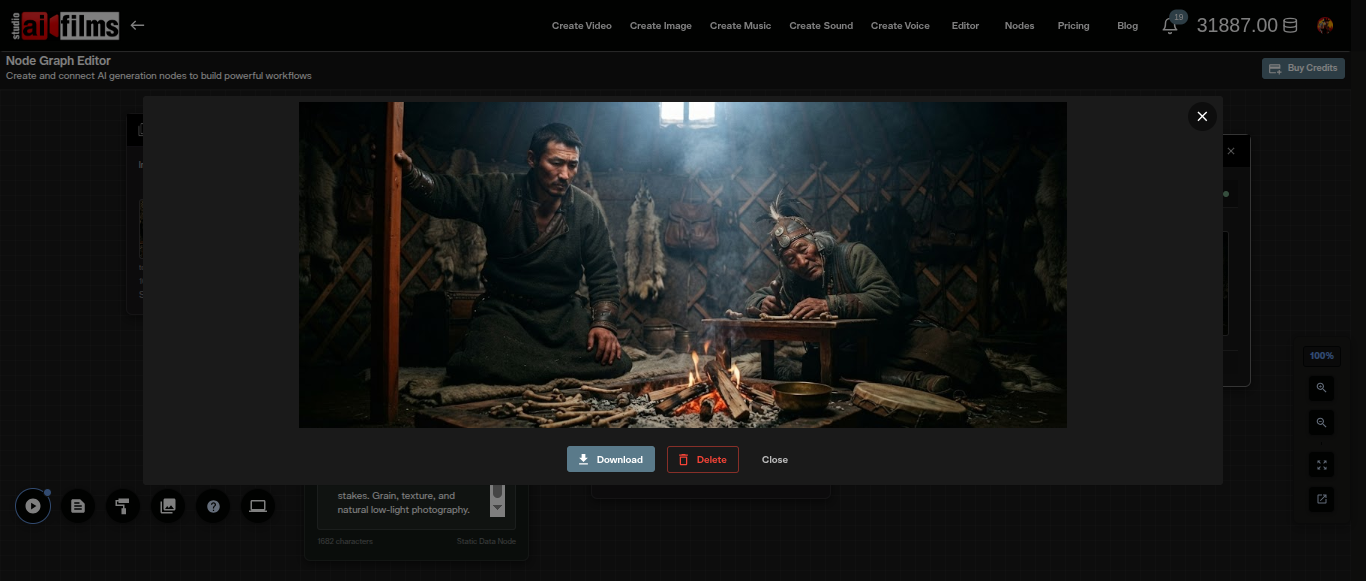
The edited image appears in the Image Viewer node after the workflow runs. The Nodes Graph Editor makes it practical to test multiple edit prompts against the same source image by duplicating the workflow branch and changing only the Prompt node content, letting you compare results side by side without uploading the source each time.
Prompting Tips for Nano Banana 2 Lite
Nano Banana 2 Lite uses a focused parameter set, which puts more of the quality burden on prompt construction than models with reasoning levels or web search toggles.
For text-to-image, structure prompts in five layers: subject, action or state, location or context, composition, then visual style. Each layer adds constraints that help the model resolve spatial and stylistic decisions before generation begins. A prompt that establishes lens character, lighting direction, and color temperature alongside the subject description gives the model cleaner targets than a vague one sentence request.
For image editing, always specify both sides of the transformation: what changes and what stays. Leaving out preservation instructions causes the model to treat unchanged elements as variables, which introduces drift in subject identity, color palette, and spatial layout. The more specific the preservation clause, the more stable the output.
Match your aspect ratio to the target layout before generating. Generating at the wrong ratio and cropping afterward discards composition that the model built into the original output. A portrait subject generated at 16:9 loses headroom and framing that would have been present in 9:16.
Use PNG when the output goes into a further workflow step. JPEG compression builds up across multiple edit passes. PNG avoids that accumulation and is the right choice for any image going back into a generation or compositing workflow.
Nano Banana 2 Lite does not expose a seed control. For batch consistency, keep the prompt identical across requests and document the exact wording once you have an approved output. When a client requests a variation weeks later, the prompt record gets you back to the same starting point.
For a large library of tested prompts structured for the Nano Banana model family, see Nano Banana prompts. If your workflow needs 4K output, web search grounding, a reasoning level control, or multiple image variants per request, the Nano Banana Pro 2 text-to-image tutorial and image editing tutorial cover the full parameter set available in the higher tier.
Sources
Google: Nano Banana 2 Lite model documentation AI FILMS Studio: Image generation workspace and Nodes Graph Editor
Continue Reading
.jpg?w=3840)


Video & LipSync
- Video Generator
- Text to Video
- Image to Video
- Start-End Frame to Video
- Draw to Video
- Motion Control
- Video Enhancer
- Video Upscaler
- Video Extend
- Video to Video LipSync
- Audio to Video LipSync
- Image to Video LipSync
- Video FaceSwap
- Seedance 2.5
- WAN 3.0
- Seedance 2
- FLUX 3
- Minimax H3
- Vidu Q3 Pro
- Grok Imagine Video 1.5
- Gemini Omni
- Google Veo 3.1
- Kling 3.0 Pro
- Luma Ray 3.2
- LTX 2.3
- Happy Horse 1.1
- Kling 3.0 Motion
- ByteDance Upscaler
- InfiniteTalk
- InsightFace
Image & Edit
- AI Character
- AI Actor
- Art Generator
- Text to Image
- Image to Image
- LoRA Image to Image
- Draw to Edit
- Image LoRA Training
- Remove Background
- Image Enhancer
- MidJourney 8.0
- Krea 2
- OpenAI GPT Image 2.0
- Nano Banana Pro Ultra
- Nano Banana 2 Lite
- Nano Banana Pro
- Minimax Image
- Clarity Pro
- Z-Image Turbo LoRA
- Krea 2 Turbo LoRA
- Z-Image LoRA Trainer
- Qwen Image LoRA Trainer
- Background Erase Network 2 (BEN2)