Nano Banana Pro 2 Image to Image Tutorial for AI FILMS Studio

Share this post:
Nano Banana Pro 2 Image to Image Tutorial for AI FILMS Studio
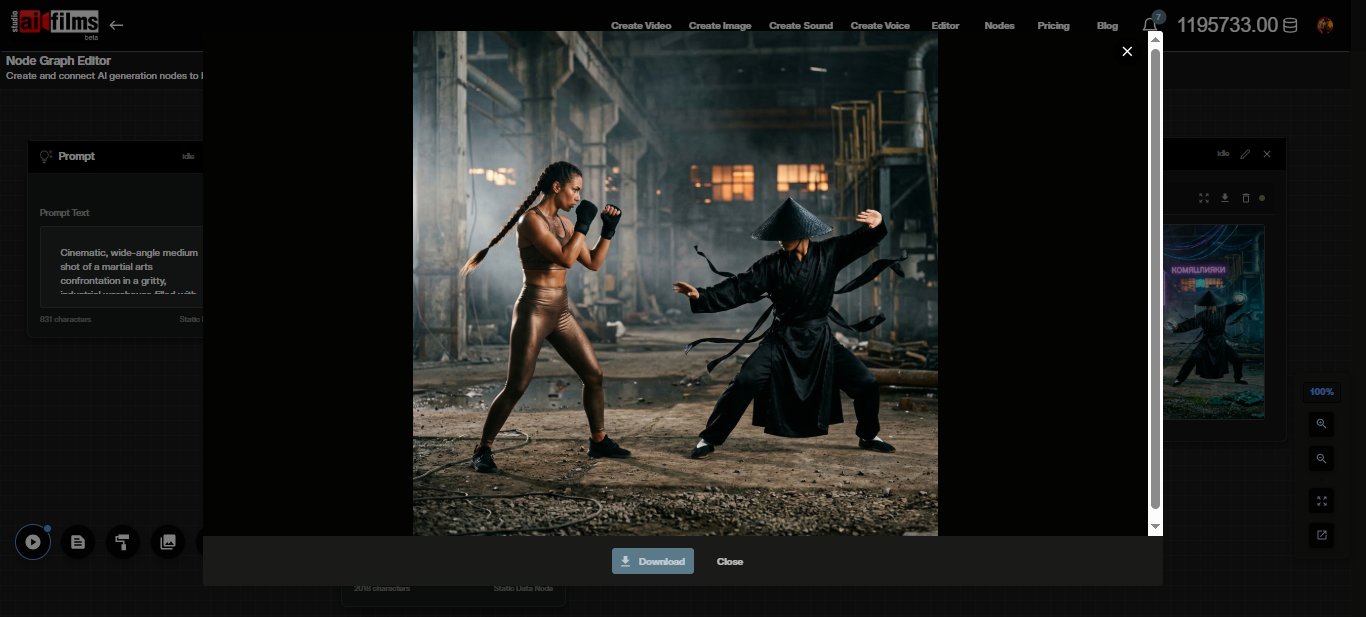
Nano Banana Pro 2 supports image-to-image generation, letting you supply one or more reference images and describe the changes you want in plain language. The model edits lighting, style, composition, or subject details while preserving the structural content of the original. AI FILMS Studio makes this available in the image workspace and the Node Graph Editor. This guide covers every parameter and walks through both workflows.
How Image to Image Works
In image-to-image mode, your uploaded image functions as the compositional base. You describe the transformation in a text prompt, and the model applies that edit while maintaining spatial coherence with the original. The result is a new image that reflects both the visual content of your input and the instructions in your prompt.
The model can restyle, relight, add or remove elements, change the environment, and alter the mood of a scene. Subject identity and object placement in the source image are used as anchors. For multi subject edits, the model maintains consistency across up to five characters and fourteen objects, the same limits that apply in text-to-image mode.
Opening the Image Workspace
Go to the AI FILMS Studio image workspace. The Image Generator panel opens on the left side with the generated output on the right.

At the top of the left panel, confirm the generation type is set to Image to Image.
Step 1: Select the Model
Open the Select Model dropdown. Find and select Nano Banana 2 Image to Image.
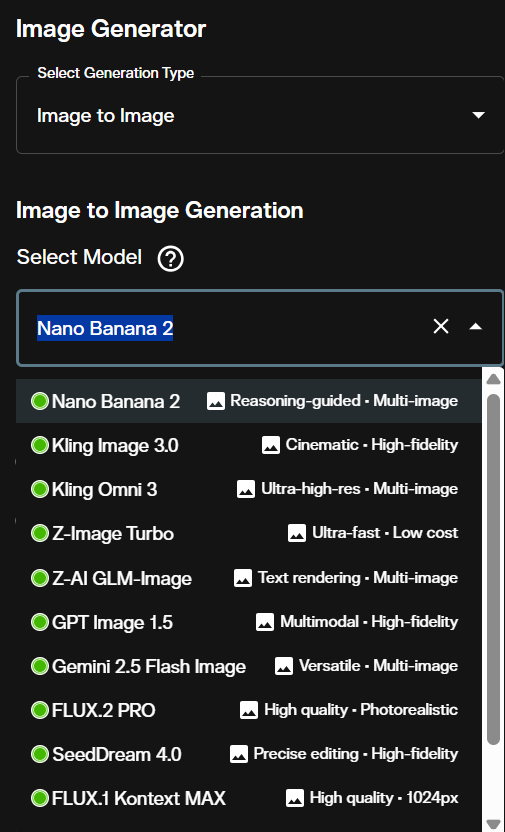
The platform lists text-to-image and image-to-image entries separately in the dropdown. Make sure you have selected the image-to-image variant before uploading your source images.
Step 2: Upload Your Input Images
The Input Images section accepts one or more reference images. Click the upload area or drag your images into the panel.
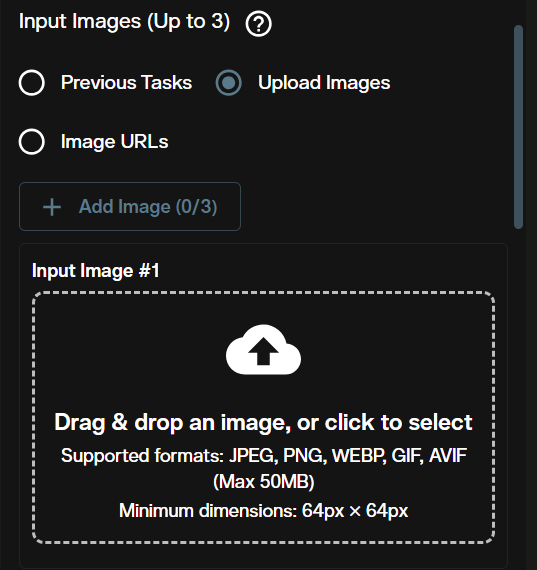
You can upload multiple images to provide compositional or stylistic references. When working with character consistency across multiple inputs, keep subject descriptions in your prompt identical to what appears visually in each uploaded image.
Step 3: Write Your Edit Instruction
Enter your transformation description in the Prompt field. Write it as an instruction or description of the desired output, not a list of keywords.
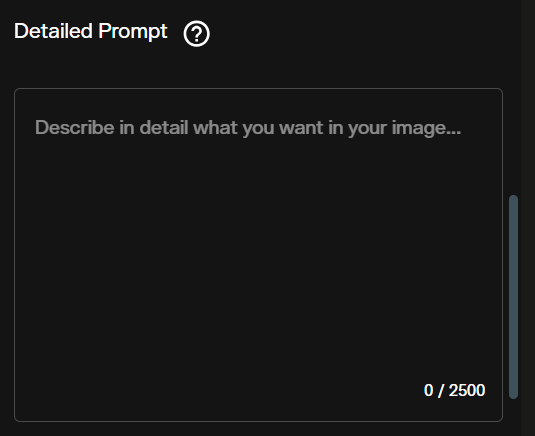
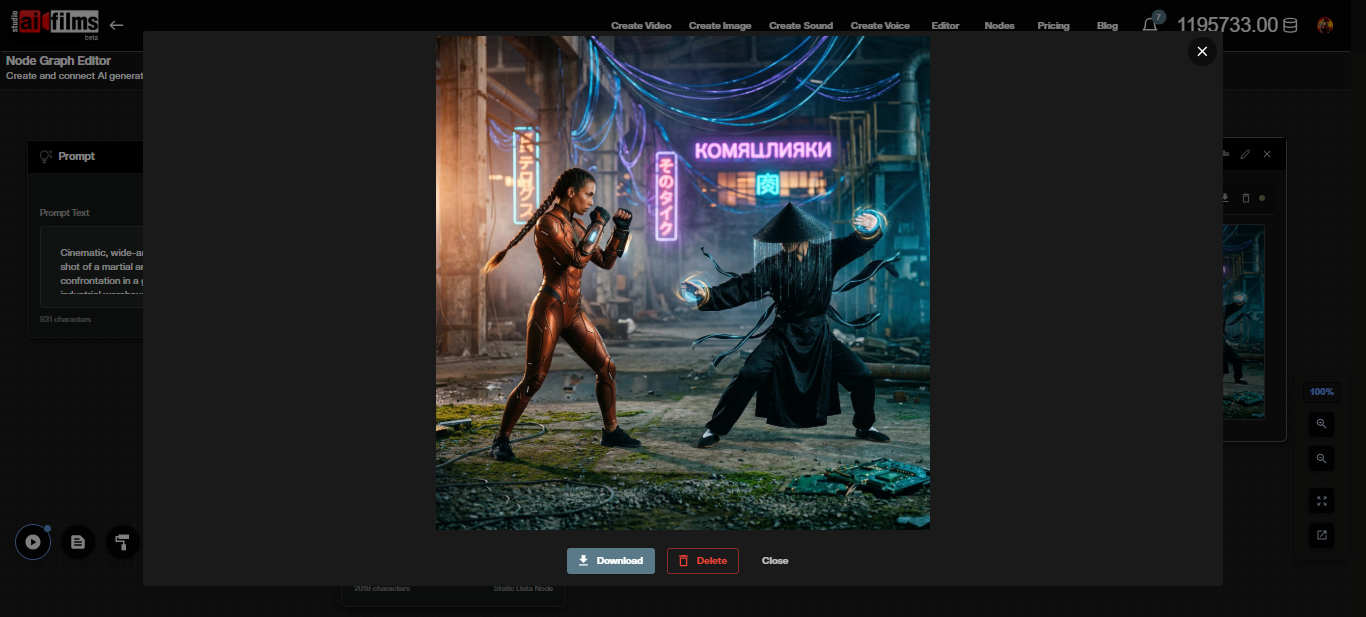
Effective edit instructions tell the model what to change and what to preserve. For example: "Keep the subject and pose. Change the background to a rainy Tokyo alley at night. Add neon light reflections on wet pavement." Prompts that specify both the change and the anchor elements produce more predictable results than prompts that only describe the desired outcome.
For text rendered in the output image (logos, titles, labels), quote the exact words and describe font weight, color, and placement explicitly. Minor character errors can still appear in complex typographic layouts even with Nano Banana Pro 2's improved text rendering.
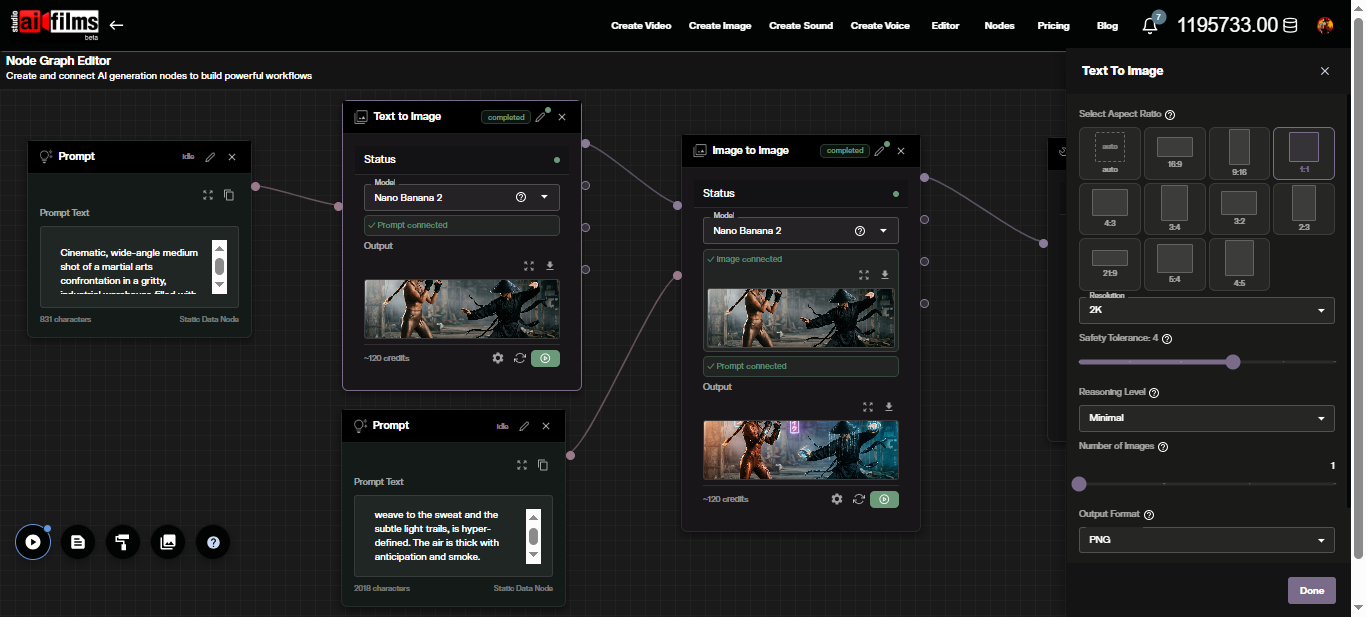
Step 4: Choose Aspect Ratio
The Select Aspect Ratio panel offers eleven presets: auto, 16:9, 9:16, 1:1, 4:3, 3:4, 3:2, 2:3, 21:9, 5:4, and 4:5.
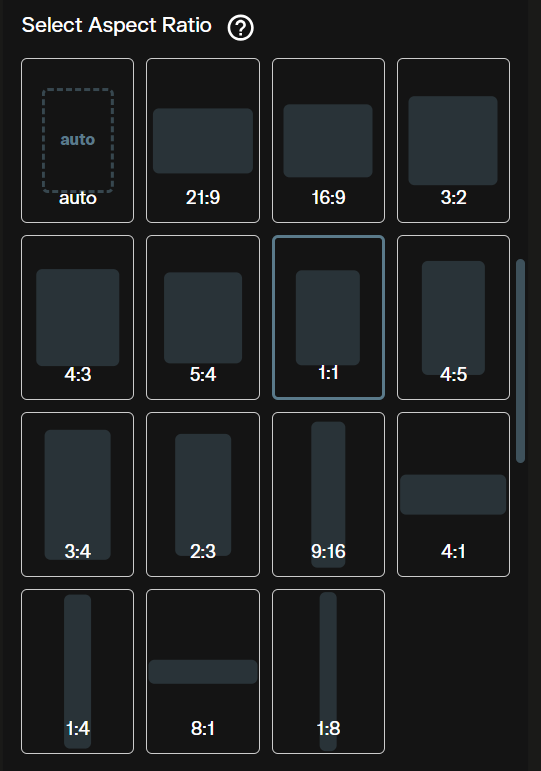
Use auto to match the source image's native dimensions. Select a fixed ratio only when your output target requires a specific format that differs from the input.
Step 5: Set Resolution
The Resolution dropdown offers 512px, 1K, 2K, and higher tiers.

Use 512px for rapid iteration. Use 1K or 2K for production outputs. Resolution affects credit cost and generation time. The workspace shows the exact credit total before you run the generation.
Step 6: Reasoning Level
Reasoning Level controls how much internal inference the model applies before generating. The options are Disabled, Minimal, and High.
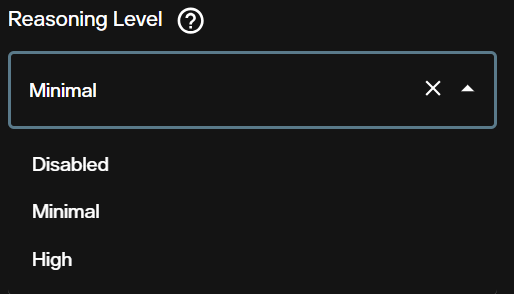
- Disabled: Fastest path. Direct pass from input and prompt to output.
- Minimal: Light inference pass. Improves alignment for moderately complex edit instructions.
- High: Full reasoning pass. Better coherence for edits involving spatial rearrangement, multiple interacting subjects, or grounding dependent instructions.
Use Disabled or Minimal for style transfers and simple relighting. Switch to High when edits involve complex spatial relationships or when the model consistently misses a key element.
Step 7: Number of Images
The Number of Images slider generates 1 to 4 outputs per request.
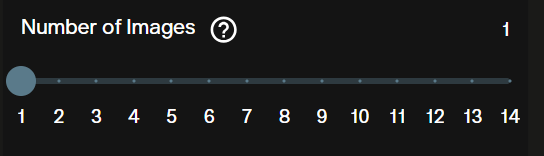
Set to 4 when exploring how the model interprets a new edit instruction. Drop to 1 once you have identified a direction to refine.
Step 8: Output Format
The Output Format selector controls the file format of the generated images.

PNG preserves full quality with no lossy compression and is the best choice for post production or further editing. JPG reduces file size at a slight quality cost and works well for web delivery where file size matters.
Step 9: Limit Generations
Limit Generations is a toggle that caps the total number of generation runs in a session.
Enable this during iterative refinement sessions to prevent credit overruns when testing multiple prompt variations on the same source image.
Step 10: Web Search
The Web Search toggle enables real time Google Search grounding during generation.
Enable it when your edit instruction references a specific real location, product, or visual style that benefits from current search context. For fictional scene transformations or abstract style edits, keep it disabled to avoid unwanted realism constraints pulled from search results.
Step 11: Safety Tolerance
Safety Tolerance is a slider from 1 to 6 controlling content filtering strictness. The default is 4.

Lower values apply stricter filtering. Higher values permit more creative latitude. Nano Banana Pro 2 runs Google's Gemini safety systems, which are conservative by default. Prompts the model flags as borderline at your current tolerance level will be refused or modified.
Step 12: Seed
The Seed field defaults to Random. Enter a fixed number to lock the generation's starting state.
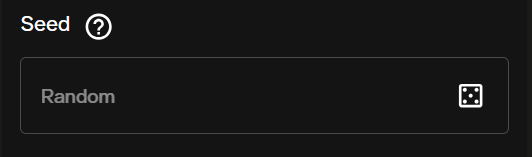
Fix the seed after you find a result you want to build on. A fixed seed lets you adjust one parameter at a time and compare the effect against the same visual baseline.
Credit Cost
The Credits required indicator shows the exact cost for your current settings before generation.
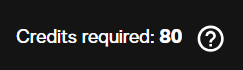
Credit cost scales with resolution and the number of images selected. Check the AI FILMS Studio pricing page for current subscription rates and credit values.
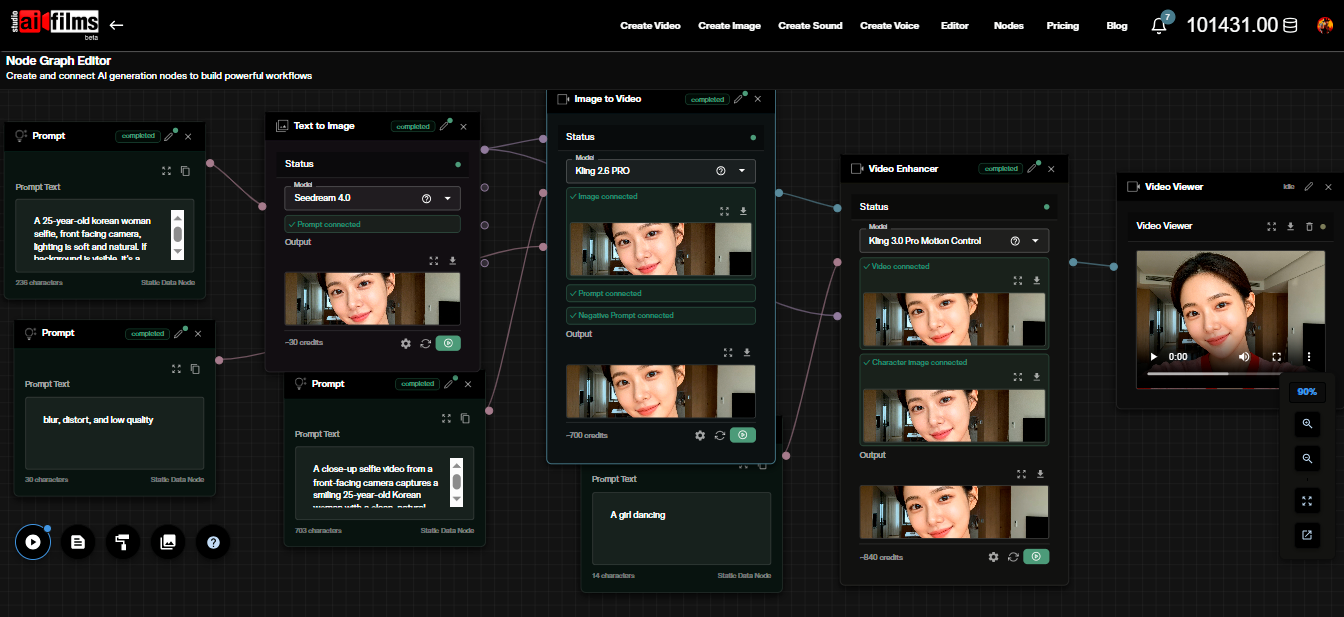
Node Graph Editor Workflow
The Node Graph Editor lets you chain Nano Banana Pro 2 image-to-image into automated pipelines alongside video, audio, and enhancement models.
To build a basic image-to-image pipeline:
- Open the Node Graph Editor at studio.aifilms.ai/nodes
- Add an Image node and connect your source image
- Add a Prompt node and enter your edit instruction
- Add an Image to Image node and set the model to Nano Banana 2 Image to Image
- Connect the Image node output to the Image to Image input and the Prompt node output to the prompt input
- Add an Image Viewer node and connect the Image to Image output to it
- Click Execute Graph
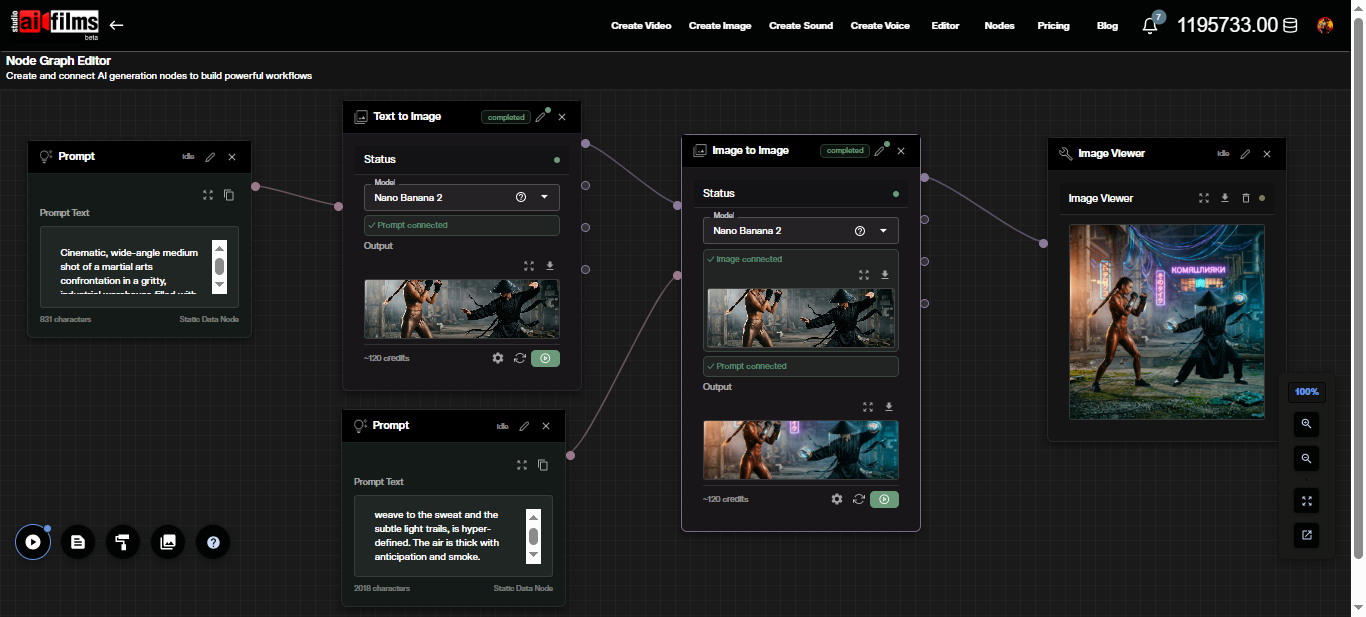
The options panel on the Image to Image node exposes the same parameters available in the workspace: resolution, reasoning level, aspect ratio, seed, and web search.
The input image is visible inside the Image to Image node after connection. The output thumbnail updates in the Image Viewer node after execution completes.
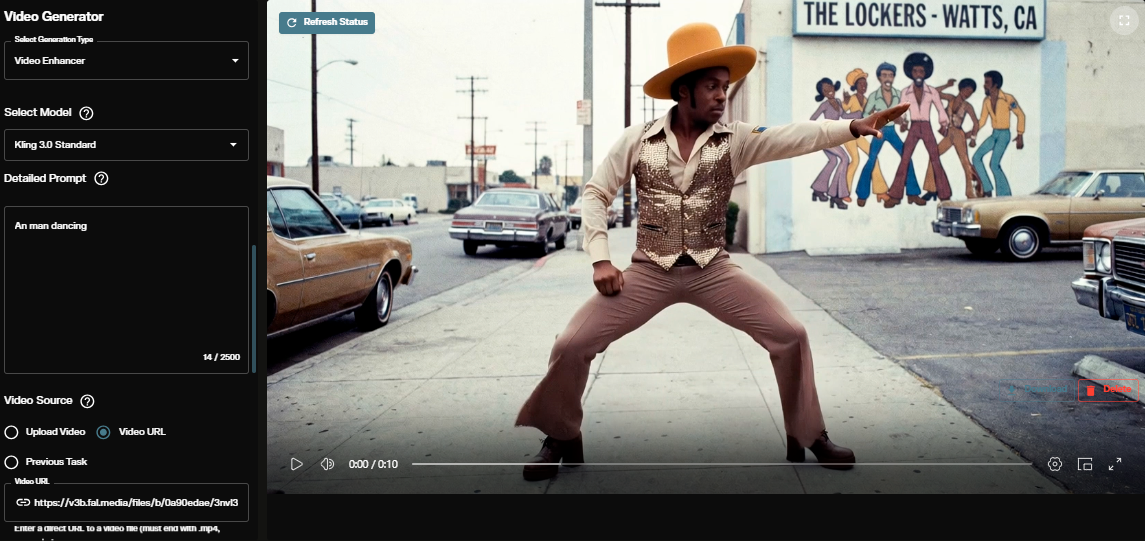
From the Image to Image output, you can chain the result directly into an Image to Video node to animate the edited image using Kling, Google Veo 3.1, or Seedance through the video workspace.
Edit Instruction Examples
These prompts describe what to change and what to keep. Fix the seed after the first result you want to refine.
Environment swap with subject preserved:
Keep the subject exactly as they appear. Replace the background with a dense
bamboo forest in morning mist. Add soft diffused light filtering through the
canopy. Maintain the original lighting direction on the subject's face.
Lighting and mood restyle:
Keep the composition and all subjects unchanged. Shift the lighting to a
dramatic single source from the upper left, casting hard shadows. Change
the color grade to deep teal shadows and warm amber highlights.
Style transfer to illustration:
Convert to a graphic novel illustration style. Preserve all faces, poses,
and spatial relationships. Add ink outlines with visible cross hatching in
the shadows. Keep the color palette close to the original.
Adding a text element to an existing scene:
Keep the entire scene unchanged. Add a large neon sign on the building
facade reading "OPEN 24H" in red block letters. Match the sign's glow to
the ambient street lighting in the scene.
Product context change:
Keep the product in the center exactly as shown. Replace the flat studio
background with a rustic wooden table surface. Add natural window light
from the right and a shallow depth of field background blur.
For a curated collection of production ready prompts tuned for this model, see our Nano Banana prompts library.
If you are starting from scratch with no source image, the text-to-image workflow generates your base before you move to editing:
What to Watch Out For
The model handles most edit instructions reliably, but three categories need extra attention.
Over editing: A prompt that describes too many simultaneous changes can produce results that drift far from the source image. Split complex edits into sequential passes, using the output of one generation as the input for the next.
Text in images: Quote the exact words you want rendered and specify font style, color, and placement. Even with improved text generation, minor character errors or spacing issues can still appear in complex typographic layouts. Review at full resolution before delivery.
Web search grounding is probabilistic: Search grounded outputs reflect what the model retrieves at generation time. Results are not guaranteed to be factually accurate. Use as reference, not as ground truth.
For context on how this model's generation of real faces and public figures has raised creator rights questions, see our analysis of the YouTube creator likeness crisis involving Nano Banana 2.
FAQ
What is image-to-image generation? Image-to-image mode takes one or more uploaded images and a text instruction, then generates a new image that applies your described edits while using the source as a structural reference.
How much does a generation cost? Credit cost varies by resolution and number of images. The workspace shows the exact amount in the Credits required indicator before you generate. See the pricing page for current subscription rates.
Can I use outputs commercially? Yes. Paid subscribers on AI FILMS Studio hold full commercial rights to content they generate on the platform.
How many images can I upload as input? You can upload multiple images. The model uses all uploaded images as compositional and stylistic references during generation.
What is the difference between Nano Banana 2 and Nano Banana 2 Image to Image? Both use the same underlying Gemini Flash Image model. The image-to-image variant takes a source image as an additional input and applies your text instruction as an edit. The text-to-image variant generates from text alone.
When should I use Web Search? Enable it when your edit instruction references a specific real location, product, or visual style that benefits from current search data. Disable it for fictional or abstract edits where search grounding is irrelevant.
Are generated images watermarked? Yes. All Nano Banana Pro 2 outputs carry SynthID and C2PA Content Credentials marking them as AI generated. These are embedded at the file level and visible in compatible viewers.
What is Reasoning Level and when should I use High? Reasoning Level controls how much internal inference the model applies before generating. Use High for edits involving complex spatial rearrangement, multiple interacting subjects, or grounding dependent instructions where Disabled or Minimal produces misaligned results.
Can I animate the edited images? Yes. Pass the output to an image-to-video model in the video workspace or chain it into an Image to Video node in the Node Graph Editor. Kling, Google Veo 3.1, and Seedance are available for image-to-video generation.
Sources
Google Blog: "Nano Banana 2" Google Blog: "Build with Nano Banana 2" Gemini: Image Generation Overview Google AI Developers: Gemini API Image Generation Docs Google Cloud Blog: "Ultimate Prompting Guide for Nano Banana" Wired: Nano Banana 2 hands on
Continue Reading


Video & LipSync
- Video Generator
- Text to Video
- Image to Video
- Start-End Frame to Video
- Draw to Video
- Motion Control
- Video Enhancer
- Video Upscaler
- Video to Video LipSync
- Audio to Video LipSync
- Image to Video LipSync
- Video FaceSwap
- Seedance 2
- Vidu Q3 Pro
- Google Veo 3.1
- Kling 3.0 Pro
- LTX 2.3
- Happy Horse 1.0
- Kling 3.0 Motion
- ByteDance Upscaler
- InfiniteTalk
- InsightFace