

Share this post:
WAN 3.0 Tutorial: Text to Video and Image to Video
WAN 3.0 is now available in the AI FILMS Studio video workspace. It generates clips from 2 to 30 seconds with a soundtrack produced in the same pass, and it exposes a seed field that most models in the roster do not. This guide covers both modes it appears in, plus the same two workflows in the Nodes Graph Editor.
The model sits in both the text to video generator and the image to video generator.
What WAN 3.0 Is
WAN 3.0 is Alibaba's video generation model, the third generation of the Wan family. It produces picture and audio together, follows a written camera instruction, and accepts a starting frame and an optional ending frame when you animate a still.
The number that matters most is the low end of its range. WAN 3.0 starts at 2 seconds, and in text to video it is the only model reaching 30 seconds that will also make a clip that short. A 2 second test at 480p costs 140 credits, so you can check whether a prompt reads correctly before committing to a long generation.
Where it sits in the video roster
The model picker prints the resolution ceiling and the duration range beside every name. These are the figures it shows for the models WAN 3.0 competes with in text to video.
| Model | Resolution range | Duration range |
|---|---|---|
| Seedance 2.5 | 480p to 4K | 4s to 30s |
| WAN 3.0 | 480p to 1080p | 2s to 30s |
| FLUX 3 | 720p to 1080p | 5s to 20s |
| Grok Imagine Video 1.5 | 480p to 1080p | 1s to 15s |
| MiniMax H3 | 2K fixed | 5s to 15s |
| Luma Ray 3.2 | 540p to 1080p | 5s or 10s |
| Gemini Omni Flash | 720p | 3s to 10s |
WAN 3.0 also carries an NSFW badge in the picker. The Studio prints that badge on models with relaxed content filtering, so WAN 3.0 will attempt subject matter that several other models in this list refuse.
Text to Video
Text to Video builds a clip from a written description with no input file. WAN 3.0 handles the picture and the sound in one request, so what you write about audio is read alongside what you write about the shot.
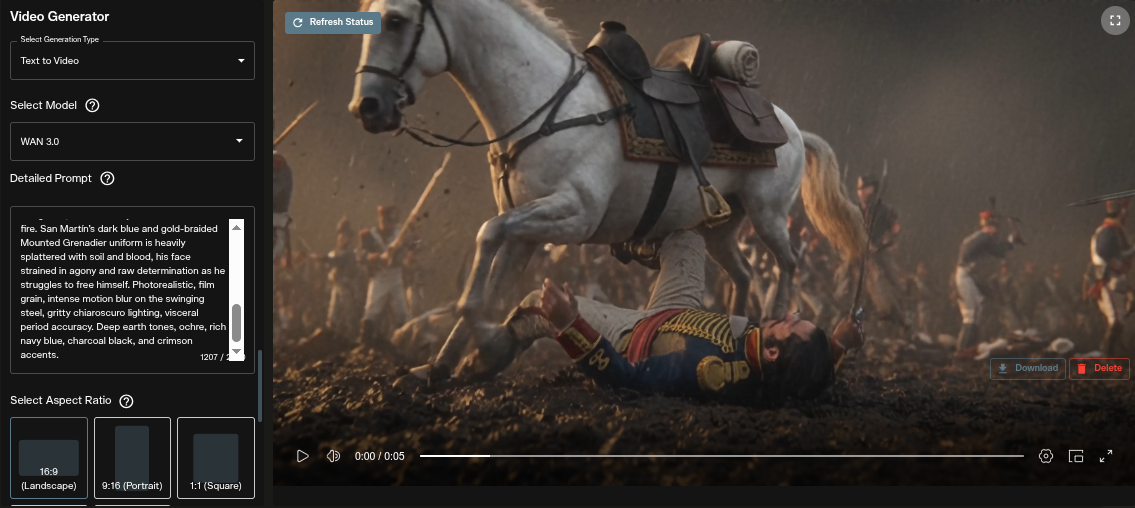
The text to video workspace. The form fills the left column, the finished clip plays on the right.
The form and the result stay side by side. You can change one setting and generate again without losing the clip you already have.
Fill the left column top to bottom. The order on screen is the order to work in, because the model you pick decides which controls appear below it.
Step 1: Choose the generation type
Open AI FILMS Studio. The Select Generation Type dropdown holds five entries. Image to Video, Text to Video, Start-End Frame Video, Draw to Video and Video Enhancer.
Choose Text to Video, the second entry. Changing the type rebuilds the form underneath rather than loading a new page, so moving between modes keeps your place.
Text to Video is the only entry in this list that needs no input file at all.
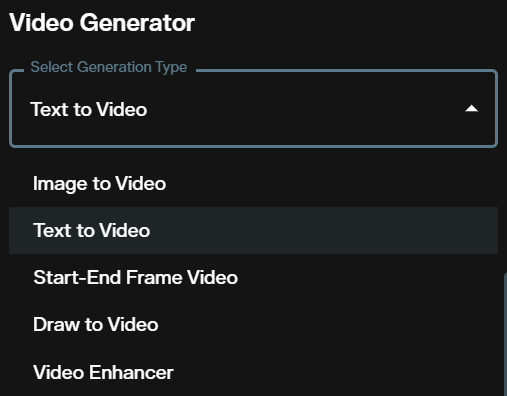
Five generation types. Text to Video is the second one.
Step 2: Select WAN 3.0
The Select Model dropdown prints two figures beside every name. WAN 3.0 sits second in the list and reads 480p-1080p · 2s-30s.
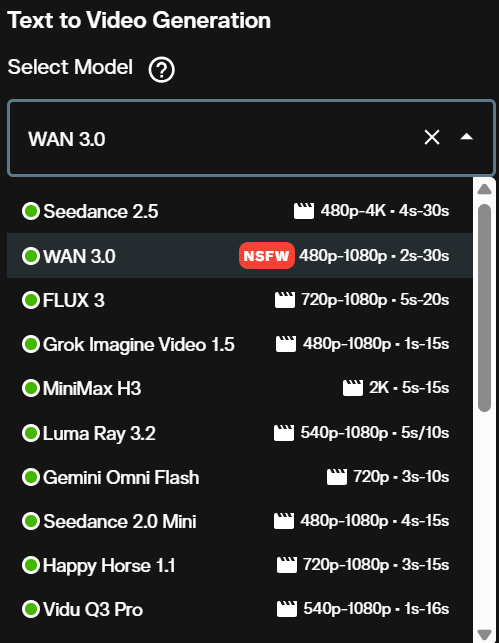
WAN 3.0 is second, under Seedance 2.5. The red badge marks relaxed content filtering.
Those two figures are limits rather than suggestions. Selecting WAN 3.0 removes 4K from the resolution control below, because the model stops at 1080p.
Read the list before you commit. If the delivery needs 4K, Seedance 2.5 is the model to pick. If it needs a clip under 4 seconds at a 30 second capable model, WAN 3.0 is the only option here.
Step 3: Write the prompt
The Detailed Prompt field accepts 2,500 characters and shows a live counter in the bottom corner. Its placeholder asks you to describe in detail what you want in your video.
Describe the movement as well as the scene. A prompt that names a subject and stops leaves the camera to the model, and the model will invent one.
Name the shot size, the direction of travel, what holds still, and the sounds you expect. WAN 3.0 reads the audio cues from this same field.
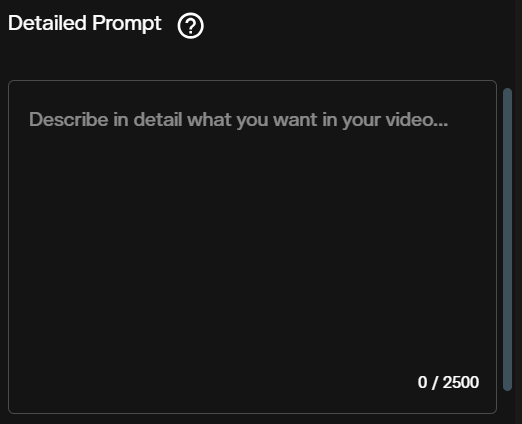
The prompt field. The counter in the corner reads 0 / 2500.
Step 4: Pick the aspect ratio
Five tiles are offered, each drawn as the frame shape it produces. 16:9 landscape, 9:16 portrait, 1:1 square, 4:3 standard and 3:4 portrait. 16:9 is selected when the form loads.
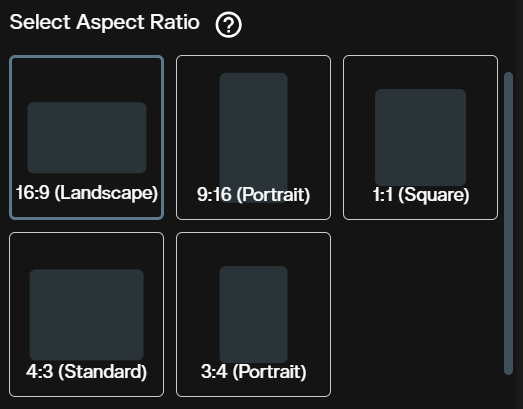
Five frame shapes. 16:9 is the default and carries the highlight.
Aspect ratio is a composition decision taken before generation. The model stages a subject differently in a vertical frame than in a wide one, so a vertical cut and a wide cut of the same idea are two generations.
There is no ultra wide 21:9 tile here. If the delivery is 21:9, generate at 16:9 and crop, or use a model that offers the ratio directly.
Step 5: Set the resolution
Video Resolution is a row of three radio buttons. 480p, 720p and 1080p, with 720p selected by default.
Resolution and duration together drive the wait and the credit cost, and they multiply. A 30 second clip at 1080p is the most expensive combination WAN 3.0 offers.
Test at 480p. Confirm the motion reads correctly, then raise the resolution once the prompt is settled.
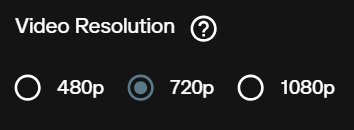
Three resolutions. 720p is selected when the form loads.
Step 6: Set the duration
Duration is a continuous slider running from 2 to 30 seconds, marked at 2s, 10s, 20s and 30s. It starts at the low end.
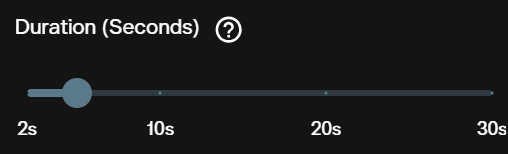
A continuous slider, so any whole length between 2 and 30 seconds is available.
This slider is the reason to reach for WAN 3.0 during iteration. Two seconds at 480p is the cheapest way to find out whether the model understood the shot.
Cost scales directly with the number you set. Leave it at 2 seconds while the prompt is still moving.
Step 7: Set a seed, or leave it random
Seed is a text field with a dice button beside it. The placeholder reads "Enter a seed number (optional)", and leaving it empty gives a different result on every run.
A seed is what makes an A and B test possible. Fix the number, change one word in the prompt, and the difference in the output comes from the word rather than from chance.
The dice button fills a new random number. Copy the seed of a result you liked before you change anything else, because the field resets when you reload the workspace.
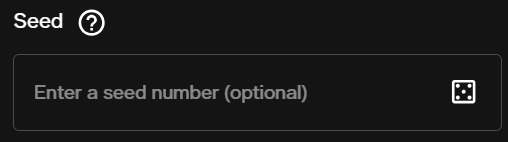
Optional. Empty means random, a number means repeatable.
Step 8: Decide on Reasoning Mode
Reasoning Mode is a toggle, off by default. It gives the model a planning pass over the prompt before it starts generating.

Reasoning Mode. The same control is called Thinking Mode in image to video.
Turn it on for a prompt that describes several things happening in order, or several people interacting. Those are the cases where the model has to decide what happens in the middle of the clip.
Leave it off for a single action or a single camera move. The planning pass adds time, and a short simple prompt gains little from it.
Step 9: Decide on audio
Enable Audio is a toggle, on by default. WAN 3.0 produces the soundtrack in the same pass as the picture, so effects and room tone arrive aligned to the action.
Name the sound inside the prompt. "Rain on a tin roof", "boots in wet mud", "a sword drawn behind the frame" are read alongside the visual description.
Turn it off when you plan to lay your own sound over the clip. Silence is a valid choice and it removes a variable from the generation.
One toggle. Audio is generated with the picture rather than added afterwards.
Step 10: Read the cost and press Create
The Credits required line sits directly above the Create button and updates as you change settings. At 720p and 5 seconds it reads 650.
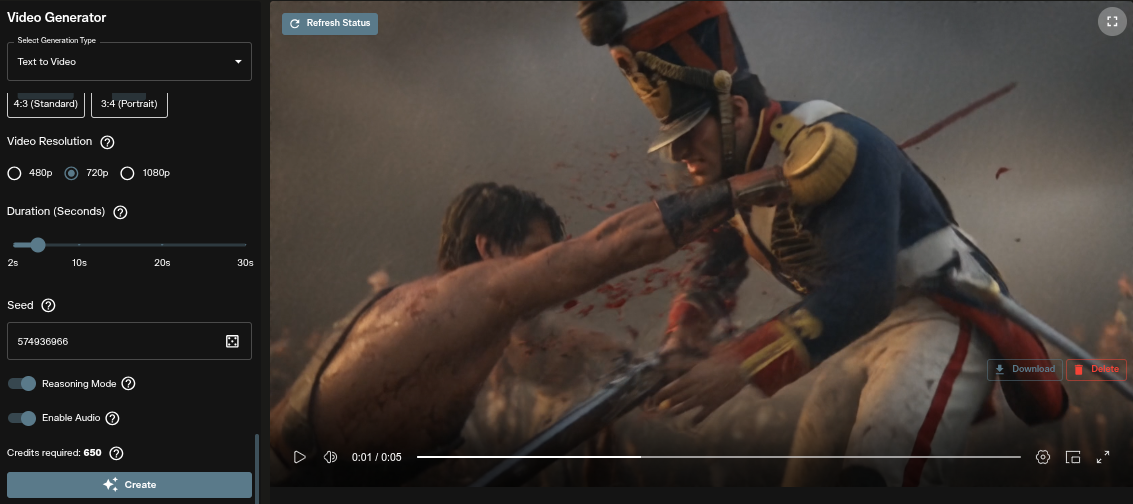
Credits required reads 650 for 720p at 5 seconds with audio on.
Read that number rather than estimating. It already accounts for the resolution and the duration you set, and it is the figure that will be deducted.
The clip appears in the player on the right when it finishes. Download saves the file, Delete removes it.
Text to Video in the Nodes Graph Editor
The same model is available as a node in the Nodes Graph Editor, which is where WAN 3.0 becomes part of a longer chain rather than a single request.
Connect a Prompt node to a Text to Video node, set its Model to WAN 3.0, then wire the output into a Result node. The generation node confirms the wire with a green "Prompt connected" line.
An amber line reads "Connect a negative prompt node (optional)". A negative prompt is a second Prompt node listing what to keep out of the clip, and that is where exclusions belong.
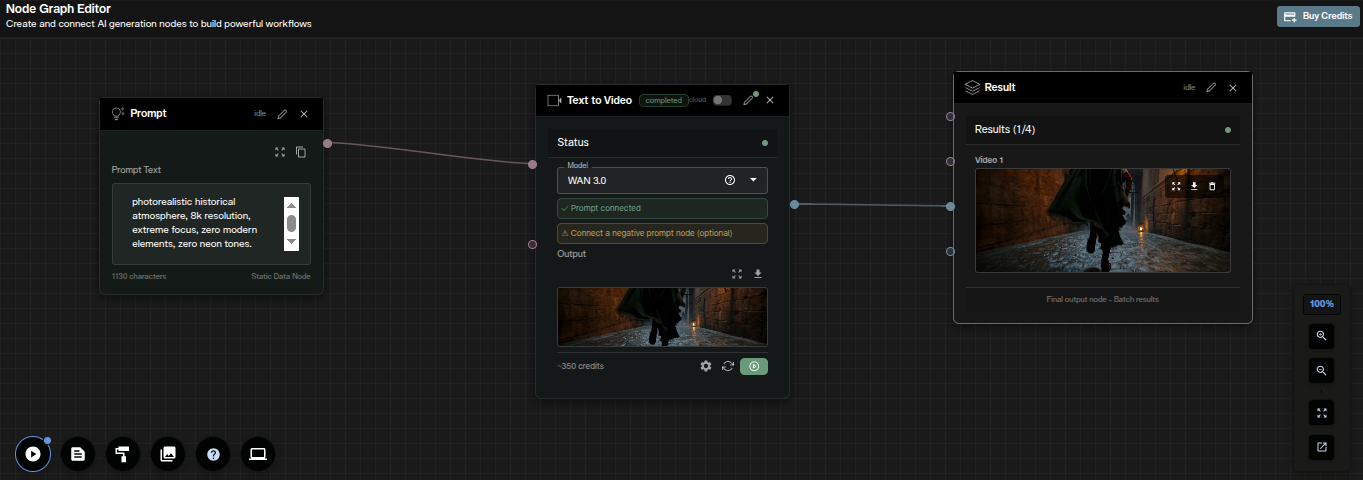
The node reads ~350 credits for this run. The Result node collects batch output.
The node itself carries the Model dropdown, the two input rows, the output thumbnail and the credit figure. The generation settings live in a side panel that opens when you select the node, and the gear icon at the foot of the node opens it.
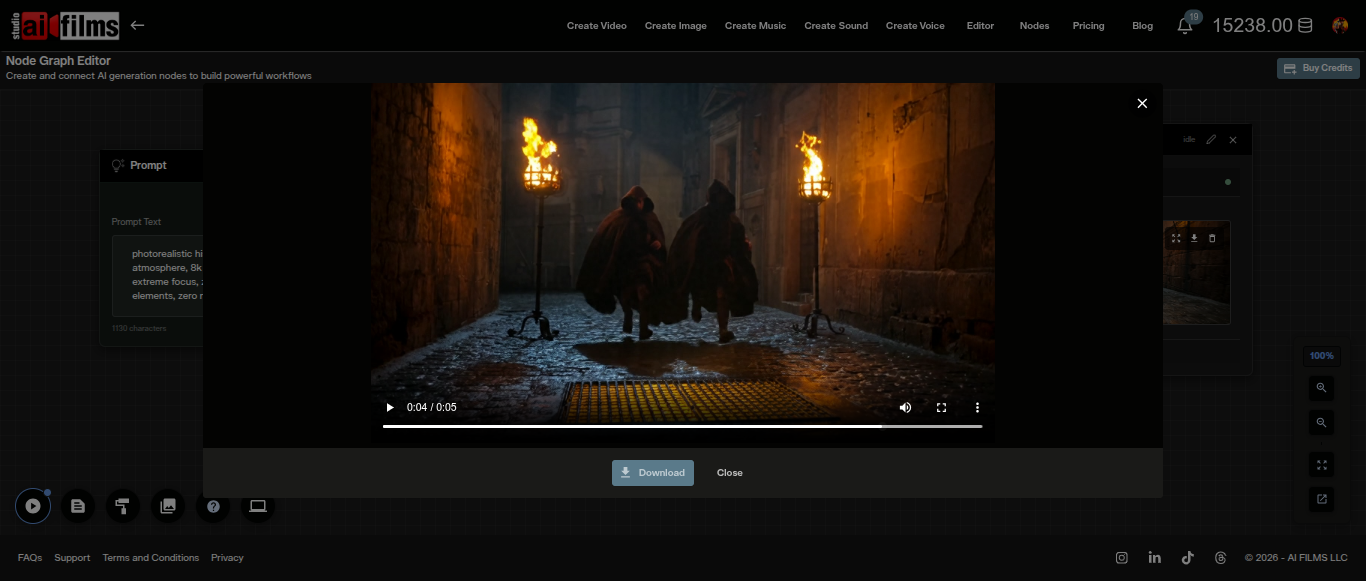
The finished clip opens full width, with Download and Close beneath it.
Click the output thumbnail on the node to open the clip full width. Download saves the file and Close returns you to the graph.
The node keeps its result after it runs. Change one upstream setting and compare the new output against the previous one without rebuilding anything.
Image to Video
Image to Video animates a still. WAN 3.0 keeps the subject, composition and lighting of your source frame, then applies the movement your prompt describes.
The form is shorter than the text to video one. There is no aspect ratio control, because the source image sets the frame shape.
Everything else carries over. Three resolutions, the same 2 to 30 second slider, a seed field, and two toggles at the bottom.
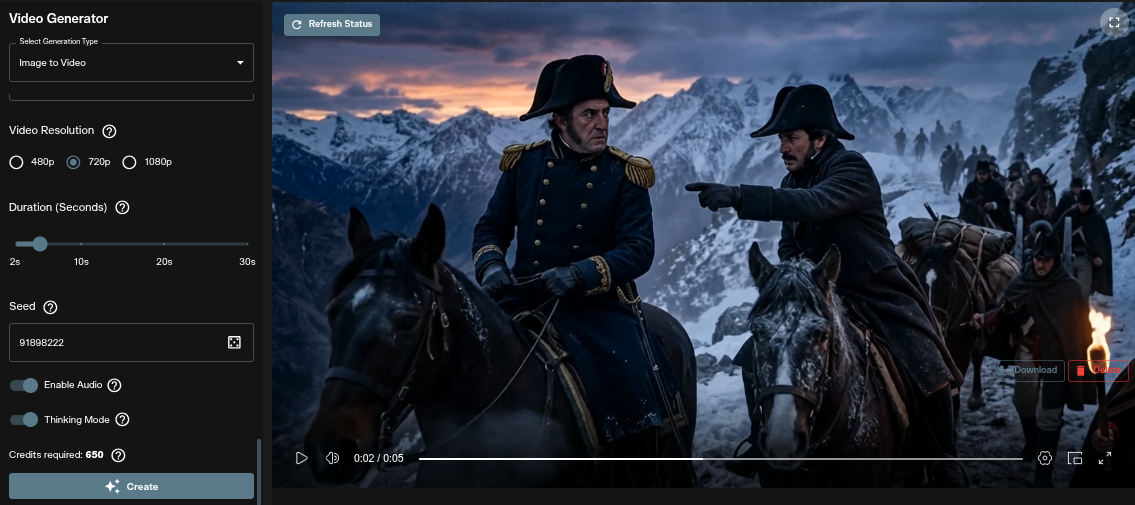
The image to video form. Credits required reads 650 for 720p at 5 seconds.
Step 1: Choose the generation type
Select Image to Video from the same dropdown. It is the first entry in the list.
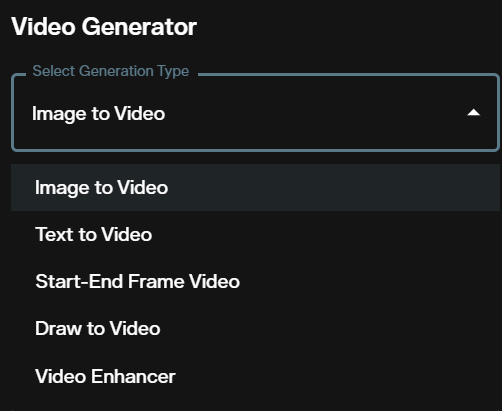
Image to Video is the first of the five generation types.
The form rebuilds immediately. An Image Source section appears at the top and a Last Frame Image section sits below it, in place of the aspect ratio tiles.
Prompt text survives the switch, so an idea written for text to video can be reused against a still without retyping.
Step 2: Select WAN 3.0
The model list here carries the same range, 480p-1080p · 2s-30s, and the same badge. WAN 3.0 is second again, under Seedance 2.5.
Two other models in this mode reach 30 seconds. Seedance 2.5 does it at up to 4K, and Vidu Q3 Drama at up to 1080p from a script.
Vidu Q3 Drama also starts at 2 seconds, so the choice between it and WAN 3.0 comes down to what else you need. Vidu Q3 Drama adds a script field with named assets, and WAN 3.0 adds native audio, a seed field and the last frame input.
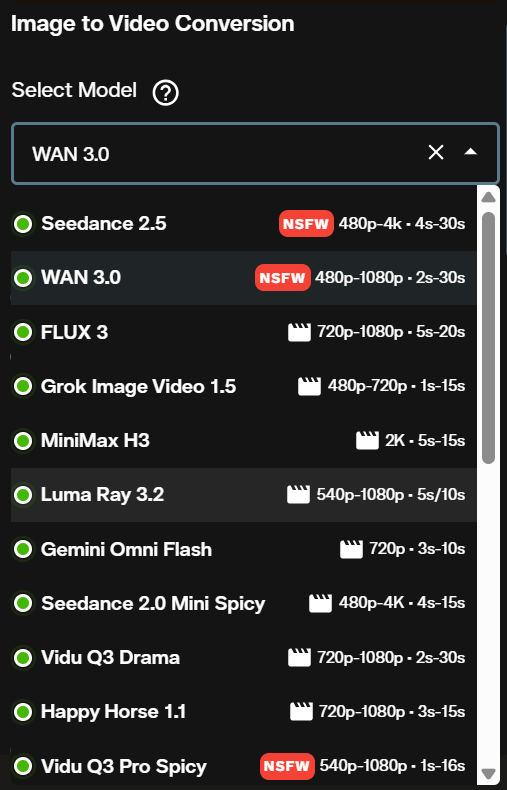
The image to video model list. Several entries here differ from the text to video roster.
Step 3: Supply the source image
Image Source offers five routes. Upload Image, Previous Task, AI Actor, AI Character and Image URL. Uploads accept JPEG, PNG, WEBP, GIF and AVIF to 100MB, with a minimum of 300px by 300px.
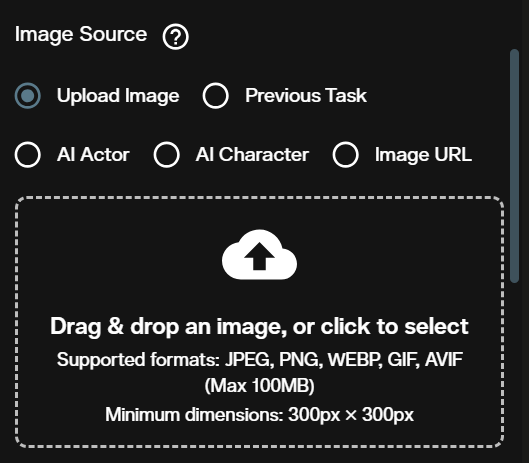
Five ways in. Upload, a previous generation, an AI Actor, an AI Character, or a URL.
This image sets the frame shape of the finished clip. Crop it to the ratio you want before uploading, because there is no ratio control to correct it later.
A clean source helps. Clear subject separation, even lighting and few compression artefacts give the model more to track when it builds the motion.
Step 4: Add a last frame, if the ending matters
Last Frame Image is marked optional and takes the same five sources. Supplying one pins where the clip ends, and the model works out the movement between the two frames.
This is the control for a continuation. Take the last frame of a finished clip, make it the first frame of the next one, and the two cut together cleanly.
Keep the two frames close in subject position, lighting and shape. A large gap between them produces an abrupt change in the middle of the clip.
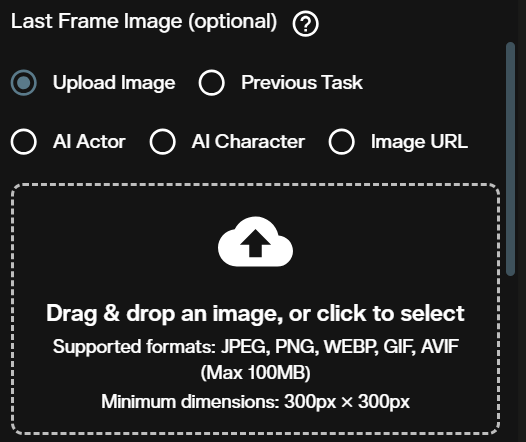
Optional. Setting it fixes the composition the clip ends on.
Step 5: Write the prompt
The Detailed Prompt field is the same 2,500 character field with the same placeholder. What you put in it should change.
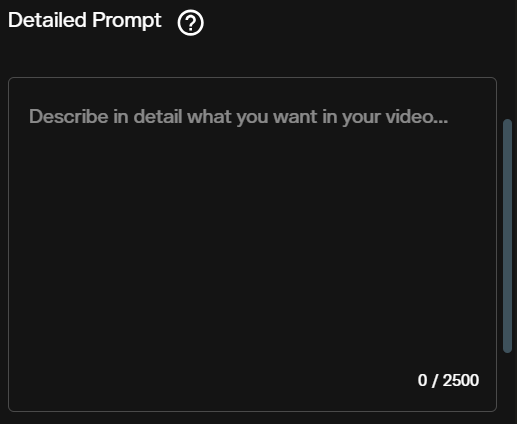
The same prompt field, 2,500 characters, in both modes.
The model already has the appearance from your image. Describing the subject again spends characters that should go on the movement.
Write what changes over the clip. Where the camera travels, what the subject does, how the light shifts, and what stays where it is.
Step 6: Set the resolution
Video Resolution offers the same three options, 480p, 720p and 1080p, with 720p preselected.
Match the resolution to the source. Animating a small image at 1080p adds cost without adding detail the source never had.
Run the first pass at 480p and 2 seconds. That combination costs 140 credits and tells you whether the still animates well at all.
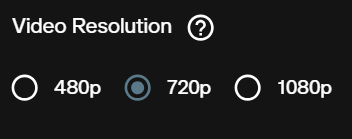
The same three resolutions as text to video.
Step 7: Set the duration
The slider is identical, 2 to 30 seconds with marks at 2s, 10s, 20s and 30s.
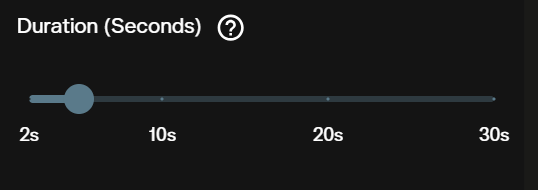
2 to 30 seconds, the same continuous slider as text to video.
A still that animates well for 5 seconds does not always hold for 30. Motion invented from a single frame drifts further the longer it runs.
Build up in steps. Confirm at 2 seconds, then 10, before committing credits to a full 30 second pass.
Step 8: Set a seed
The Seed field appears here too. In image to video it shows -1 by default, which is the value that means random.
Replace the -1 with a whole number to make a run repeatable. The dice button beside the field writes a fresh random number for you.
A fixed seed is most useful here when you are testing the same still against several prompts. It removes one source of variation between the runs.
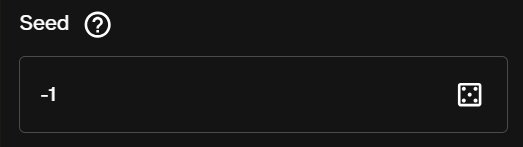
The field defaults to -1, which generates a new random seed on every run.
Step 9: Thinking Mode and audio
The two toggles at the foot of the form are Enable Audio, on by default, and Thinking Mode, off by default. Thinking Mode is the same planning pass that text to video calls Reasoning Mode.
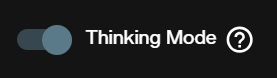
Thinking Mode. Text to video prints the same control as Reasoning Mode.
Two names, one control. Worth knowing if you move between the two forms and expect the label to follow you.
Turn it on when the prompt asks for a sequence of actions from the still, and leave it off for a single camera move.
Enable Audio behaves the same way in this mode. The soundtrack is produced with the picture and follows what the prompt describes.
Press Create. The Credits required line above the button carries the exact cost, and the clip replaces the placeholder in the player when it finishes.

The audio toggle, on by default in both modes.
Image to Video in the Nodes Graph Editor
The image to video route takes one more node than text to video, because the source frame needs its own input.
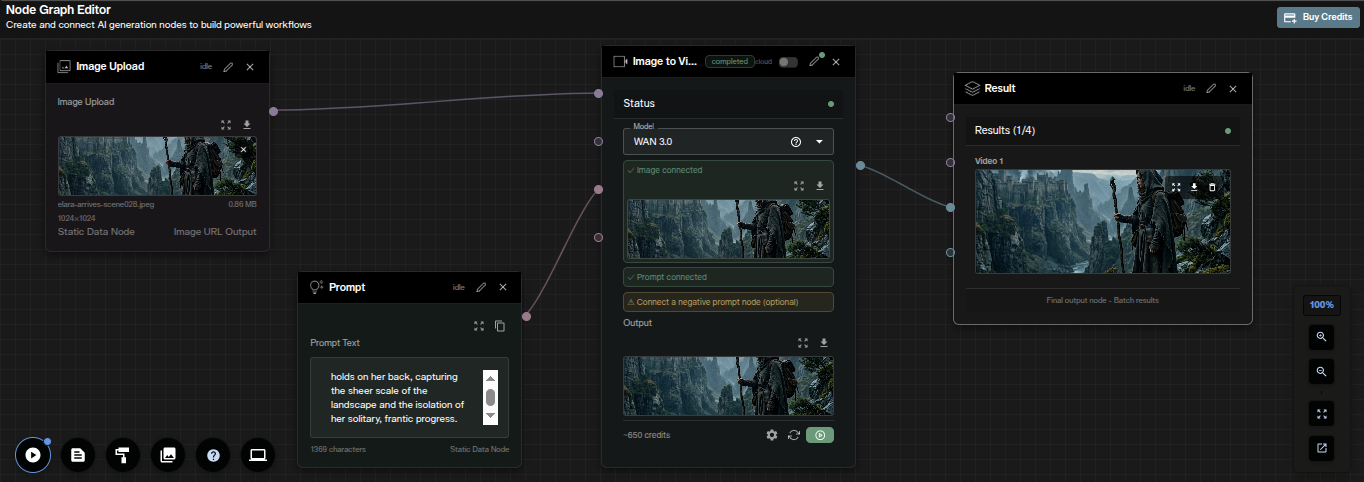
Image Upload and Prompt both feed the Image to Video node. This run reads ~650 credits.
Wire an Image Upload node and a Prompt node into an Image to Video node, then send its output to a Result node. The generation node confirms both wires with green "Image connected" and "Prompt connected" lines.
Reusing one Image Upload node across several generation nodes is the point of building this in a graph. One source frame, several models or several settings, compared in one view.
Selecting the node opens the settings sidebar on the right. It carries a control the workspace form does not have.
The sidebar holds Aspect Ratio, Resolution, Video Duration, Seed, Enable Audio and Thinking Mode. Aspect Ratio is absent from the workspace form, so the graph is the place to reframe a still while you animate it.
The Seed row here is labelled "Seed (Optional - -1 for random)", which states the convention plainly.
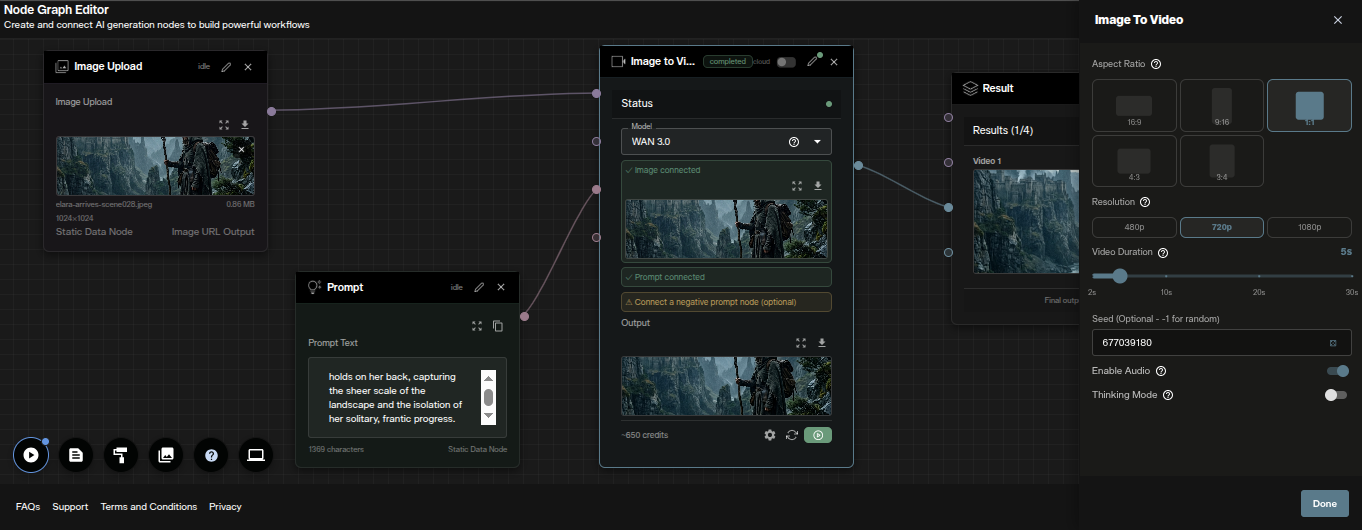
The node sidebar. Aspect Ratio appears here and not in the workspace form.
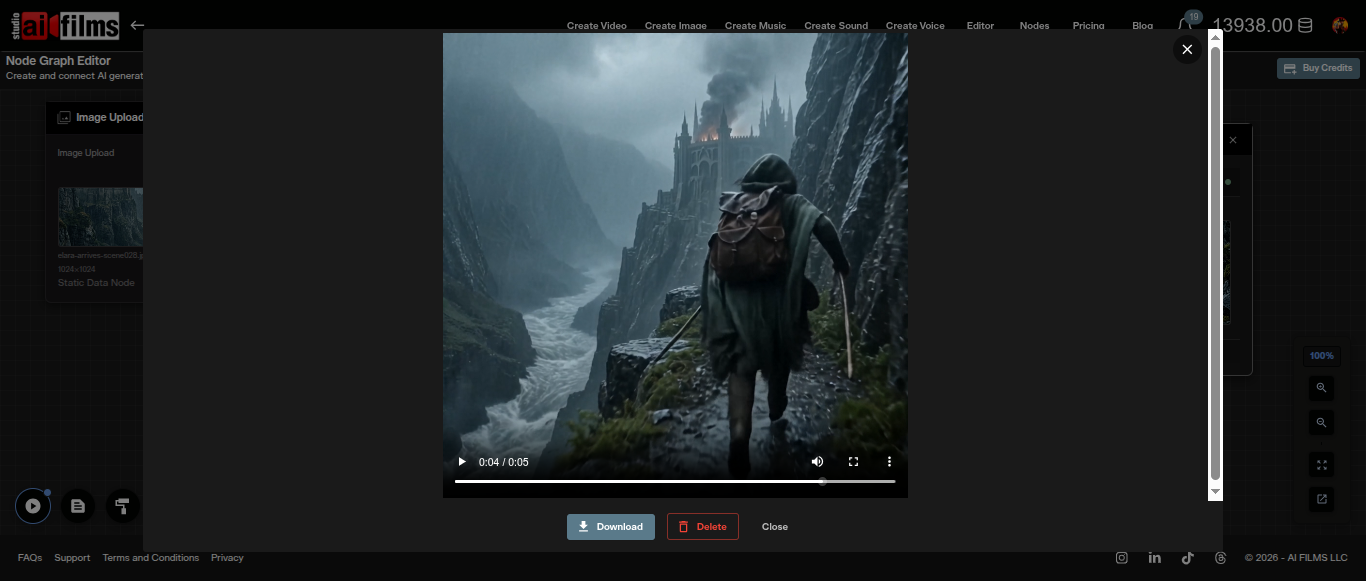
The finished clip, with Download, Delete and Close below the player.
The output opens in the same full width viewer as the text to video graph. Download saves the file, Delete removes it from the graph.
The Result node keeps a batch, so four variants of one frame gather in one node rather than four.
Credit Costs
Cost is driven by resolution and duration, and it is the same in both generation types. WAN 3.0 bills per second of output at a flat rate for each resolution.
| Resolution | Per second | 2 seconds | 5 seconds | 10 seconds | 30 seconds |
|---|---|---|---|---|---|
| 480p | 70 credits | 140 credits | 350 credits | 700 credits | 2,100 credits |
| 720p | 130 credits | 260 credits | 650 credits | 1,300 credits | 3,900 credits |
| 1080p | 280 credits | 560 credits | 1,400 credits | 2,800 credits | 8,400 credits |
The Credits required line above the Create button shows the figure for your exact settings, so read it rather than estimating from the table. In the Nodes Graph Editor the same number appears at the foot of the generation node.
A 2 second test at 480p costs 140 credits and a 30 second clip at 1080p costs 8,400. That is a factor of 60, which is the argument for testing at the bottom of the range and finishing at the top.
Failed generations are refunded automatically. Subscription and credit details are on the AI FILMS Studio pricing page.
For a model that goes higher rather than shorter, the Seedance 2.5 tutorial covers the other 30 second model in the text to video list, which reaches 4K and takes up to 50 reference assets.
Prompt Tips for WAN 3.0
Write for the length you set. A prompt that fills 5 seconds leaves 25 seconds unaccounted for. For a long clip, describe a sequence of beats in order rather than one moment.
Name the camera explicitly. "A slow push in from a wide to a medium across the full clip" produces a different result from "the camera moves". WAN 3.0 follows camera instruction closely enough that the wording matters.
Say what holds still. Video models tend toward constant motion. A locked camera or a stationary subject usually has to be stated, or the model adds movement you did not ask for.
Describe the sound. Audio comes from the same prompt, so naming the sounds gets them matched to the action. Two or three specific cues do more than a general mood word.
Fix the seed before you tune the prompt. With a random seed, two runs differ for two reasons at once. With a fixed seed, the only thing that changed is what you changed.
Put exclusions in a negative prompt. In the Nodes Graph Editor that is a second Prompt node wired to the negative input. Telling the main prompt to avoid something tends to produce it.
In image to video, describe only the change. The appearance is already fixed by your source frame. Characters spent redescribing it are characters not spent on the motion.
Several other models in the roster generate their soundtrack in the same pass. The FLUX 3 video tutorial covers a wider set of aspect ratios at a 20 second ceiling. For the opposite trade, the Grok Imagine Video 1.5 tutorial covers the model with the lowest duration floor in the whole list, 1 second, and no audio track at all.
Limitations
The ceiling is 1080p. WAN 3.0 does not reach 2K or 4K. For a delivery that needs either, the MiniMax H3 tutorial covers fixed 2K output and Seedance 2.5 covers 4K.
Text to video offers five aspect ratios. Several other models in the list offer seven. There is no 21:9 tile and no adaptive option here, so a 21:9 delivery means generating at 16:9 and cropping.
Image to video has no aspect ratio control in the workspace. The source image decides the frame shape. The Image to Video node in the graph editor does expose the control, so that is the route when you need to reframe.
The prompt field stops at 2,500 characters. Across a 30 second clip that is roughly 80 characters per second of output, so a detailed sequence needs tight writing.
The two forms disagree on one label. The same planning toggle reads Reasoning Mode in text to video and Thinking Mode in image to video. The control behaves the same way in both.
Motion drifts on long generations from a single still. Image to video at 30 seconds asks the model to invent a great deal from one frame. A last frame image constrains it, and shorter clips joined at matching frames often read better.
Sources
Alibaba Cloud | Alibaba Tongyi Lab
Continue Reading
.jpg?w=3840)


Video & LipSync
- Video Generator
- Text to Video
- Image to Video
- Start-End Frame to Video
- Draw to Video
- Motion Control
- Video Enhancer
- Video Upscaler
- Video Extend
- Video to Video LipSync
- Audio to Video LipSync
- Image to Video LipSync
- Video FaceSwap
- Seedance 2.5
- WAN 3.0
- Seedance 2
- FLUX 3
- Minimax H3
- Vidu Q3 Pro
- Grok Imagine Video 1.5
- Gemini Omni
- Google Veo 3.1
- Kling 3.0 Pro
- Luma Ray 3.2
- LTX 2.3
- Happy Horse 1.1
- Kling 3.0 Motion
- ByteDance Upscaler
- InfiniteTalk
- InsightFace
Image & Edit
- AI Character
- AI Actor
- Art Generator
- Text to Image
- Image to Image
- LoRA Image to Image
- Draw to Edit
- Image LoRA Training
- Remove Background
- Image Enhancer
- MidJourney 8.0
- Krea 2
- OpenAI GPT Image 2.0
- Nano Banana Pro Ultra
- Nano Banana 2 Lite
- Nano Banana Pro
- Minimax Image
- Clarity Pro
- Z-Image Turbo LoRA
- Krea 2 Turbo LoRA
- Z-Image LoRA Trainer
- Qwen Image LoRA Trainer
- Background Erase Network 2 (BEN2)