
MiniMax H3 Tutorial: 2K Text to Video and Image to Video

Share this post:
MiniMax H3 Tutorial: 2K Text to Video and Image to Video
MiniMax H3 is now available on AI FILMS Studio. The model generates 2K video from a text prompt or from an uploaded starting frame, at any whole second length from 5 to 15. Most models in the workspace top out at 1080p. H3 holds 2K at every duration it offers, with no lower tier to drop to and no shorter cap at the top size.
This tutorial covers both generation modes step by step. It also covers the node setup for each mode in the Nodes Graph Editor. MiniMax H3 sits in both the text to video generator and the image to video generator.
What Is MiniMax H3
MiniMax H3, also known as Hailuo-03, is MiniMax's general purpose video generation model. In text-to-video mode it builds a clip from a written description alone. In image-to-video mode it takes a starting frame and animates it forward, with an optional last frame that fixes how the clip ends.
The two modes share a resolution and a duration range but differ in framing controls. Text-to-video gives you six aspect ratios. Image-to-video gives you none, because the source image decides the output shape.
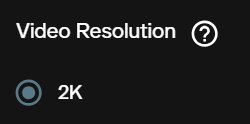
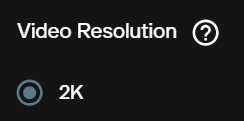
Video resolution. 2K, and only 2K. The resolution control shows a single option, so there is no draft tier to test on and no final tier to move up to. Every generation returns the same size.
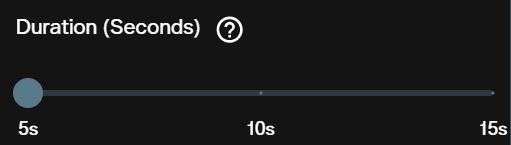
Duration. A slider from 5 to 15 seconds, in whole seconds. Cost tracks duration directly, so the slider is the one control that changes what you pay.
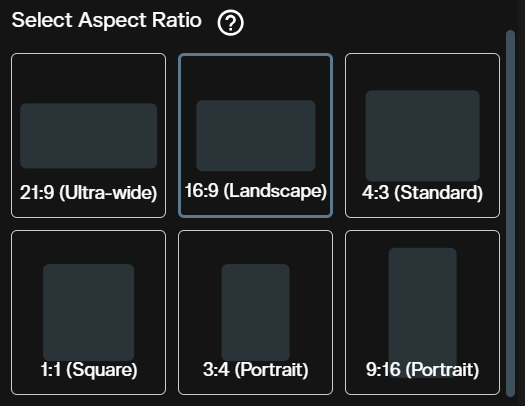
Aspect ratios, text-to-video only. Six formats: 21:9 Ultra wide, 16:9 Landscape, 4:3 Standard, 1:1 Square, 3:4 Portrait, and 9:16 Portrait. 16:9 is selected by default. Set this before you generate, because the ratio cannot be changed afterwards.
Prompt length. The Detailed Prompt field accepts up to 4,000 characters. That is room for camera behaviour, subject action, lighting and environment in one pass, and the model reads long prompts without losing the opening instruction.
Last frame, image-to-video only. An optional second image that binds the closing composition. The model resolves the motion from the starting frame to that ending state.
Text to Video
Step 1: Open the Video Workspace
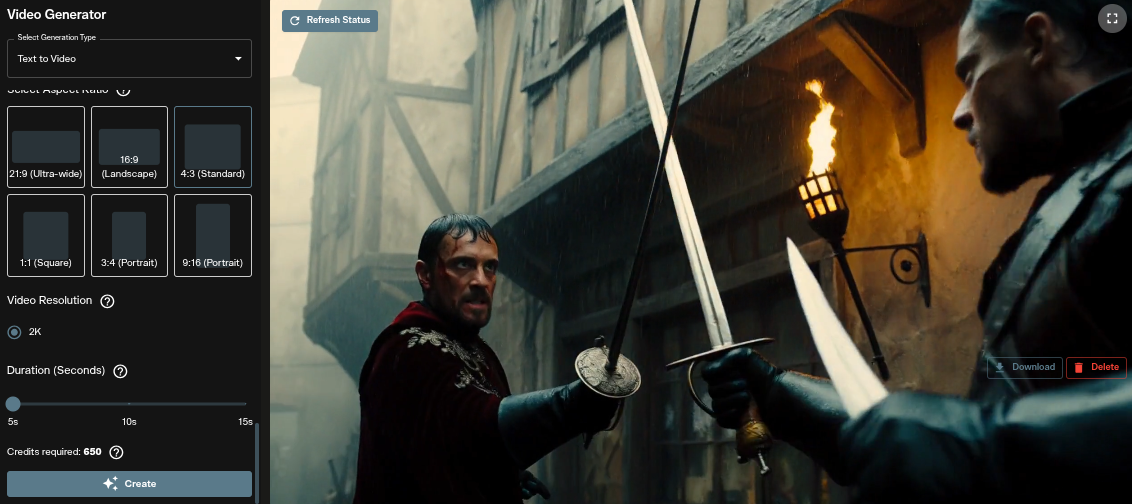
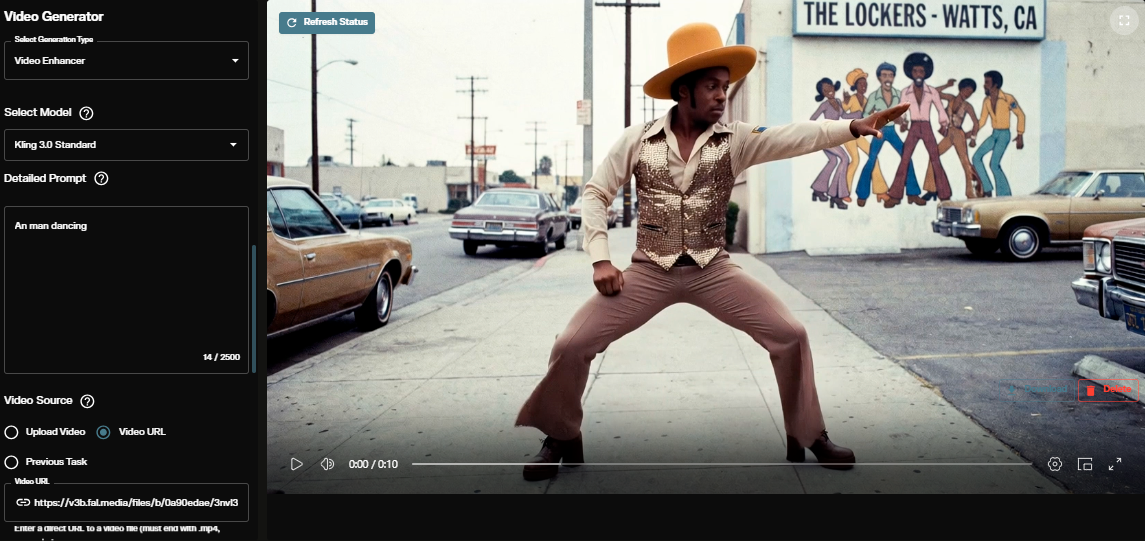
Go to AI FILMS Studio. The Video Generator panel loads on the left, and generated clips appear on the right.
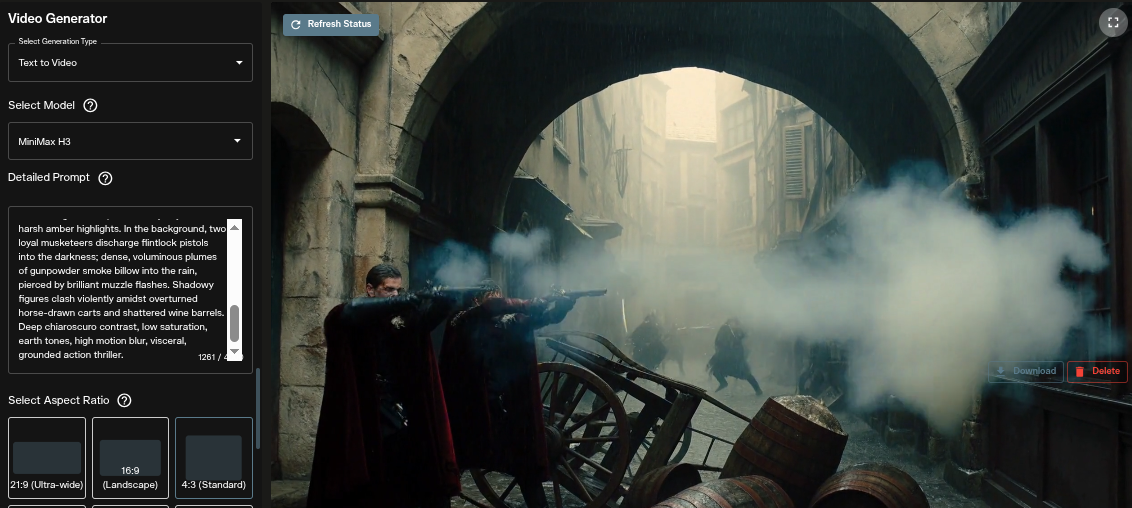
Step 2: Select Text to Video as the generation type
Open the Select Generation Type dropdown at the top of the panel. Choose Text to Video. The same dropdown carries Image to Video, Start-End Frame Video, Draw to Video and Video Enhancer.
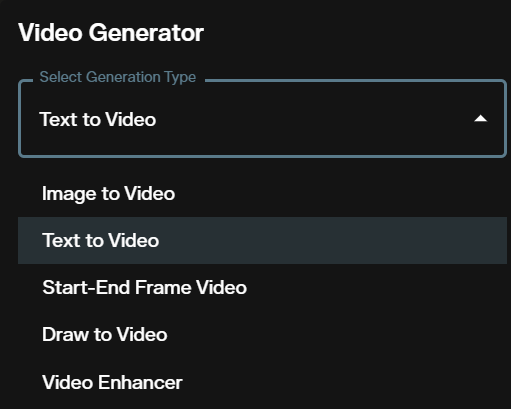
Step 3: Select MiniMax H3
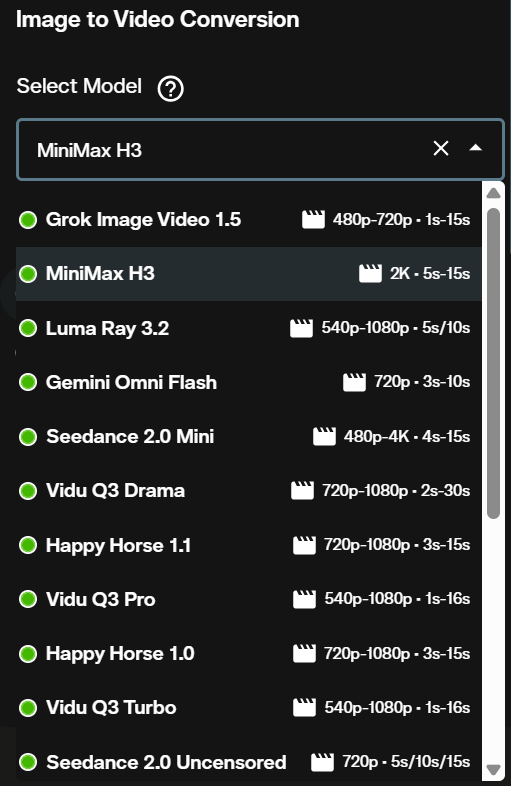
Open the Select Model dropdown and choose MiniMax H3. Each row in this list shows the resolution ceiling and the duration range for that model, so the MiniMax H3 row reads 2K and 5s to 15s. You can rule a model out before you select it.
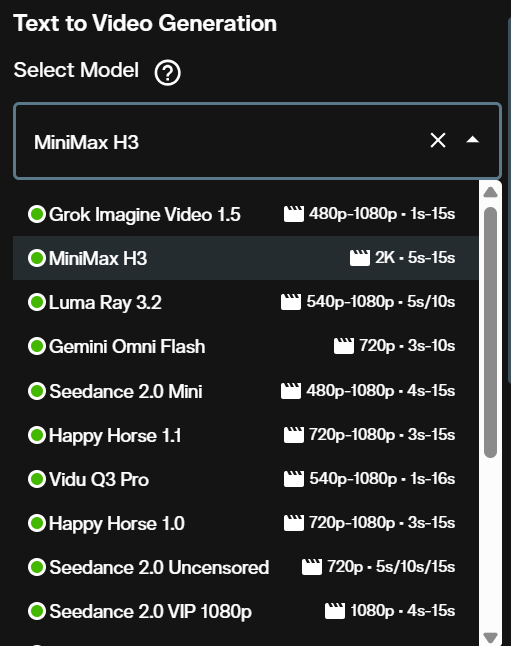
Step 4: Write your prompt
Enter your description in the Detailed Prompt field. Lead with the camera instruction, then the subject, then the environment and lighting. The counter under the field tracks your usage against the 4,000 character limit.
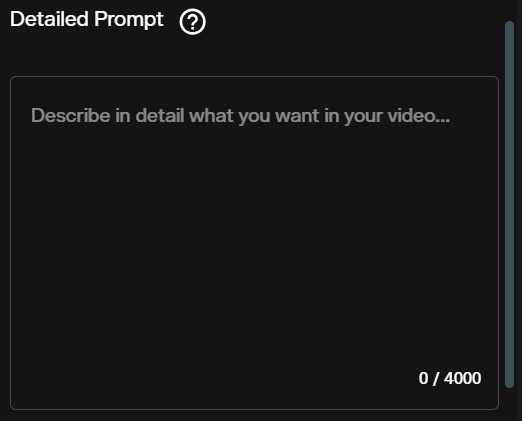
Step 5: Choose aspect ratio
Pick one of the six tiles. 21:9 Ultra wide and 16:9 Landscape suit cinema and desktop delivery. 9:16 and 3:4 Portrait suit vertical feeds. 1:1 Square and 4:3 Standard cover social placements that crop badly at wider ratios.
Six is one short of the widest choice in the workspace. The FLUX 3 tutorial covers the model that adds a seventh, 2:1, which no other model in the video roster offers.
Step 6: Confirm the resolution
The Video Resolution control shows one option, 2K, already selected. Nothing to change here. Plan around it, because a 5 second test costs the same per second as the final clip.
Step 7: Set duration
Drag the Duration slider to any whole second between 5 and 15. Test a new prompt at 5 seconds. Once the composition and the motion behave, raise the slider and generate the delivery length.
Step 8: Generate
Check the credit estimate, then click Generate. The clip appears in the output panel on the right when processing finishes, with Download and Delete controls beneath it.
Text to Video in the Nodes Graph Editor
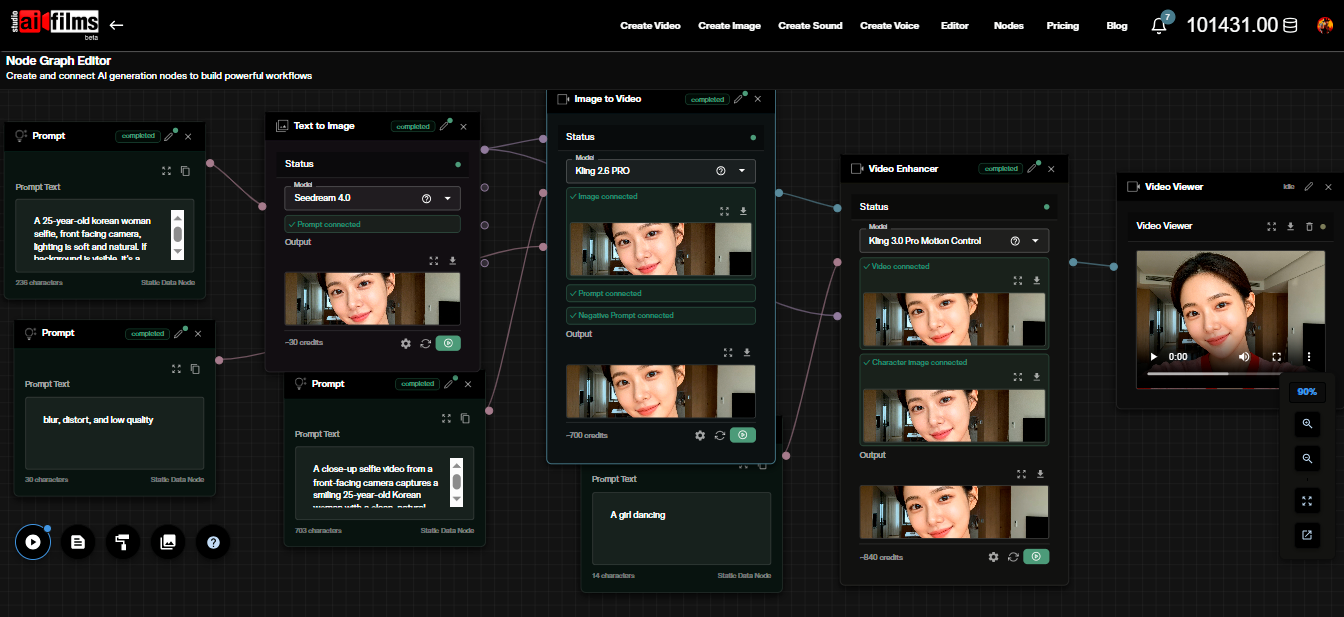
MiniMax H3 text-to-video is also a node in the Nodes Graph Editor. Add a Prompt node and connect it to a Text to Video node. Open the model dropdown inside the node and choose MiniMax H3, then set duration and aspect ratio in the node settings panel.
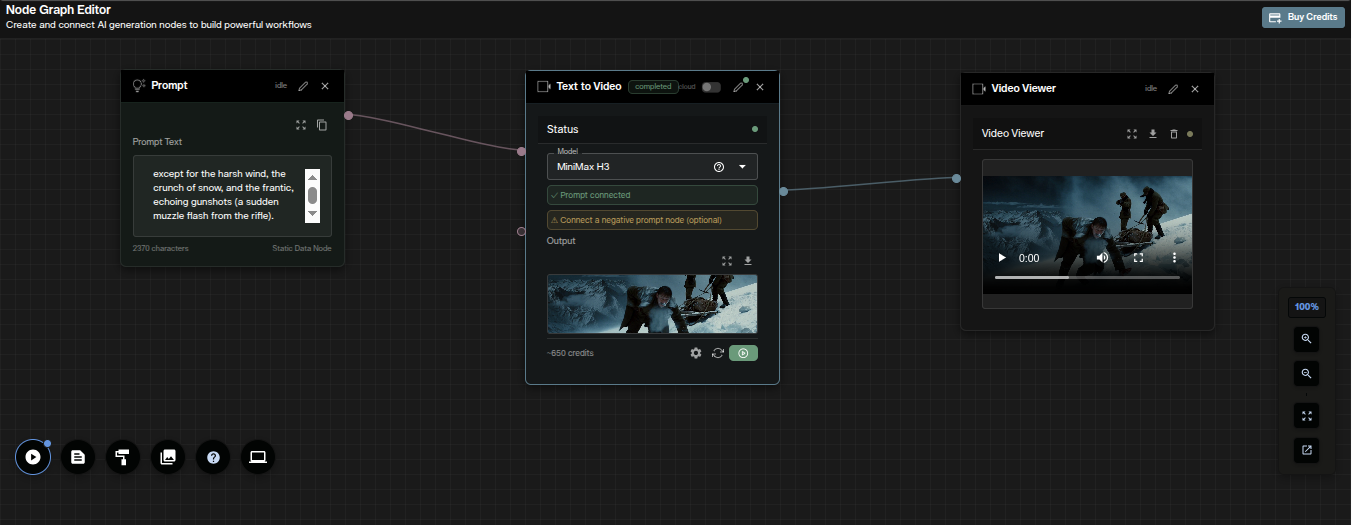
The node shows its credit cost on the card before you run it, so a 5 second generation reads roughly 650 credits. A negative prompt node is optional and can be connected to the same Text to Video node when you need to steer the model away from something.
Wire the output to a Video Viewer node to play the result inside the graph. From there you can download the clip or pass the output into another node, such as a video enhancer or a lipsync stage.
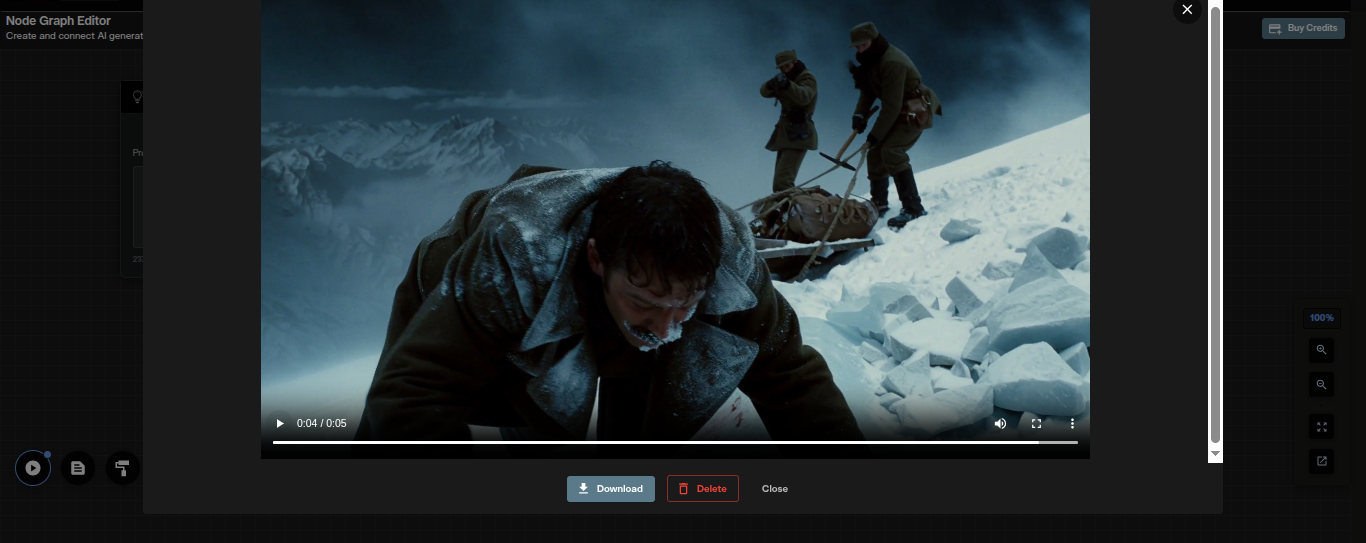
Image to Video
Image-to-video animates a still into a clip. MiniMax H3 uses your uploaded image as the first frame and carries its subject, lighting and composition through the generation.
Step 1: Switch the generation type to Image to Video
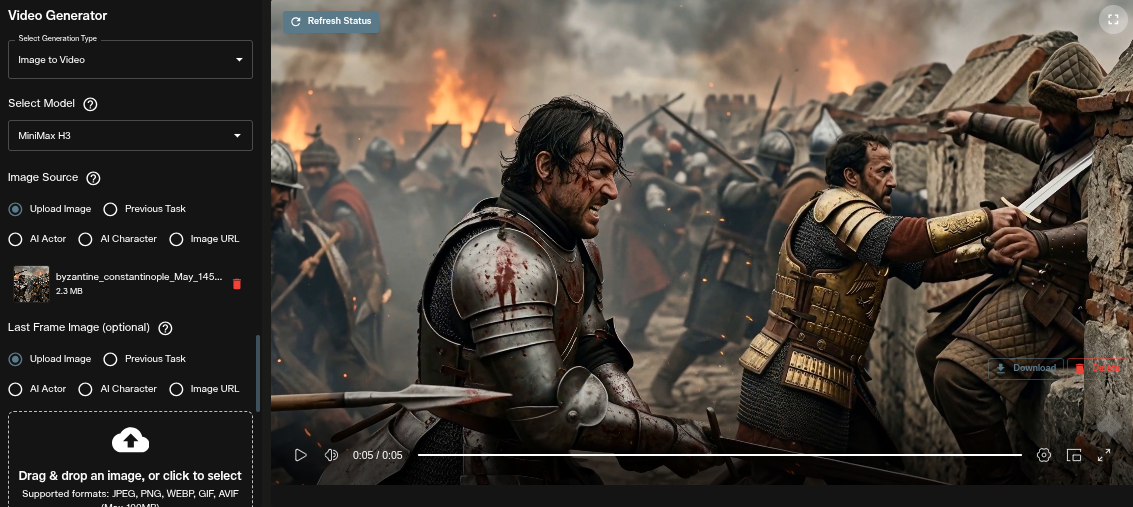
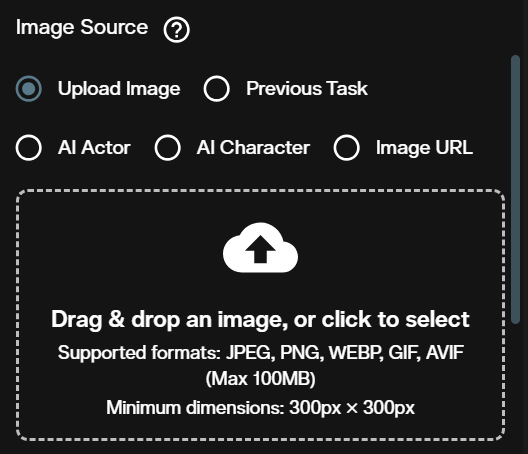
Open the Select Generation Type dropdown and choose Image to Video. The panel reloads with an Image Source section and a Last Frame Image section.
Step 2: Select MiniMax H3
Open the Select Model dropdown and choose MiniMax H3. The image-to-video list shows the same 2K and 5s to 15s specification.
Step 3: Supply the first frame
The Image Source section offers five inputs. Upload Image takes a file from your machine. Previous Task pulls a frame from something you already generated. AI Actor and AI Character pull from your saved characters. Image URL takes a link.
Uploads accept JPEG, PNG, WEBP, GIF and AVIF up to 100MB, at a minimum of 300px by 300px.
Step 4: Add a last frame, optional
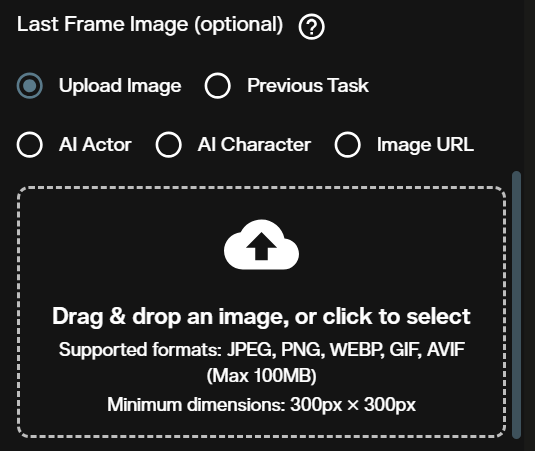
The Last Frame Image section takes a second image through the same five inputs. Supply one when the clip has to arrive at a known composition. This turns image-to-video into a controlled transition between two frames rather than an open ended animation.
Generate both images in the image workspace first when you want the pair to match in palette and lighting. A last frame that clashes with the first frame in colour or geometry produces visible artefacts through the middle of the clip.
Step 5: Write your motion prompt
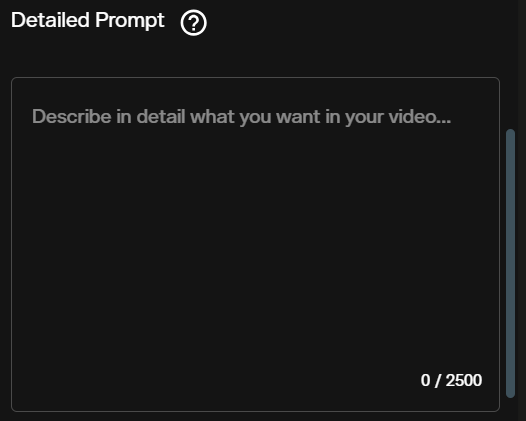
Describe what moves and how the camera behaves. Skip the appearance of the subject, because the model already reads that from your uploaded frame. "The camera pushes in slowly as smoke drifts across the foreground" gives the model more to work with than a restatement of what is already in the picture.
Step 6: Set duration and confirm resolution
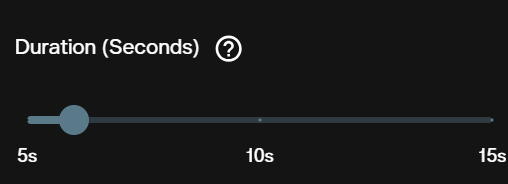
The Duration slider runs 5 to 15 seconds, the same as text-to-video. Resolution is fixed at 2K again, with a single option shown.
There is no aspect ratio control in this mode. The output shape comes from your source image, so frame and crop the image to your delivery format before you upload it. Fixing the ratio afterwards means regenerating.
Step 7: Generate
Review the credit estimate and click Generate. The animated clip appears in the output panel and can be downloaded from there.
Image to Video in the Nodes Graph Editor
The image-to-video mode runs as a node too. Add a Prompt node and an Image Upload node, and connect both into an Image to Video node. Select MiniMax H3 in the node model dropdown, then set the duration in the node settings panel.
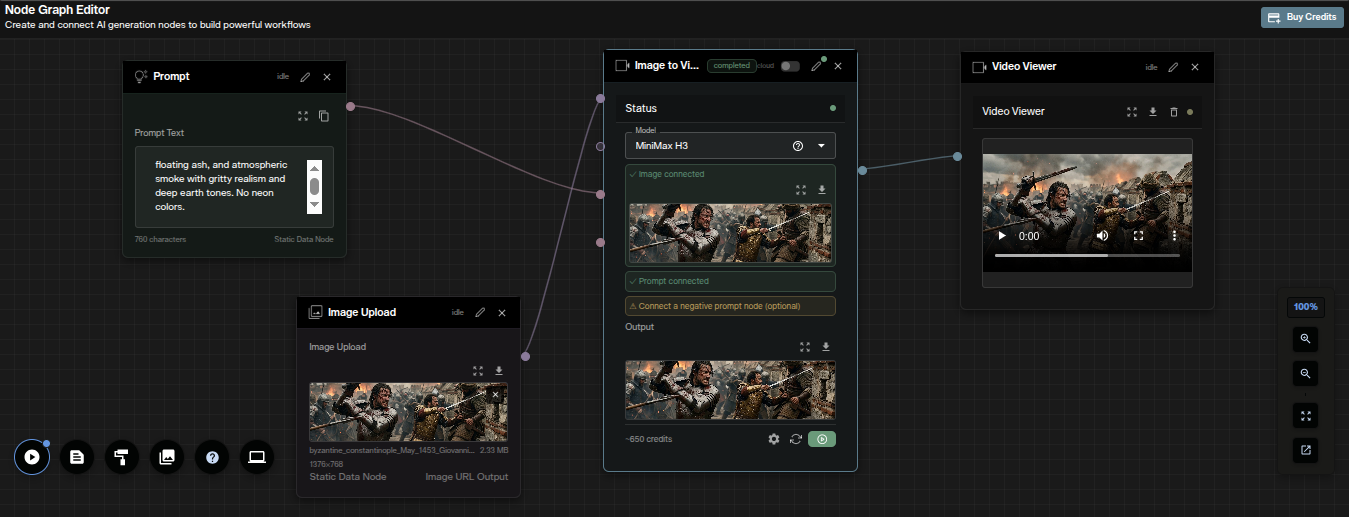
The node confirms both connections before it will run, showing Image connected and Prompt connected on the card. As with text-to-video, a negative prompt node is optional.
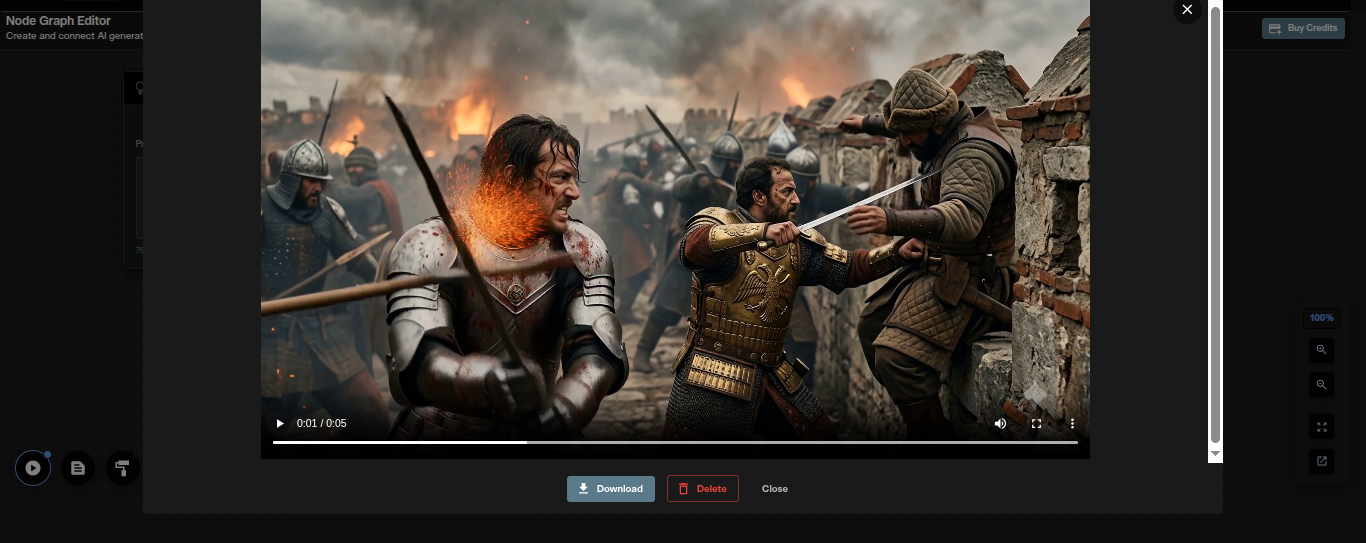
Connect the output to a Video Viewer node to review the clip in the graph. This layout is worth saving when you animate a batch of stills, because only the Image Upload node changes between runs.
Credit Costs
MiniMax H3 bills a flat 130 credits per second of output. Resolution is fixed, so it does not enter the calculation, and aspect ratio and prompt length have no effect. Text-to-video and image-to-video cost the same.
| Duration | Credits |
|---|---|
| 5s | 650 |
| 6s | 780 |
| 7s | 910 |
| 8s | 1,040 |
| 9s | 1,170 |
| 10s | 1,300 |
| 11s | 1,430 |
| 12s | 1,560 |
| 13s | 1,690 |
| 14s | 1,820 |
| 15s | 1,950 |
The flat rate makes budgeting simple. A model with resolution tiers changes cost in two dimensions at once, so a 10 second clip can cost four times a 5 second one. Here a 10 second clip always costs exactly twice a 5 second clip.
Credits for failed generations are refunded automatically. For subscription details, see AI FILMS Studio pricing.
Prompt Tips for MiniMax H3
Lead with the camera move. Put the camera instruction at the front of the prompt. "Slow crane down over a rain soaked alley as two figures run through the frame" reads better than the same scene with the camera note bolted on at the end.
Test at 5 seconds, deliver at your real length. There is no low resolution draft tier here, so duration is your only lever for cheap iteration. A 5 second test costs 650 credits against 1,950 for the full 15, and it confirms composition, motion and pacing before you commit.
Frame the source image to your output ratio. Image-to-video has no aspect ratio control at all. Whatever shape you upload is the shape you get back. Crop to 9:16 before uploading when the clip is going to a vertical feed.
Reach for 21:9 when the shot earns it. Establishing shots, horizon lines and slow lateral moves all read better at an ultra wide ratio than they do at 16:9. The tile sits first in the aspect ratio grid and is easy to miss.
Use the last frame for transitions. The field earns its place when a shot has to land on a specific composition. A loop that closes cleanly and a cut that matches the next shot are both good examples. Supplying an unrelated end image forces the model to invent a path between two states that do not connect.
Write one prompt, not a list. The 4,000 character field invites a long specification. Continuous prose describing a single shot outperforms a bulleted set of instructions, because the model reads the prompt in sequence and weights what comes first.
For a text-to-video and image-to-video model with an optional end frame and a choice of resolution tiers, see the Luma Ray 3.2 tutorial. For a faster model with a wider duration range, the LTX 2.3 tutorial covers where speed matters more than resolution. The Vidu Q3 Drama and Turbo tutorial covers script driven sequences across multiple reference assets, and the Seedance 2.0 tutorial covers camera movement and scene coherence.
For the opposite trade against a fixed 2K, the Grok Imagine Video 1.5 tutorial covers a model with three resolution tiers starting at 480p and clips as short as 1 second. Where H3 gives you no cheap draft, Grok gives you an 80 credit test.
The WAN 3.0 tutorial covers the same two modes with three resolution tiers and a 2 to 30 second range, so both levers for cheap iteration are available there. It also generates its soundtrack in the same pass, which H3 does not.
Sources
MiniMax: MiniMax
Continue Reading
.jpg?w=3840)


Video & LipSync
- Video Generator
- Text to Video
- Image to Video
- Start-End Frame to Video
- Draw to Video
- Motion Control
- Video Enhancer
- Video Upscaler
- Video Extend
- Video to Video LipSync
- Audio to Video LipSync
- Image to Video LipSync
- Video FaceSwap
- Seedance 2.5
- WAN 3.0
- Seedance 2
- FLUX 3
- Minimax H3
- Vidu Q3 Pro
- Grok Imagine Video 1.5
- Gemini Omni
- Google Veo 3.1
- Kling 3.0 Pro
- Luma Ray 3.2
- LTX 2.3
- Happy Horse 1.1
- Kling 3.0 Motion
- ByteDance Upscaler
- InfiniteTalk
- InsightFace
Image & Edit
- AI Character
- AI Actor
- Art Generator
- Text to Image
- Image to Image
- LoRA Image to Image
- Draw to Edit
- Image LoRA Training
- Remove Background
- Image Enhancer
- MidJourney 8.0
- Krea 2
- OpenAI GPT Image 2.0
- Nano Banana Pro Ultra
- Nano Banana 2 Lite
- Nano Banana Pro
- Minimax Image
- Clarity Pro
- Z-Image Turbo LoRA
- Krea 2 Turbo LoRA
- Z-Image LoRA Trainer
- Qwen Image LoRA Trainer
- Background Erase Network 2 (BEN2)