
Grok Imagine Video 1.5 Tutorial: Text to Video and Image to Video

Share this post:
Grok Imagine Video 1.5 Tutorial: Text to Video and Image to Video
Grok Imagine Video 1.5 from xAI is now available on AI FILMS Studio. The model generates video from a text prompt or from an uploaded still, at any whole second length from 1 to 15. That 1 second floor is the lowest in the entire video roster. No other model in the workspace will render a clip shorter than 2 seconds.
The floor matters because it changes what a test costs. A 1 second draft at 480p bills 80 credits, so you can check composition, motion direction and framing for less than the price of a coffee stirrer before committing to the full length.
This tutorial covers both generation modes step by step, plus the node setup for each one in the Nodes Graph Editor. The model sits in both the text to video generator and the image to video generator. It is the same family behind the Grok Odyssey feature film announcement, now available to run yourself.
What Is Grok Imagine Video 1.5
Grok Imagine Video 1.5 is xAI's video generation model. In text-to-video mode it builds a clip from a written description alone. In image-to-video mode it takes your uploaded frame as the opening shot and animates forward from it.
The two modes carry different names in the workspace. The text-to-video dropdown lists it as Grok Imagine Video 1.5. The image-to-video dropdown lists it as Grok Image Video 1.5. Same model, two labels. Scan for "Grok" rather than for "Imagine" when you switch modes, or you will scroll past it.
Video resolution. Text-to-video offers 480p, 720p and 1080p. Image-to-video offers 480p and 720p only, with no 1080p option. Both default to 720p. This is the one place where the two modes genuinely differ in output quality, so plan a 1080p delivery around text-to-video.
Duration. A slider from 1 to 15 seconds in whole seconds, identical in both modes, defaulting to 6. Cost tracks duration directly. The slider is the control that decides most of what you pay.
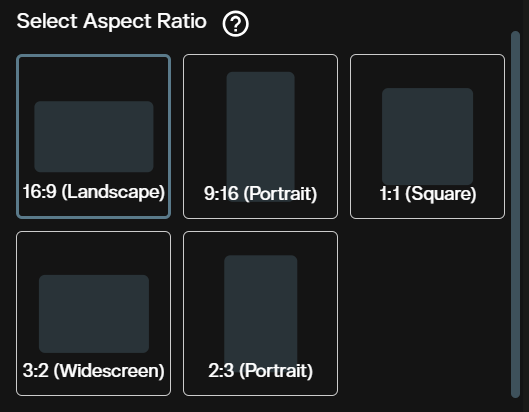
Aspect ratios, text-to-video only. Five formats: 16:9 Landscape, 9:16 Portrait, 1:1 Square, 3:2 Widescreen and 2:3 Portrait. 16:9 is selected by default. Image-to-video has no aspect ratio control at all, because the source image sets the output shape. The FLUX 3 tutorial covers the one model that keeps a full ratio control in image-to-video, where you can reframe a landscape still into a vertical clip in the same pass.
Prompt length. The Detailed Prompt field accepts up to 2,500 characters in both modes. That covers camera behaviour, subject action, lighting and environment in one pass without running out of room.
No negative prompt, no seed. Neither control appears in the workspace for this model. Exclusions have to be written into the positive prompt. The Nodes Graph Editor does accept an optional negative prompt node, which is the only route to one.
Text to Video
Step 1: Open the video workspace
Go to AI FILMS Studio. The Video Generator panel loads on the left and generated clips appear on the right.
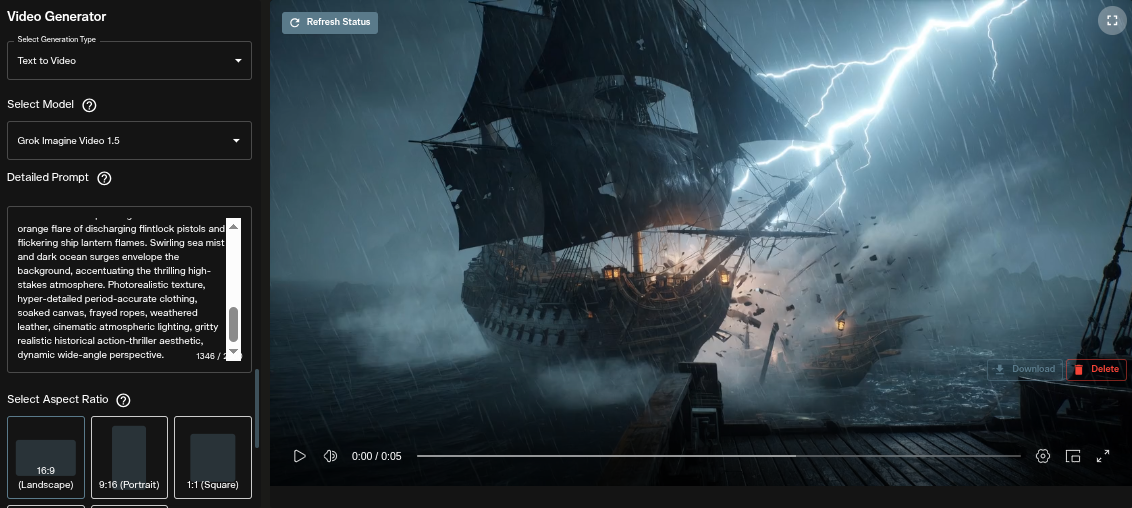
Step 2: Select Text to Video as the generation type
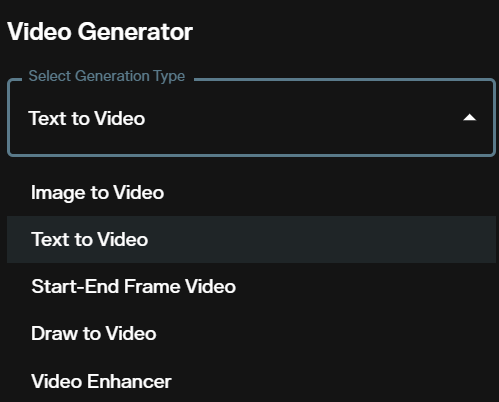
Open the Select Generation Type dropdown at the top of the panel and choose Text to Video. The same dropdown carries Image to Video, Start-End Frame Video, Draw to Video and Video Enhancer.
Step 3: Select Grok Imagine Video 1.5
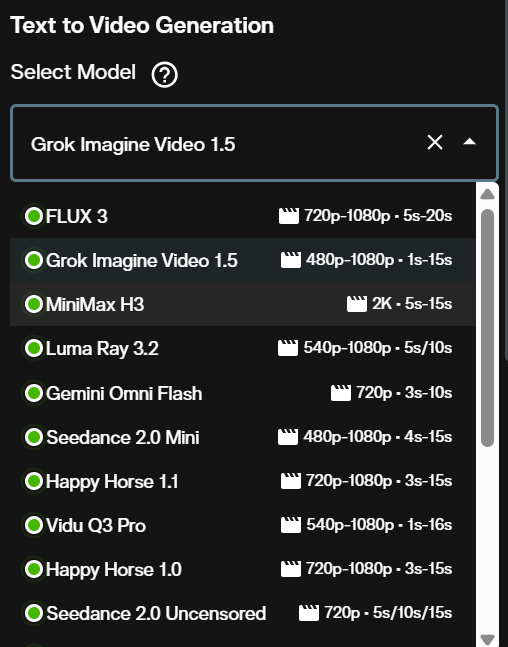
Open the Select Model dropdown and choose Grok Imagine Video 1.5. Every row shows the resolution ceiling and the duration range for that model, so the Grok row reads 480p to 1080p and 1s to 15s. Comparing that row against the ones above and below it is the fastest way to rule a model in or out.
Step 4: Write your prompt
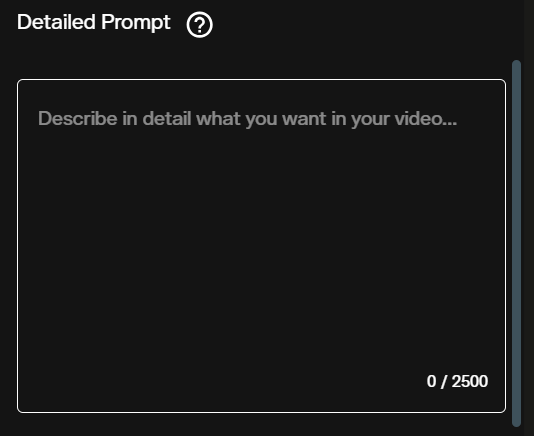
Enter your description in the Detailed Prompt field. Lead with the camera instruction, then the subject, then the environment and lighting. The counter under the field tracks your usage against the 2,500 character limit.
There is no negative prompt field here, so anything you want kept out of frame has to be phrased positively. Write "an empty road at dawn" rather than relying on a negative to remove traffic.
Step 5: Choose aspect ratio
Pick one of the five tiles. 16:9 Landscape suits cinema and desktop delivery. 9:16 and 2:3 Portrait suit vertical feeds. 1:1 Square covers social placements that crop badly at wider ratios, and 3:2 Widescreen sits between 16:9 and 4:3 for stills work carried into motion.
Set this before generating. The ratio cannot be changed afterwards without a new generation.
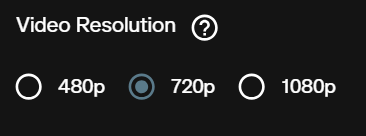
Step 6: Choose the resolution
The Video Resolution control offers 480p, 720p and 1080p, with 720p selected by default. The three tiers are the reason to iterate here rather than elsewhere. A 480p pass costs a third of a 1080p pass at the same length.
Use 480p while you are still testing the prompt. Move to 720p once the shot works, and reserve 1080p for the take you intend to deliver.
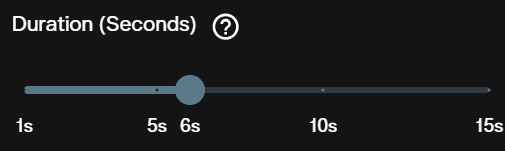
Step 7: Set the duration
Drag the Duration slider to any whole second between 1 and 15. The slider carries marks at 1s, 5s, 6s, 10s and 15s, and it opens at 6.
Pull it all the way down to 1 second for the first pass on a new prompt. One second is enough to see whether the model understood the subject, the framing and the direction of movement. Everything beyond that is the same shot continuing.
Step 8: Generate
Check the credit estimate, then click Generate. The clip appears in the output panel on the right when processing finishes, with Download and Delete controls beneath it.
Text to Video in the Nodes Graph Editor
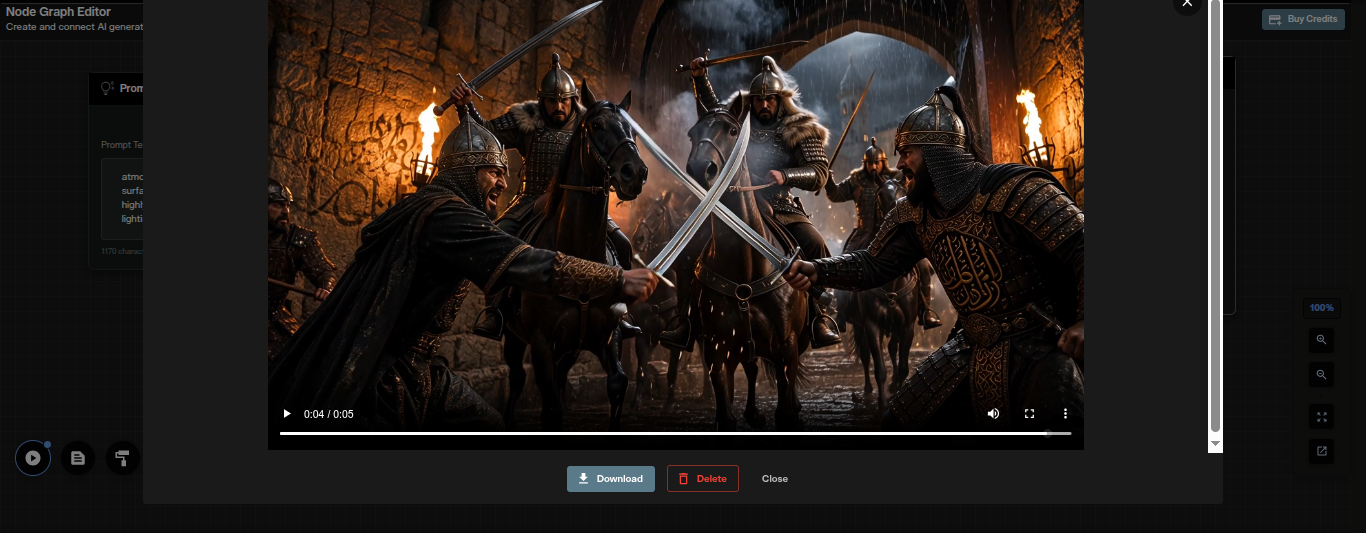
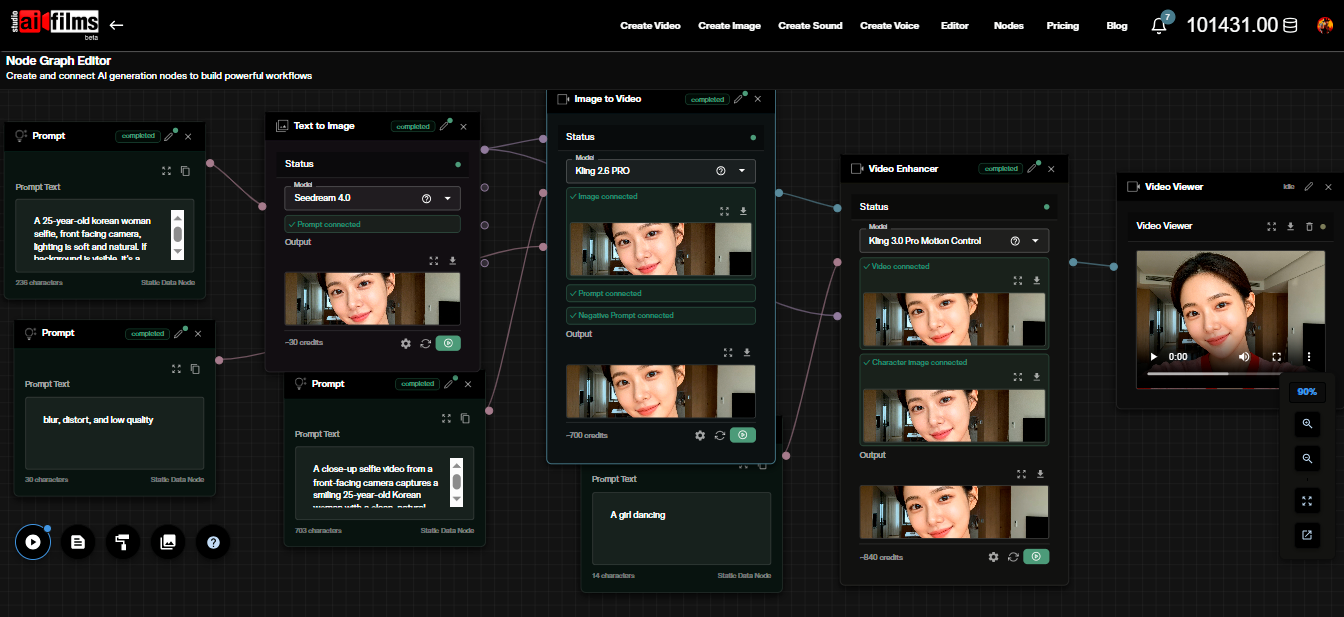
Grok Imagine Video 1.5 text-to-video also runs as a node in the Nodes Graph Editor. Add a Prompt node and connect it to a Text to Video node. Open the model dropdown inside the node, choose Grok Imagine Video 1.5, then set resolution, duration and aspect ratio in the node settings panel.
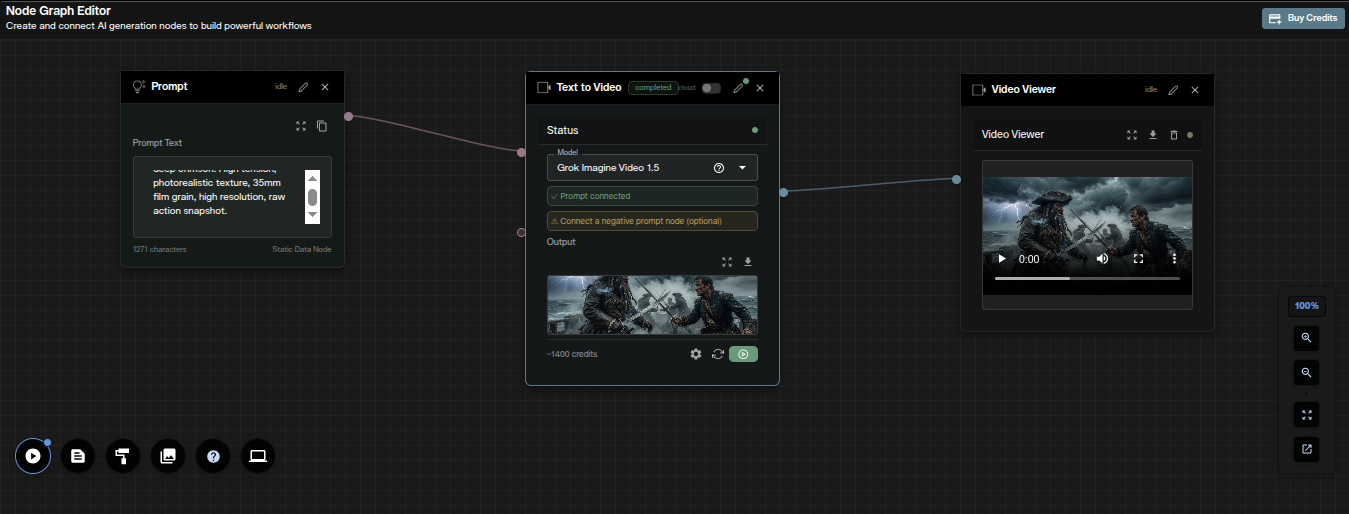
The node card shows its credit cost before you run it, so a 10 second generation at 720p reads roughly 1400 credits. The card also confirms the prompt connection and offers an optional negative prompt node. That node is the only negative prompt this model has, and it is worth wiring when a specific element keeps appearing in output you did not ask for.
Connect the output to a Video Viewer node to play the result inside the graph. From there you can download the clip or pass it into another node, such as a video enhancer or a lipsync stage.
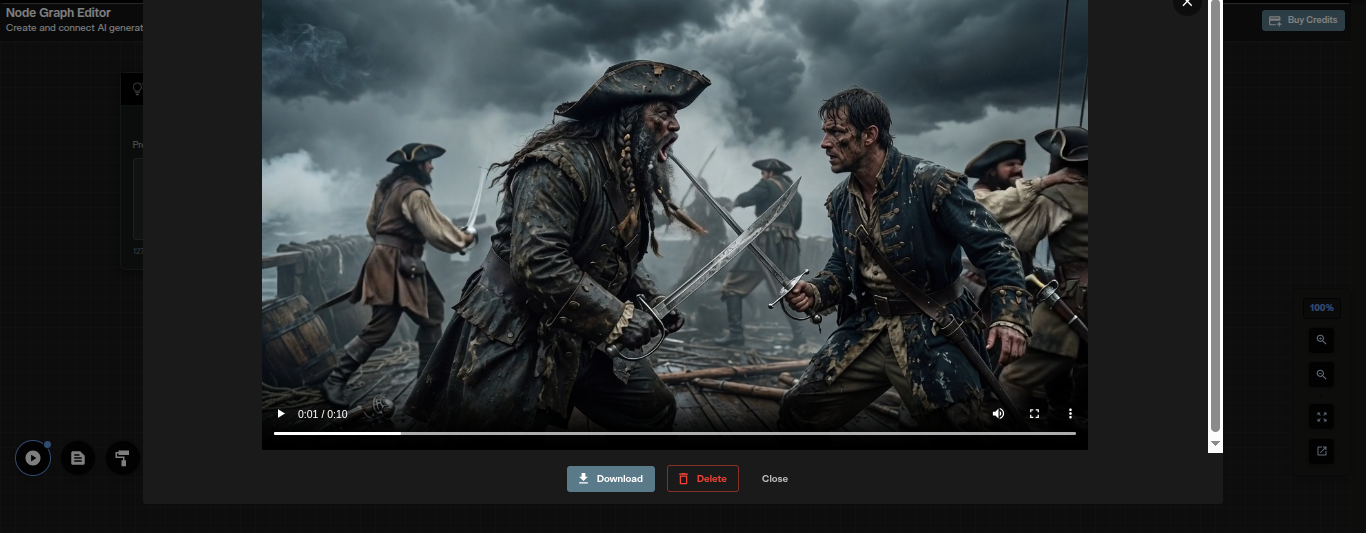
Image to Video
Image-to-video animates a still into a clip. The model reads your uploaded image as the first frame and carries its subject, lighting and composition forward through the generation.
Step 1: Switch the generation type to Image to Video
Open the Select Generation Type dropdown and choose Image to Video. The panel reloads with an Image Source section above the prompt field.
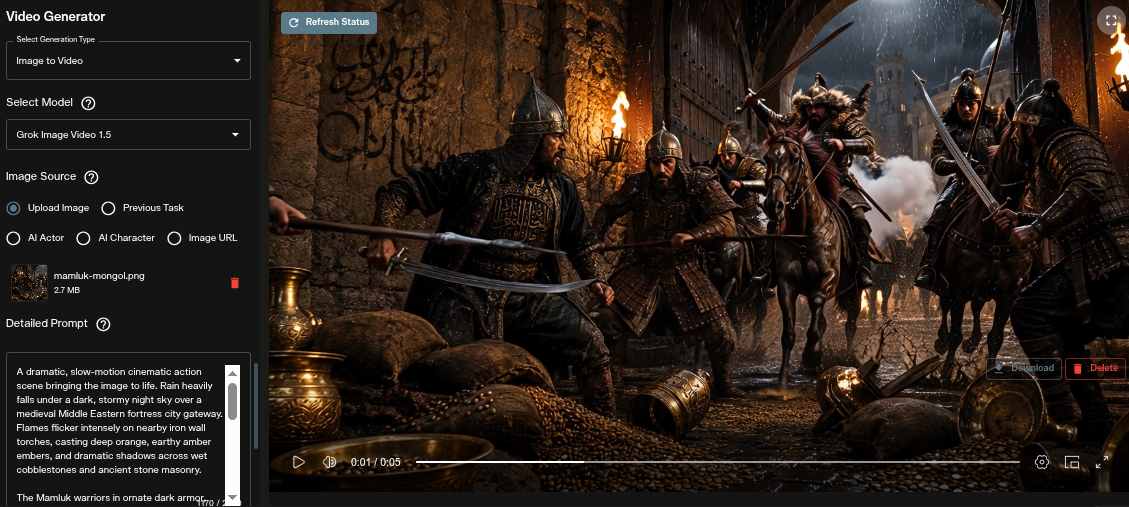
Step 2: Select Grok Image Video 1.5
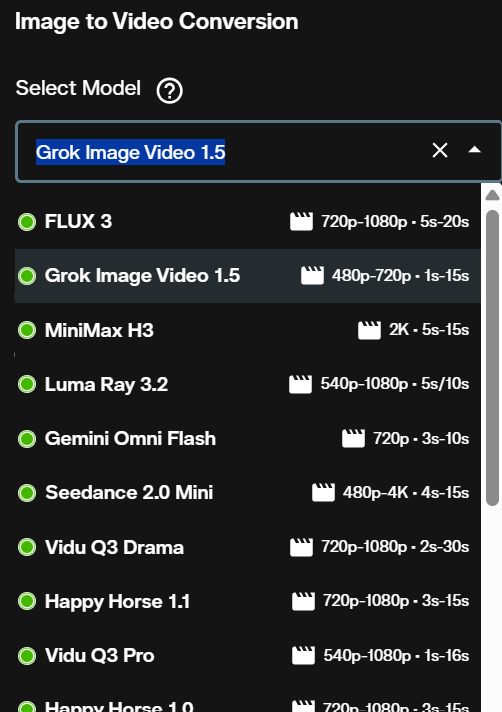
Open the Select Model dropdown and choose Grok Image Video 1.5. The row reads 480p to 720p and 1s to 15s. The missing 1080p tier is the difference from text-to-video, and the dropdown states it before you commit.
Step 3: Supply the source image
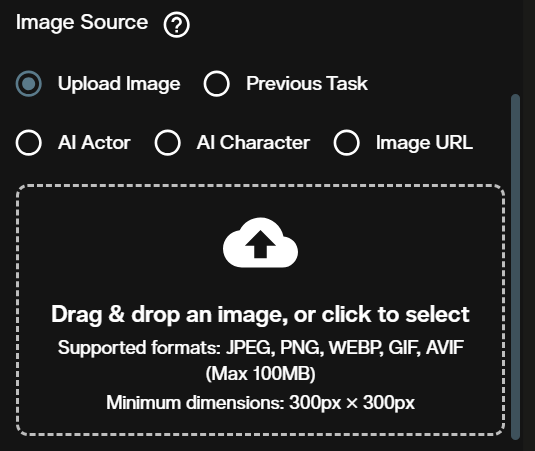
The Image Source section offers five inputs. Upload Image takes a file from your machine. Previous Task pulls a frame from something you already generated. AI Actor and AI Character pull from your saved characters. Image URL takes a link.
Uploads accept JPEG, PNG, WEBP, GIF and AVIF up to 100MB, at a minimum of 300px by 300px.
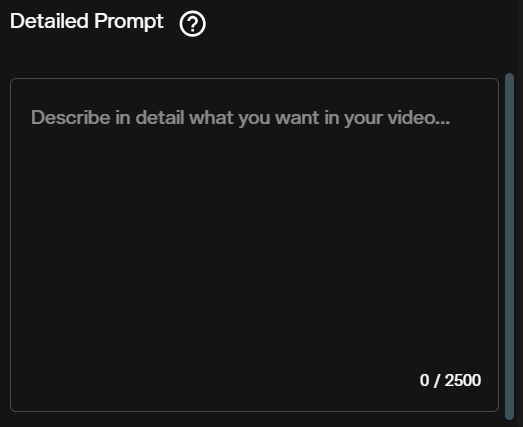
Step 4: Write your motion prompt
Describe what moves and how the camera behaves. Skip the appearance of the subject, because the model already reads that from your uploaded frame. "The camera pushes in slowly as rain streaks the foreground" gives the model more to work with than a restatement of what is already in the picture.
The 2,500 character limit is the same as text-to-video, and there is still no negative prompt field.
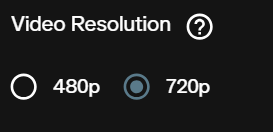
Step 5: Choose the resolution
Two options here, 480p and 720p, with 720p selected by default. 1080p is absent in this mode.
Frame and crop your source image to the delivery format before you upload it. There is no aspect ratio control in image-to-video, so whatever shape goes in is the shape that comes back. Fixing the ratio afterwards means regenerating from a recropped image.
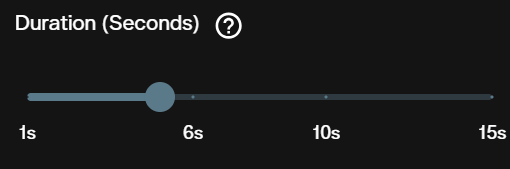
Step 6: Set the duration
The Duration slider runs 1 to 15 seconds in whole seconds, the same range as text-to-video, with marks at 1s, 6s, 10s and 15s.
A 1 second pass is useful here for a different reason. It shows you whether the model respects your source frame before you spend on a longer clip. Identity drift and warping on the subject show up in the first second when they are going to show up at all.
Step 7: Generate
Review the credit estimate and click Generate. The animated clip appears in the output panel and can be downloaded from there.
Image to Video in the Nodes Graph Editor
The image-to-video mode runs as a node too. Add a Prompt node and an Image Upload node, and connect both into an Image to Video node. Select Grok Image Video 1.5 in the node model dropdown, then set resolution and duration in the node settings panel.
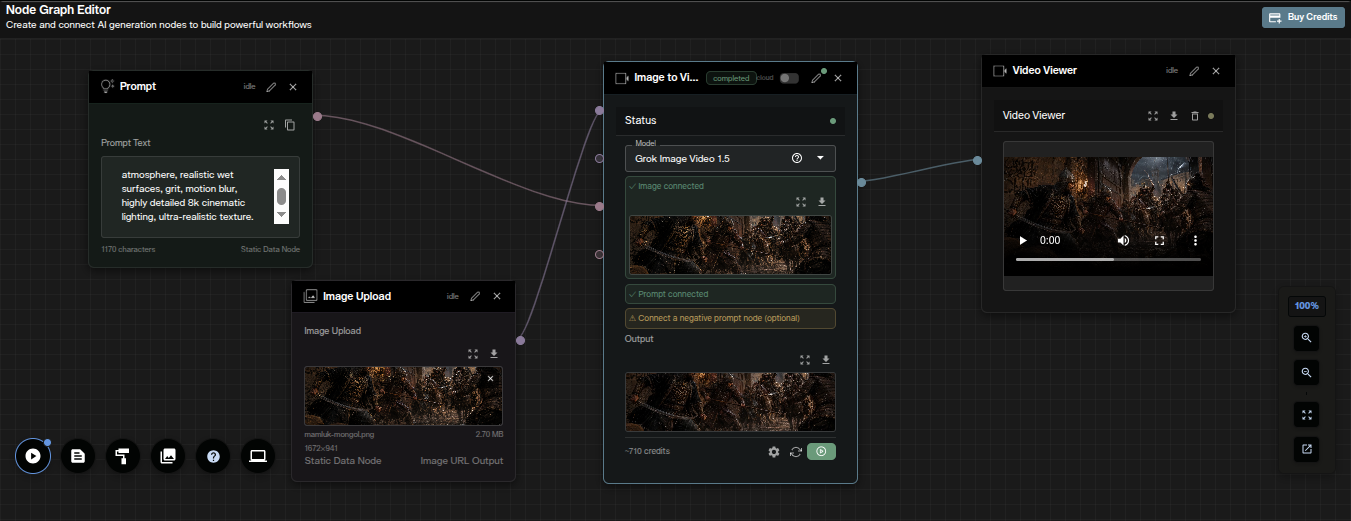
The node confirms both connections before it will run, showing Image connected and Prompt connected on the card. A 5 second generation at 720p reads roughly 710 credits on the card. As with text-to-video, a negative prompt node is optional.
Connect the output to a Video Viewer node to review the clip inside the graph. This layout is worth saving when you animate a batch of stills, because only the Image Upload node changes between runs.
Credit Costs
Text-to-video bills duration multiplied by a rate that depends on the resolution. Image-to-video uses the same per second rates and adds a flat 10 credit charge for processing the source image.
Text to Video
| Duration | 480p | 720p | 1080p |
|---|---|---|---|
| 1s | 80 | 140 | 250 |
| 5s | 400 | 700 | 1,250 |
| 6s | 480 | 840 | 1,500 |
| 10s | 800 | 1,400 | 2,500 |
| 15s | 1,200 | 2,100 | 3,750 |
Image to Video
| Duration | 480p | 720p |
|---|---|---|
| 1s | 90 | 150 |
| 5s | 410 | 710 |
| 6s | 490 | 850 |
| 10s | 810 | 1,410 |
| 15s | 1,210 | 2,110 |
Cost moves in two dimensions at once here, because both resolution and duration change the price. A 15 second clip at 1080p costs 46 times a 1 second clip at 480p. The MiniMax H3 tutorial covers the opposite arrangement, a model fixed at 2K with a 5 second floor, where duration is the only variable in play.
Credits for failed generations are refunded automatically. For subscription details, see AI FILMS Studio pricing.
Prompt Tips for Grok Imagine Video 1.5
Test at 1 second and 480p. An 80 credit test is the cheapest iteration loop available in the video workspace. Run three or four of them on a new prompt before you touch the resolution control. The first second tells you whether the model read the subject and the camera direction correctly, which is most of what goes wrong.
Climb the resolution tiers in order. 480p to confirm the idea, 720p to confirm the detail, 1080p for the delivery take. Going straight to 1080p on an untested prompt costs three times as much per second and tells you nothing extra about composition.
Write exclusions as inclusions. With no negative prompt field, the only way to keep something out of frame is to fill that space with something else. "A bare concrete wall behind the subject" works. Wishing for no text on the wall does not.
Crop the source image before uploading. Image-to-video has no aspect ratio control. A 16:9 photograph produces a 16:9 clip, whatever the target platform wants. Crop to 9:16 first when the clip is going to a vertical feed.
Lead with the camera move. Put the camera instruction at the front of the prompt. "Slow crane down over a rain soaked street as two figures cross the frame" reads better than the same scene with the camera note added at the end.
Use the graph for negative prompts. When a specific artefact keeps appearing, rebuild the shot in the Nodes Graph Editor and attach a negative prompt node. The workspace form cannot do this, and it is the one capability the graph adds for this model.
For a model that holds a fixed 2K at every length, the MiniMax H3 tutorial covers the trade in the other direction. The LTX 2.3 tutorial covers a faster model with frame rate control, the Vidu Q3 Drama and Turbo tutorial covers script driven sequences across multiple reference assets, and the Seedance 2.0 tutorial covers camera movement and scene coherence.
The 1 second floor here is the lowest in the roster. The next lowest belongs to WAN 3.0 at 2 seconds, and that model carries its short floor all the way up to a 30 second ceiling, which makes it the cheaper place to draft a long shot.
Sources
xAI: xAI
Continue Reading
.jpg?w=3840)


Video & LipSync
- Video Generator
- Text to Video
- Image to Video
- Start-End Frame to Video
- Draw to Video
- Motion Control
- Video Enhancer
- Video Upscaler
- Video Extend
- Video to Video LipSync
- Audio to Video LipSync
- Image to Video LipSync
- Video FaceSwap
- Seedance 2.5
- WAN 3.0
- Seedance 2
- FLUX 3
- Minimax H3
- Vidu Q3 Pro
- Grok Imagine Video 1.5
- Gemini Omni
- Google Veo 3.1
- Kling 3.0 Pro
- Luma Ray 3.2
- LTX 2.3
- Happy Horse 1.1
- Kling 3.0 Motion
- ByteDance Upscaler
- InfiniteTalk
- InsightFace
Image & Edit
- AI Character
- AI Actor
- Art Generator
- Text to Image
- Image to Image
- LoRA Image to Image
- Draw to Edit
- Image LoRA Training
- Remove Background
- Image Enhancer
- MidJourney 8.0
- Krea 2
- OpenAI GPT Image 2.0
- Nano Banana Pro Ultra
- Nano Banana 2 Lite
- Nano Banana Pro
- Minimax Image
- Clarity Pro
- Z-Image Turbo LoRA
- Krea 2 Turbo LoRA
- Z-Image LoRA Trainer
- Qwen Image LoRA Trainer
- Background Erase Network 2 (BEN2)