LTX-2.3 Tutorial: Text to Video and Image to Video

Share this post:
LTX-2.3 Tutorial: Text to Video and Image to Video
LTX-2.3, Lightricks' open source audio video foundation model, is now available on AI FILMS Studio. Built on a Diffusion Transformer architecture with 22 billion parameters, it generates synchronized video and audio in a single pass. This tutorial covers every setting for text-to-video and image-to-video generation directly in the browser, including credit costs and Node Graph integration.
For the model architecture, improvements over previous versions, and open source licensing details, see the LTX-2.3 model overview.
What Makes LTX-2.3 Different
Four engine changes define this release over LTX-2.
Sharper fine detail. A rebuilt VAE trained on higher quality data improves preservation of textures, hair, and edge detail throughout generation.
Tighter prompt adherence. A 4x larger text connector gives the model stronger understanding of complex prompts, multiple subjects, and spatial relationships.
Stronger image-to-video. The update reduces freezing and Ken Burns effect artifacts. Input frames translate more consistently into motion, with fewer unusable outputs.
Cleaner audio. A new vocoder and filtered training data produce fewer audio artifacts and tighter alignment across text-to-video and audio conditioned workflows.
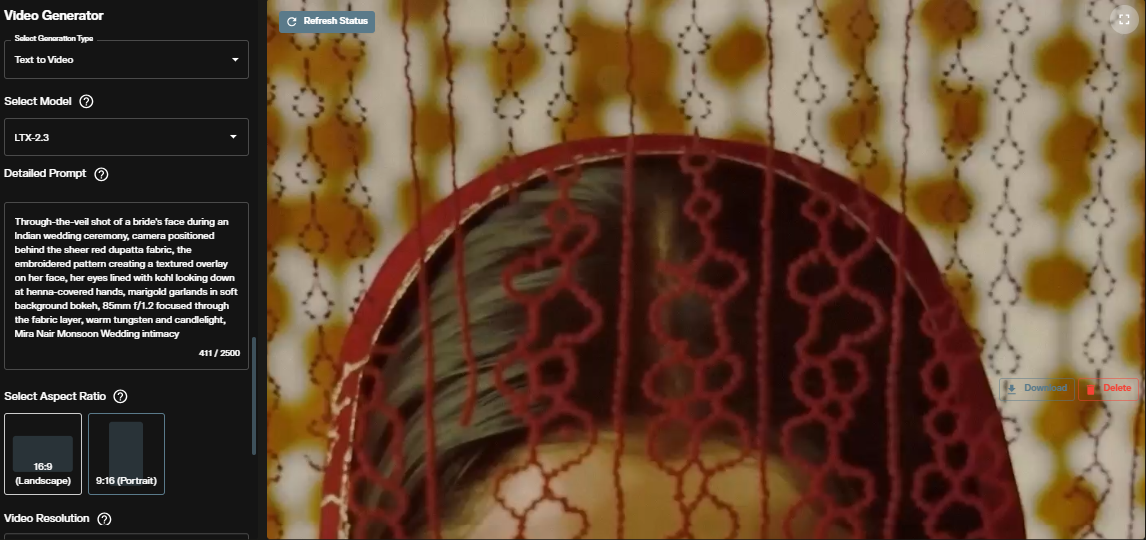
Generating Text to Video
Step 1: Select LTX-2.3 Text to Video
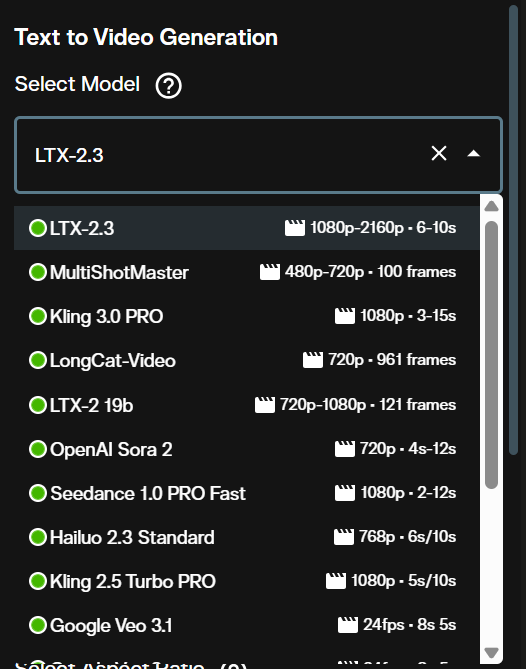
Open the Video Generation workspace. In the Text to Video section, click the model dropdown and select LTX-2.3 Text to Video.
The interface loads all parameters specific to LTX-2.3 once the model is selected.
Step 2: Write Your Prompt
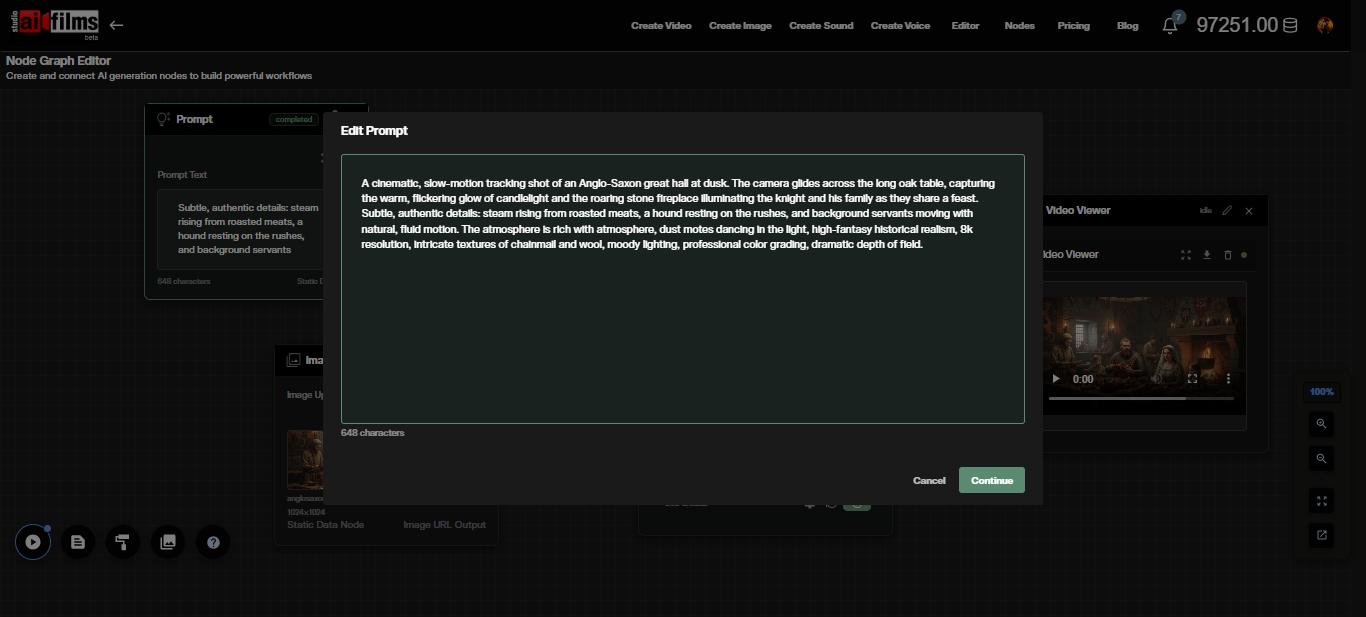
Enter your prompt in the text field. LTX-2.3 understands detailed scene descriptions that include subject, environment, lighting, and camera movement.
Lead with the camera behavior before describing the scene. A prompt like "Slow push in, interior stone corridor lit by torchlight, monk walks away from camera, shallow depth of field, cinematic" produces more consistent results than a loose scene description. The 4x larger text connector means the model handles long, specific prompts without losing earlier context.
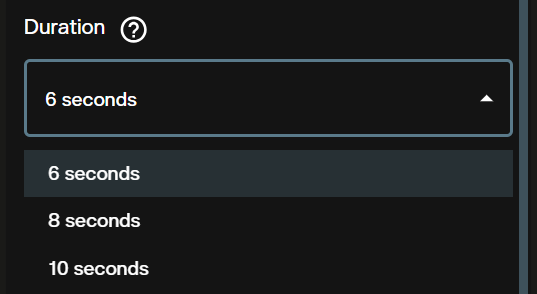
Step 3: Set Duration
Choose between 6, 8, and 10 seconds. Shorter durations cost fewer credits and generate faster. Use 6 seconds for single shots and rapid iteration. Switch to 10 seconds when the scene requires more time for motion to develop naturally.
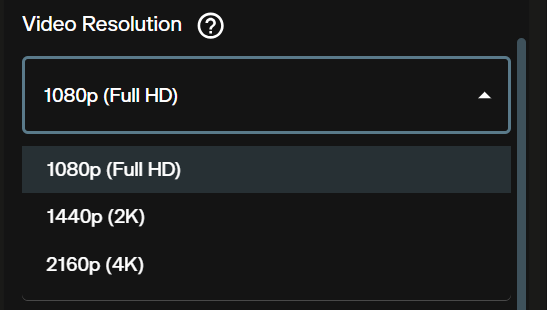
Step 4: Choose Resolution
Three resolution options are available: 1080p, 1440p, and 2160p (4K). Each step up doubles the credit cost per second. Use 1080p for drafts, then generate the final shot at 1440p or 4K once your prompt and motion are confirmed.
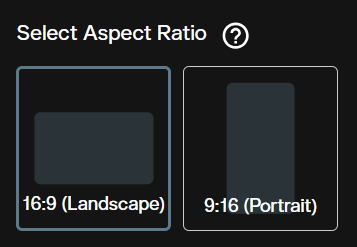
Step 5: Aspect Ratio
Select 16:9 for widescreen and 9:16 for portrait. LTX-2.3 was trained natively on portrait data rather than cropped from landscape output, so 9:16 generations are full quality. Use 9:16 for social content and vertical formats without sacrificing fidelity.
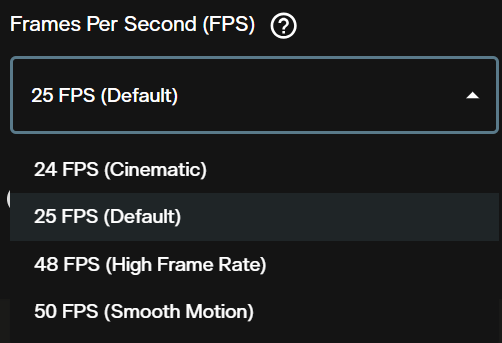
Step 6: Frames Per Second
FPS options are 24, 25, 48, and 50. The default is 25. Higher frame rates (48 and 50 FPS) reduce motion blur and produce smoother output for fast action scenes. Standard cinematic content uses 24 or 25 FPS. FPS affects visual character but does not affect credit cost.
Step 7: Generate Audio
The Generate Audio toggle is on by default. LTX-2.3 generates synchronized ambient sound and atmospheric audio alongside the video in a single pass.

Turn audio off when you plan to add your own sound design, voiceover, or music in post. Disabling audio does not affect video quality.
Step 8: Check Credits and Generate
The credit counter updates automatically as you adjust settings. Confirm the estimate and click Generate.

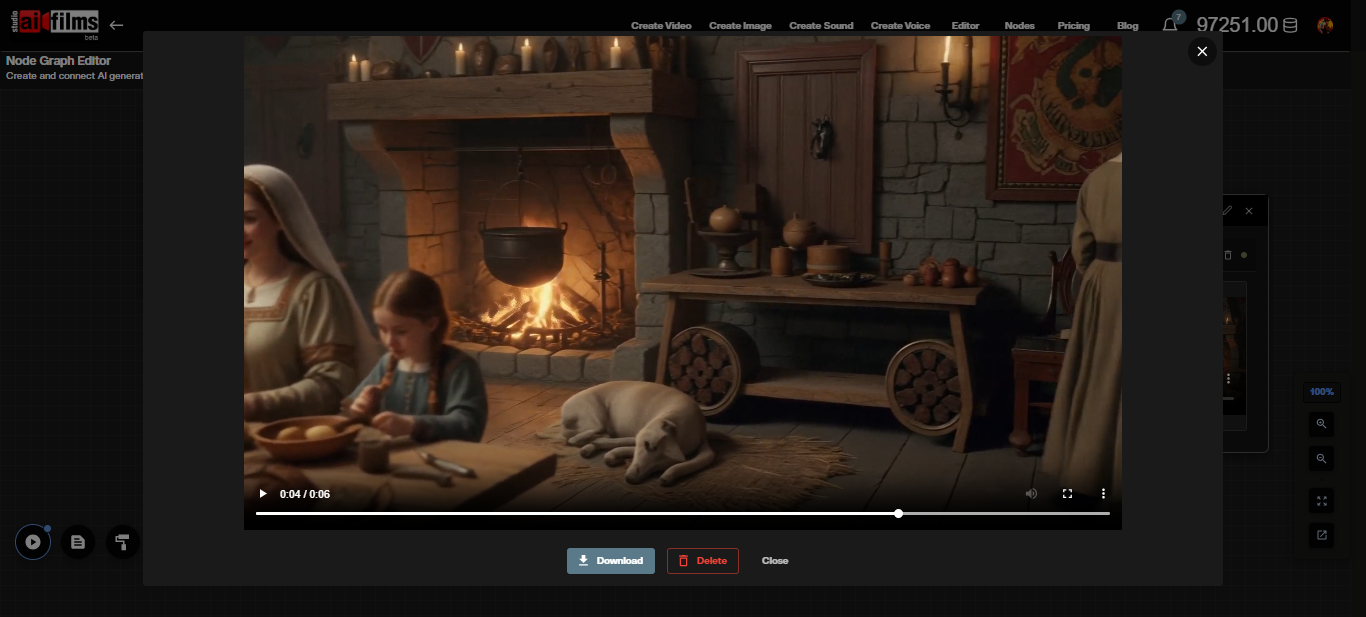
The generated video appears in the interface once processing completes. Download it directly from the workspace.
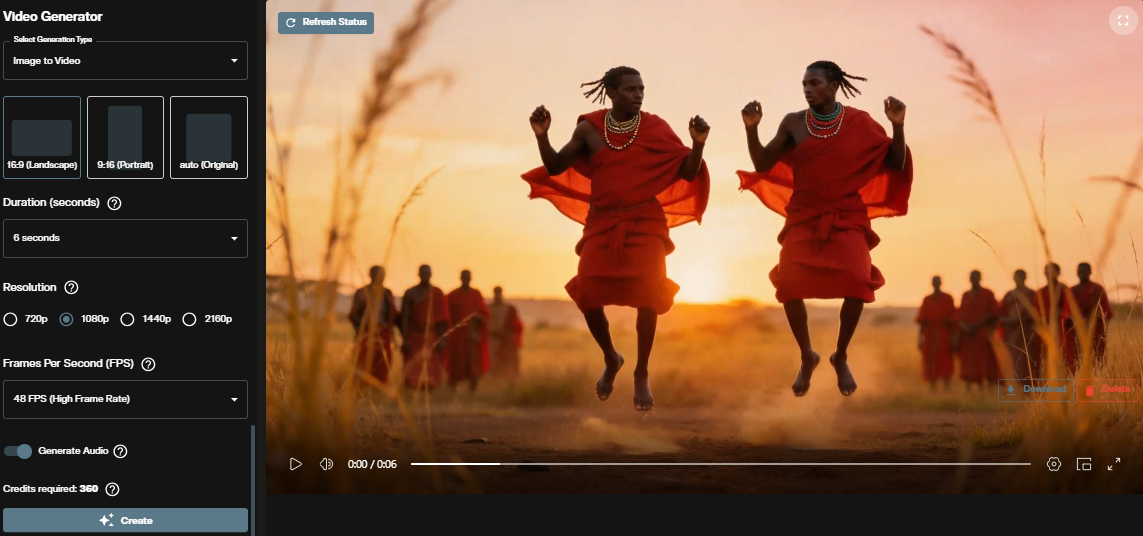
Generating Image to Video
Image-to-video animates a still image into motion footage. The model preserves the visual content of the input frame while introducing motion, camera movement, and synchronized audio.
Step 1: Open Image to Video and Upload Your Image
Scroll to the Image to Video section in the Video Generation workspace. The Image Source section loads at the top of the interface.
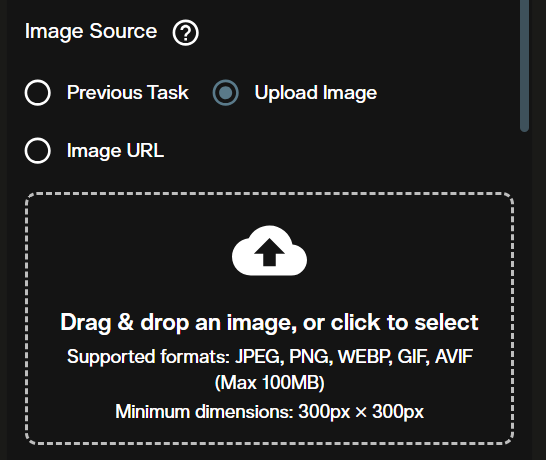
Upload your starting frame or paste an image URL. The uploaded image becomes the first frame of the generated video. LTX-2.3 accepts JPEG and PNG inputs.
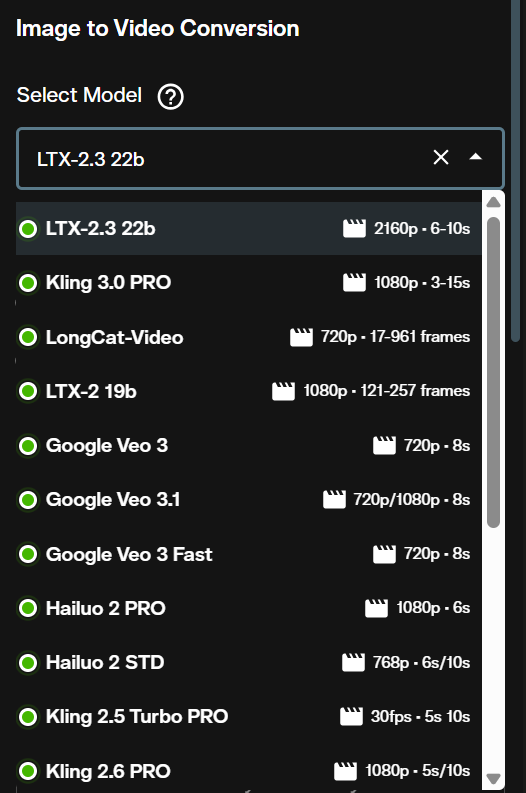
Step 2: Select LTX-2.3 Image to Video
Click the model dropdown and select LTX-2.3 Image to Video.
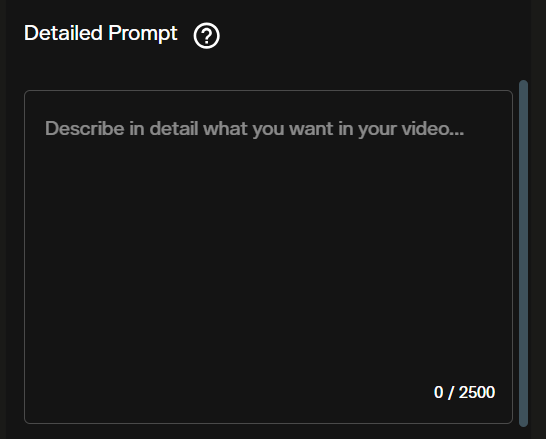
Step 3: Write a Motion Prompt
The prompt tells the model what motion should occur. Focus on camera movement, subject behavior, and environment changes rather than restating what the image already shows. The model reads the visual content from the uploaded frame.
A strong motion prompt for a portrait image: "Subject turns slowly to look at camera, wind moves through hair, shallow depth of field, golden hour light." For a landscape image: "Clouds drift slowly from left to right, light shifts from dawn orange to midday white, camera holds steady."
Step 4: Duration
Duration options are the same as text-to-video: 6, 8, or 10 seconds. The starting image anchors frame consistency across the full duration regardless of clip length.

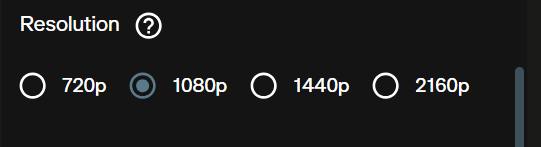
Step 5: Resolution
Select from 1080p, 1440p, or 2160p. The same credit rate per second applies as in text-to-video. Start at 1080p to verify motion behavior before committing to 4K.
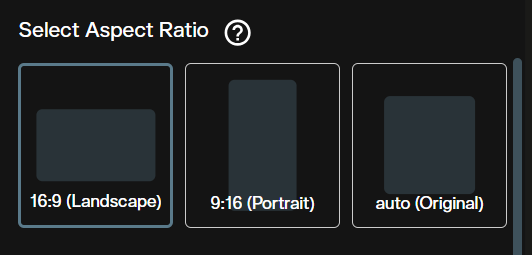
Step 6: Aspect Ratio
The image-to-video interface adds an Auto option alongside 16:9 and 9:16. Auto lets the model derive aspect ratio from the uploaded image dimensions. Use Auto when your source image has an unconventional crop. Set 16:9 or 9:16 explicitly to force a specific output format.
Step 7: Frames Per Second
Choose 24, 25, 48, or 50 FPS. High frame rates (48 and 50 FPS) work well for documentary style footage and smooth camera moves. Cinematic 24 FPS adds a natural film look to narrative scenes.
Step 8: Audio and Generate
Toggle Generate Audio on or off. Check the credit estimate and click Generate.


The completed clip appears below the controls and can be downloaded immediately.
Credit Costs
Credits scale with resolution and video duration. FPS selection does not affect cost.
| Resolution | Credits per Second |
|---|---|
| 1080p | 60 credits |
| 1440p | 120 credits |
| 2160p (4K) | 240 credits |
A 6-second clip at 1080p costs 360 credits. A 10-second clip at 4K costs 2,400 credits. Both text-to-video and image-to-video apply the same rate. The interface shows a credit estimate before every generation.
All content generated on AI FILMS Studio with an active subscription is available for commercial use. See pricing for subscription details.
LTX-2.3 in the Node Graph
The Node Graph supports LTX-2.3 as both a Text to Video node and an Image to Video node. This lets you chain generation with upscalers, speech synthesis, and lipsync in a single automated pipeline.
Build a basic image-to-video pipeline: add an Image Upload node, connect it to an Image to Video node set to LTX-2.3, route the output through a Video Enhancer node for upscaling, and terminate with a Result node.
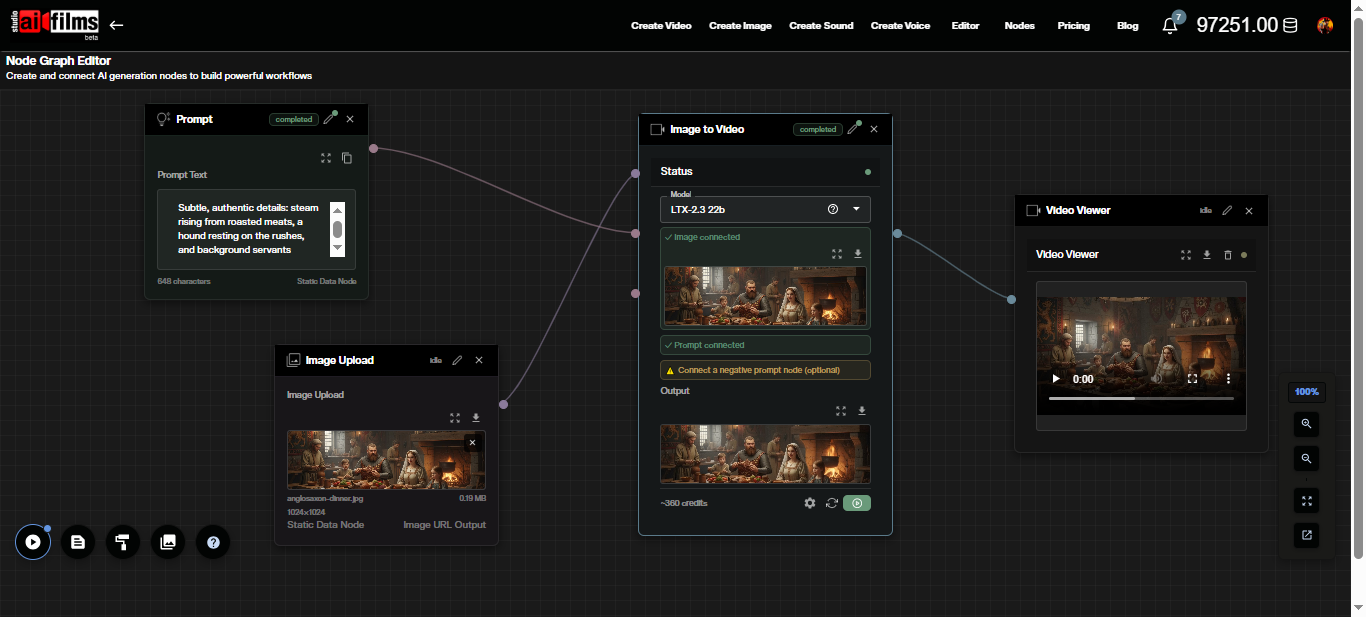
Click the Image to Video node to open its settings panel. All parameters, including prompt, duration, resolution, aspect ratio, FPS, and the audio toggle, are accessible directly in the node.
After execution, the video output appears on the connected Result or Video Viewer node.
A practical pipeline for a complete clip: an Image Upload node feeds an Image to Video node (LTX-2.3), which routes into a Video Enhancer node for upscaling with Topaz or Real-ESRGAN. A Text to Speech node running ElevenLabs or MiniMax in parallel feeds a Text to Video Lipsync node for synchronized dialogue over the final upscaled video.
Prompt Examples
Text-to-video. Outdoor establishing shot.
"Aerial drone descending slowly over a coastal town at dawn. Red rooftiles and fishing boats in harbor. Warm orange light on water. Cinematic, shallow depth of field."
Text-to-video. Interior scene.
"Handheld shot tracking a chef through a busy commercial kitchen. Steam rising from pots. Motion blur on background. Shallow focus on subject. Documentary style."
Image-to-video. Portrait animation.
"Camera holds steady. Subject blinks once, turns slightly to the right. Wind moves through hair. Soft bokeh in background. Natural lighting."
Image-to-video. Landscape clip.
"Camera slow push in on mountain peak. Clouds drift from left to right. Light shifts from dawn orange to midday white. No subject movement."
Frequently Asked Questions
Does LTX-2.3 require a local GPU? No. AI FILMS Studio runs LTX-2.3 on cloud infrastructure. No local GPU, installation, or model weight downloads are required. For running Lightricks' LTX models locally on your own hardware, see the LTX-2 4K RTX setup guide, which covers ComfyUI configuration for RTX GPUs.
What is the maximum video length? AI FILMS Studio generates clips up to 10 seconds per run with LTX-2.3. For longer sequences, use the Node Graph to chain multiple generation passes or combine clips in post production.
Does the generated audio include dialogue? LTX-2.3 generates ambient sound, environmental audio, and atmospheric elements synchronized to the video. It does not generate dialogue. For narration and voiceover, use the Voice Generation workspace with ElevenLabs or MiniMax, then sync with the Kling Lipsync node in the Node Graph.
Can I specify an end frame for the animation? Not through the standard image-to-video interface. The model supports an end image parameter that enables smooth interpolation between two frames. This transition workflow is available through the Node Graph.
Is generated content commercially usable? Yes. All output from AI FILMS Studio with an active paid subscription is available for commercial use. LTX-2.3 is released under the Apache 2.0 license by Lightricks.
How does LTX-2.3 compare to earlier Lightricks models? LTX-2.3 adds a rebuilt VAE for sharper detail, a 4x larger text connector for stronger prompt adherence, reduced Ken Burns artifacts in image-to-video, and a new vocoder for cleaner audio. The full changelog is in the LTX-2.3 model overview.
For a proprietary text-to-video and image-to-video option with 720p and 1080p output, see the Happy Horse 1.0 tutorial.
Sources
Continue Reading


.jpg?w=3840)
Video & LipSync
- Video Generator
- Text to Video
- Image to Video
- Start-End Frame to Video
- Draw to Video
- Motion Control
- Video Enhancer
- Video Upscaler
- Video to Video LipSync
- Audio to Video LipSync
- Image to Video LipSync
- Video FaceSwap
- Seedance 2
- Vidu Q3
- OpenAI Sora 2
- Kling 3.0
- Kling O1
- Google Veo 3.1
- LTX 2.3
- Kling O1
- Hailuo AI
- Luma Ray
- Kling 3.0 Motion
- Topaz Upscaler
- InfiniteTalk Face Swap
Image & Edit
- AI Character
- AI Actor
- Art Generator
- Text to Image
- Image to Image
- Draw to Edit
- Image Training
- Remove Background
- Image Enhancer
- MidJourney 8.0
- OpenAI GPT Image 2.0
- Kling Image 3.0
- NanoBanana Pro
- Minimax Image
- NanoBanana 2
- Kling Omni 3
- FLUX 2
- WAN 2.6
- Z-Image
- SeedEdit 3.0
- GLM-Image
- Omnigen 2
- Seedream 4.5
- Background Erase Network 2 (BEN2)