Vidu Q3 Drama and Vidu Q3 Turbo: Image-to-Video Tutorial

Share this post:
Vidu Q3 Drama and Vidu Q3 Turbo: Image-to-Video Tutorial
Two new image-to-video models are now available in AI FILMS Studio: Vidu Q3 Drama and Vidu Q3 Turbo. They solve different production problems. Vidu Q3 Turbo takes a single reference image and animates it with natural motion, adding optional synchronized audio and background music in one pass. Vidu Q3 Drama combines a narrative script with up to 14 reference assets to generate story driven sequences where characters, environments, and props remain visually consistent from shot to shot.
Vidu Q3 Turbo is the faster tool. Its turbo architecture returns results quickly, making it well suited for rapid iteration. Vidu Q3 Drama is designed for longer, more structured narrative sequences, where the same face or set needs to appear across multiple beats of a script without visual drift.
Vidu Q3 Drama: Script Driven Video Generation
Vidu Q3 Drama generates narrative video from a script and a set of reference assets. Each asset (a character, a location, or a prop) is assigned an ID in the asset list. The model reads the script sequentially and uses those IDs to maintain visual identity across every scene it generates. The result is a cohesive video where the cast and settings stay consistent without requiring separate generation passes.

Vidu Q3 Drama in the AI FILMS Studio image-to-video workspace
Open the video generation workspace and use the Select Generation Type dropdown to choose Image to Video. Then open the Select Model dropdown and pick Vidu Q3 Drama. The panel updates to show the script field, asset upload section, and the settings specific to Drama.
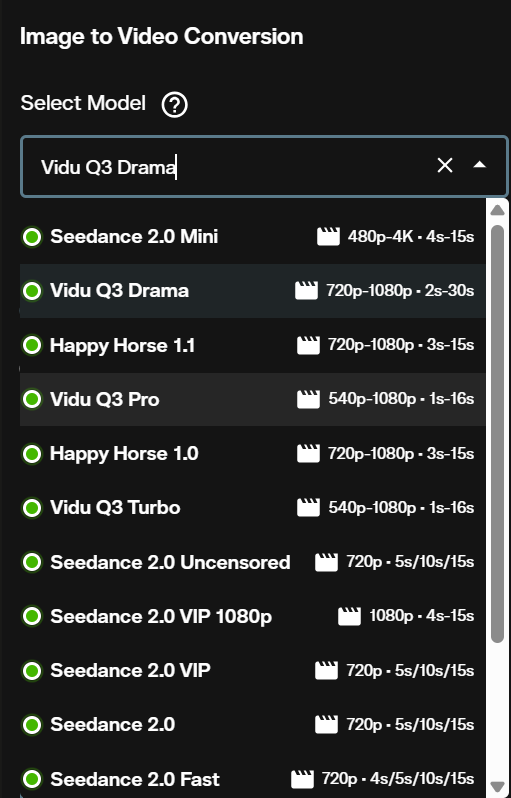
Step 1: Select the model
The model type selector lists all available image-to-video models. Choose Vidu Q3 Drama from the dropdown. The interface switches to the Drama layout with dedicated fields for script input and asset management.
Step 2: Upload your image and add reference assets
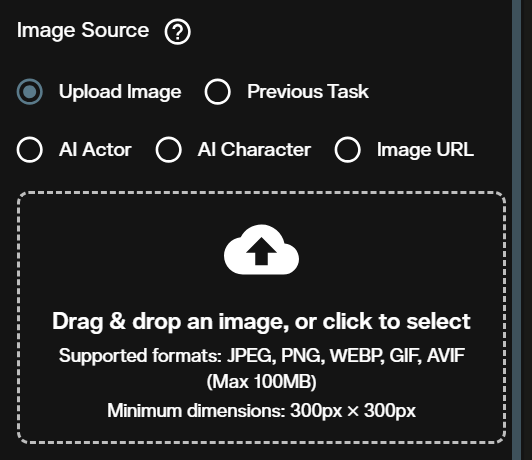
Upload your primary reference image in the image source section. You can use an image from your device, a previous task output, or a public image URL. This image serves as the visual anchor for the scene.
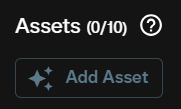
Click Add Assets to define the cast of characters, locations, and props. Each asset gets a name, a type (character, scene, or tool), and an optional brief description. You can add between 1 and 14 assets per generation. Keeping the asset list between 3 and 10 entries typically produces the most consistent results. The model uses asset IDs to track and maintain each visual identity throughout the sequence.
Step 3: Write your script and set the visual style
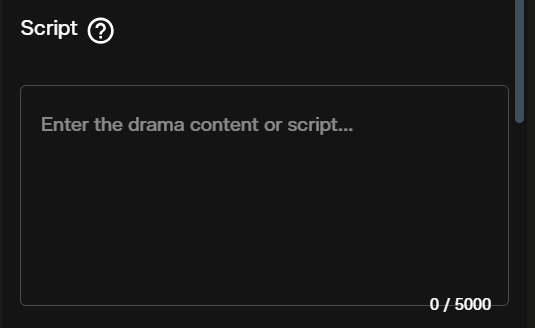
The script field is the primary creative input. Write the full scene narrative in sequential sentences: character actions, emotional beats, camera direction, and lighting changes. The field accepts up to 5,000 characters. Clear, ordered writing produces more coherent motion than short or fragmented notes. Describe what happens at the start, what changes through the middle, and how the scene resolves.
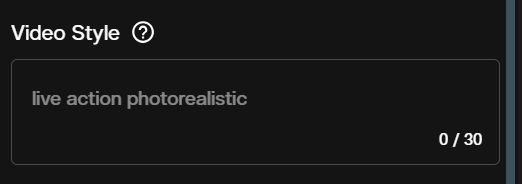
The Video Style field pins the visual output to a specific aesthetic. Write a style descriptor of up to 30 characters, without punctuation. Examples: "3D modeling style", "2D animation style", "watercolor art style". Leave the field blank to use the default live action photorealistic output.
Step 4: Set duration, aspect ratio, and placement
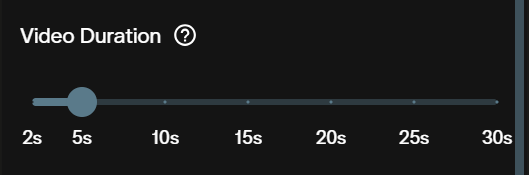
Duration sets the output clip length. The default range runs from 8 to 12 seconds. Begin with 8 seconds while testing a new script, then increase the duration once the structure and pacing are confirmed.
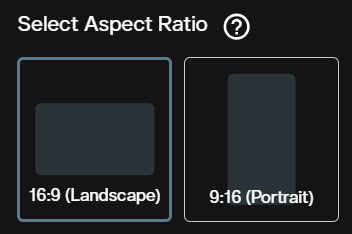
Aspect Ratio determines the output frame orientation. Choose 9:16 for vertical video intended for mobile or social platforms. Choose 16:9 for horizontal cinematic output suited to widescreen delivery.
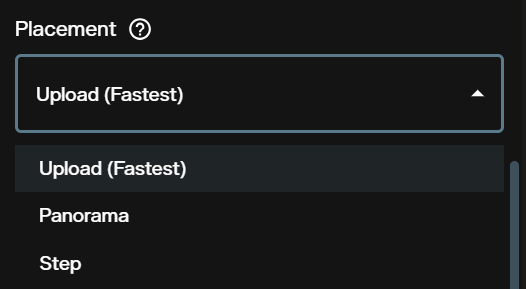
Placement controls how reference images are used during scene construction. Upload is the default and fastest mode. Panorama synthesizes wide environments from a reference image, which works well for outdoor or architectural scenes that extend beyond a single frame. Step feeds frames from the previous scene forward into the next generation, creating a structured sequential flow across multiple outputs.
Step 5: Review credits and generate
The workspace shows the exact credit cost for your selected duration and resolution before you submit. Confirm the settings, then click Create. The generation runs in the background and the completed video appears in your output panel when ready.

Vidu Q3 Turbo: Fast Image-to-Video
Vidu Q3 Turbo converts a reference image into a dynamic video clip. The model is built for speed, returning results quickly and making it the right choice for rapid iteration and composition testing. A built in prompt enhancer refines your text description internally before generation, so concise prompts still produce coherent motion. Optional synchronized audio and background music are bundled at no extra credit cost.
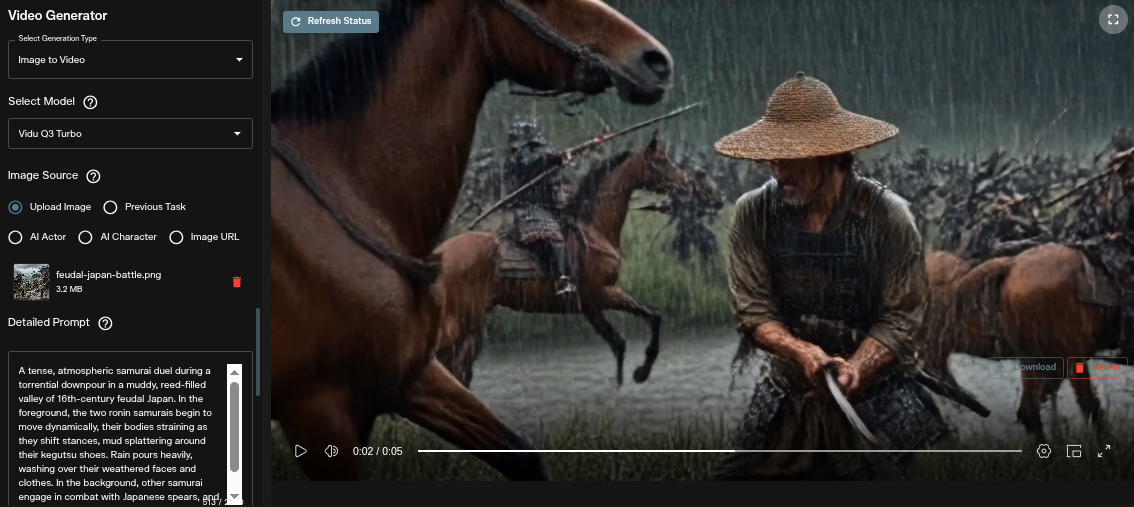
Vidu Q3 Turbo in the AI FILMS Studio image-to-video workspace
Go to the video generation workspace, set the generation type to Image to Video, and select Vidu Q3 Turbo from the model dropdown. Upload your reference image in the image source section before configuring the settings below.
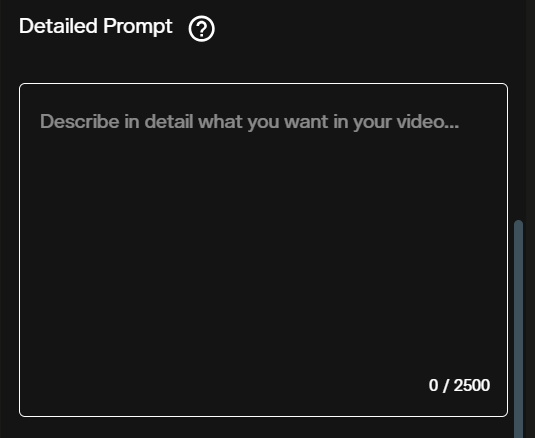
Step 1: Write your motion prompt
Describe the motion, camera path, and scene changes you want in the prompt field. The model already knows what your image looks like from the upload. Focus the prompt on what changes over time: "a slow crane up revealing the city skyline behind the subject" gives the model specific direction to execute. The built in prompt enhancer refines your input before generation, so you do not need to add extensive technical syntax.
Step 2: Set movement amplitude
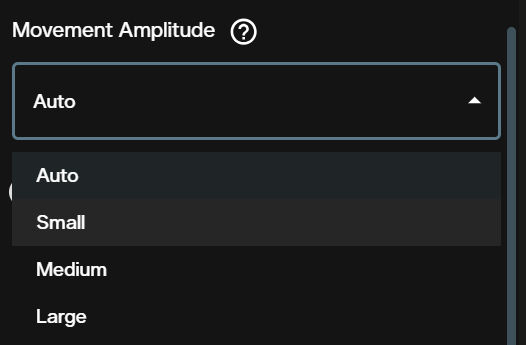
Movement Amplitude controls the overall intensity of motion in the output. Auto lets the model determine the level based on your image and prompt. Small produces subtle, refined motion suited to portraits and product photography. Medium delivers natural scene movement for most use cases. Large generates bold, dynamic animation for action sequences, cinematic reveals, or high energy scenes.
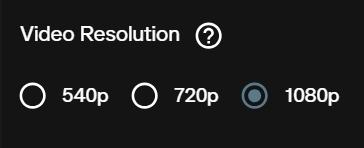
Step 3: Choose resolution and duration
Vidu Q3 Turbo supports three resolution tiers. Use 540p to test composition and motion at the lowest credit cost. Move to 720p for standard deliverables and 1080p for final production output. Start at a lower resolution when iterating on a new prompt, then commit to 1080p once the motion reads correctly.
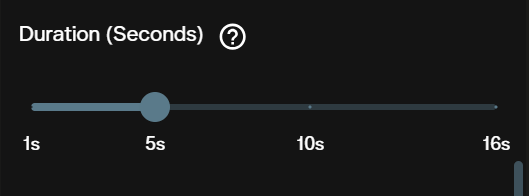
Set the clip length in the duration field. The default is 5 seconds, a good starting point for motion tests. Once the motion and composition are confirmed, increase the duration to generate a longer clip from the same settings.
Step 4: Configure audio and background music
Toggle Generate Audio to add synchronized environmental sounds to the clip. The model generates ambient audio based on the visual content: wind, rain, crowd noise, natural environments, and mechanical effects. This runs as part of the same generation and adds no extra credits.


Toggle Background Music to layer a harmonic score beneath the video. Both audio and background music can be enabled simultaneously. Neither adds to the credit cost for the generation.
Step 5: Set a seed and generate
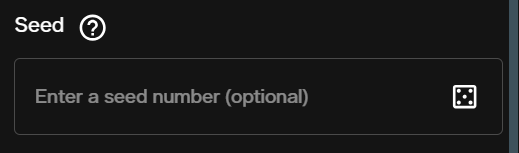
Enter a number in the Seed field to lock the generation to a specific variation. The same image, prompt, and seed combination produces the same output on repeat runs, making it useful for A/B testing against a single motion baseline. Leave the field empty for a different random result each time. Click Create when your settings are ready.
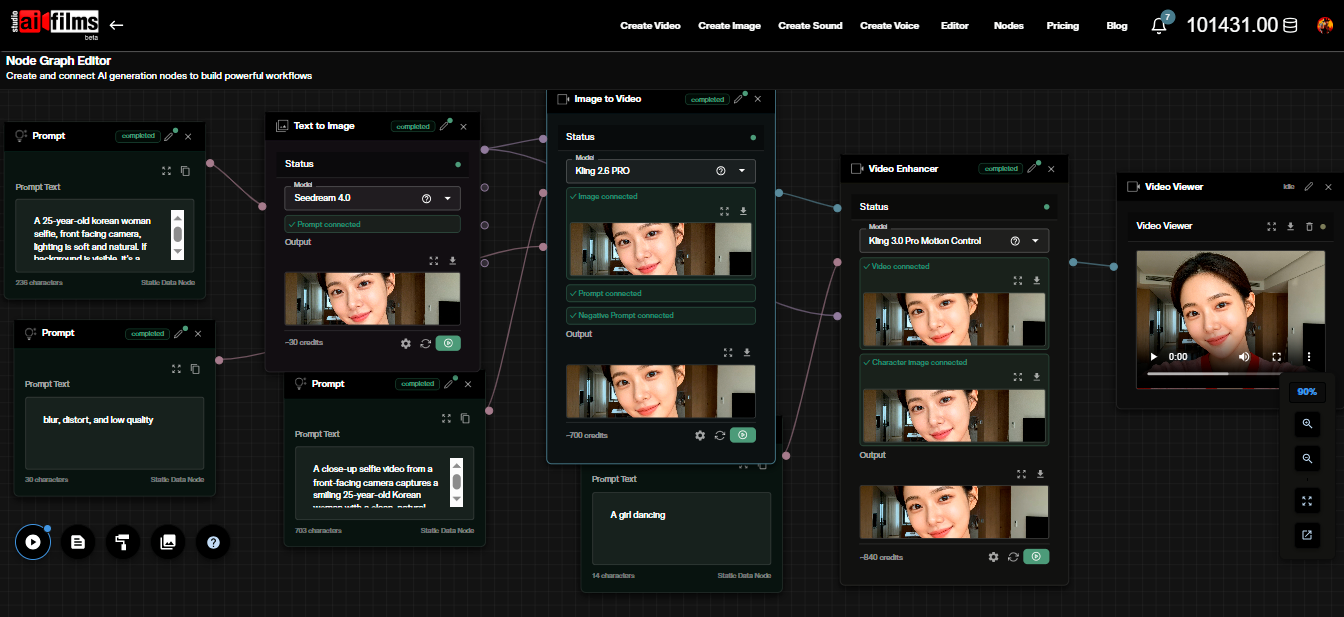
Using Vidu Q3 Turbo in the Nodes Graph Editor
Vidu Q3 Turbo is available as a node in the AI FILMS Studio Nodes Graph Editor. This lets you chain it into automated pipelines alongside image generation, enhancement, and audio nodes. A typical workflow connects an Image Upload node and a Prompt node to the Vidu Q3 Turbo Image to Video node, then routes the output to a Result node for download.
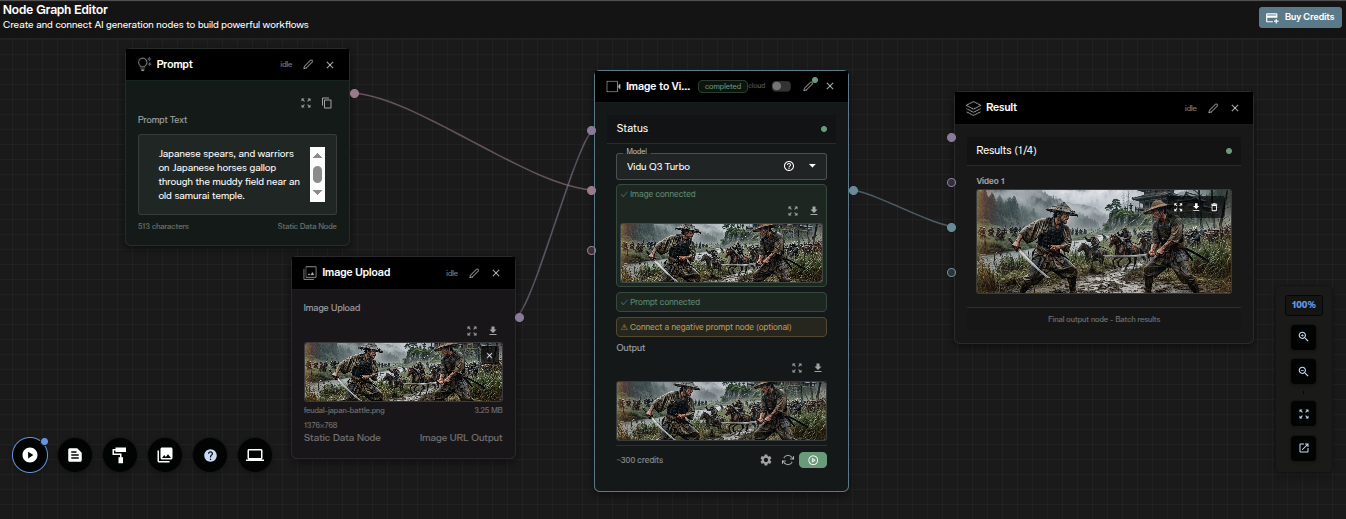
Vidu Q3 Turbo image-to-video workflow in the AI FILMS Studio Nodes Graph Editor
Movement amplitude, resolution, duration, audio, and seed are all configurable inside the node panel. You can wire the video output directly into a Video Enhancer node to upscale the result, or route it to a Lipsync node to add synchronized dialogue in the same pipeline. For comparison, see the Kling 3.0 node pipeline tutorial, which follows the same connection pattern for image-to-video in the graph editor.
Credit Costs
Vidu Q3 Turbo bills per second of output based on the selected resolution. Vidu Q3 Drama bills per second at a flat rate regardless of resolution.
Vidu Q3 Turbo: credit cost by resolution
| Resolution | Per second | 5 seconds | 10 seconds |
|---|---|---|---|
| 540p | 40 credits | 200 credits | 400 credits |
| 720p | 60 credits | 300 credits | 600 credits |
| 1080p | 80 credits | 400 credits | 800 credits |
Audio and background music are bundled into the base cost. Enabling either or both toggles adds no extra credits.
Vidu Q3 Drama: credit cost by duration
| Duration | Credits |
|---|---|
| 8 seconds | 1,120 credits |
| 10 seconds | 1,400 credits |
| 15 seconds | 2,100 credits |
| 30 seconds | 4,200 credits |
Vidu Q3 Drama bills at 140 credits per second across all durations. For subscription details and credit balance, visit the AI FILMS Studio pricing page.
Prompt Tips
For Vidu Q3 Turbo: Describe motion in active, specific terms. "Her hand slowly reaches toward the camera, fingers slightly blurred at full extension" is more effective than "hand moves." Lead with the subject action, then add camera and environmental detail. Use Small movement amplitude for precision and Large for impact.
For Vidu Q3 Drama: Write the script as a director's shot list, not a summary. Specify where each character is at the start of the scene, what they do, and where the camera is positioned. The more precisely you describe camera transitions and character blocking, the more the model can plan the sequence correctly.
For both models: Start with shorter durations and lower resolutions during iteration. Test the motion and composition at 5 to 8 seconds before committing to longer clips. For a different approach to image-to-video with first and last frame control, the LTX-2.3 tutorial covers how that model handles temporal transitions between defined frames.
Sources
GitHub
Continue Reading


Video & LipSync
- Video Generator
- Text to Video
- Image to Video
- Start-End Frame to Video
- Draw to Video
- Motion Control
- Video Enhancer
- Video Upscaler
- Video to Video LipSync
- Audio to Video LipSync
- Image to Video LipSync
- Video FaceSwap
- Seedance 2
- Vidu Q3 Pro
- Google Veo 3.1
- Kling 3.0 Pro
- LTX 2.3
- Happy Horse 1.1
- Kling 3.0 Motion
- ByteDance Upscaler
- InfiniteTalk
- InsightFace